Hello, and welcome to the February edition of 1212 Garment Rescue.
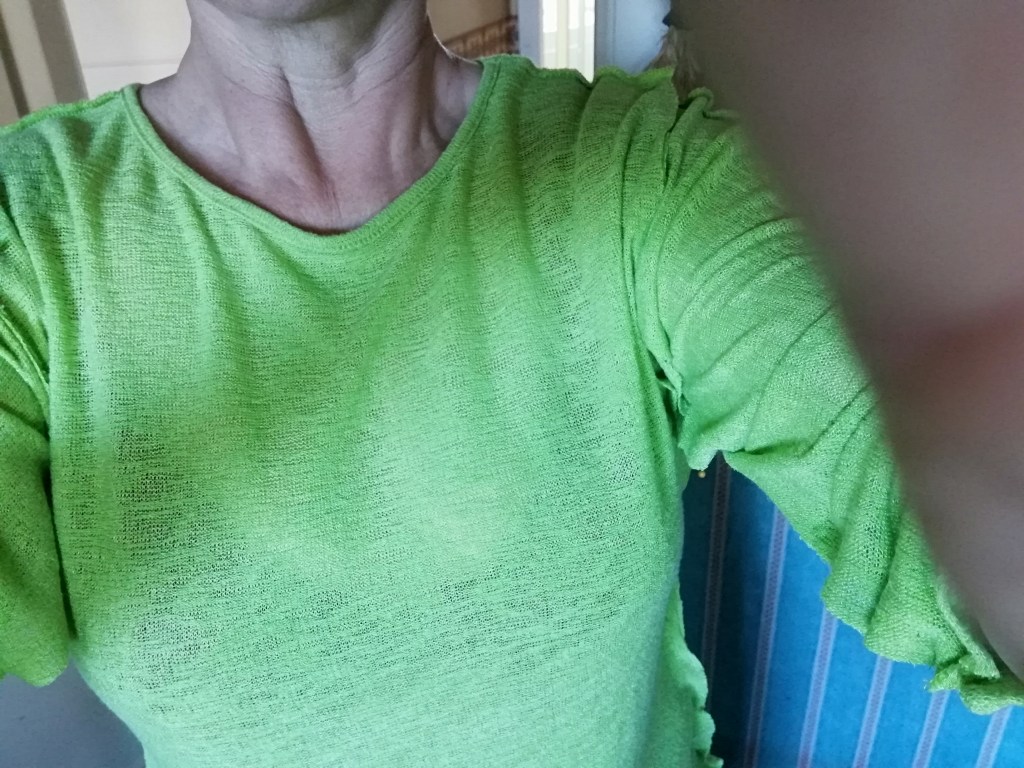
Today’s rescue is this beautiful green shirt.

I bought this shirt at a charity shop because I liked the color and the fabric. Unfortunately, the shape is exactly wrong for…well…most people. Seriously. Batwings don’t even look good on a mannequin.
So that had to go.
Before we continue, I’d like to plug this book:
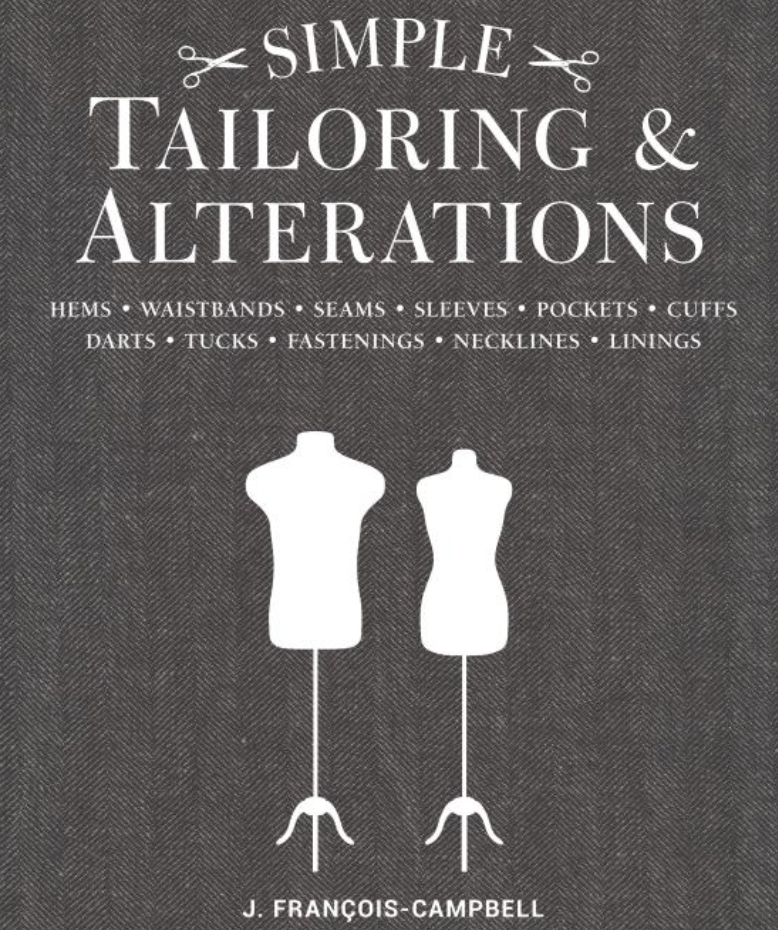
It’s an easy-to-follow illustrated guide to a wide variety of common alterations. If you’ve ever wondered how to turn a garment that just doesn’t fit right into something that looks like it was made for you and you alone, this book can tell you.
And now, on to the show.
Skip the chat and go straight to the instructions
The Garment
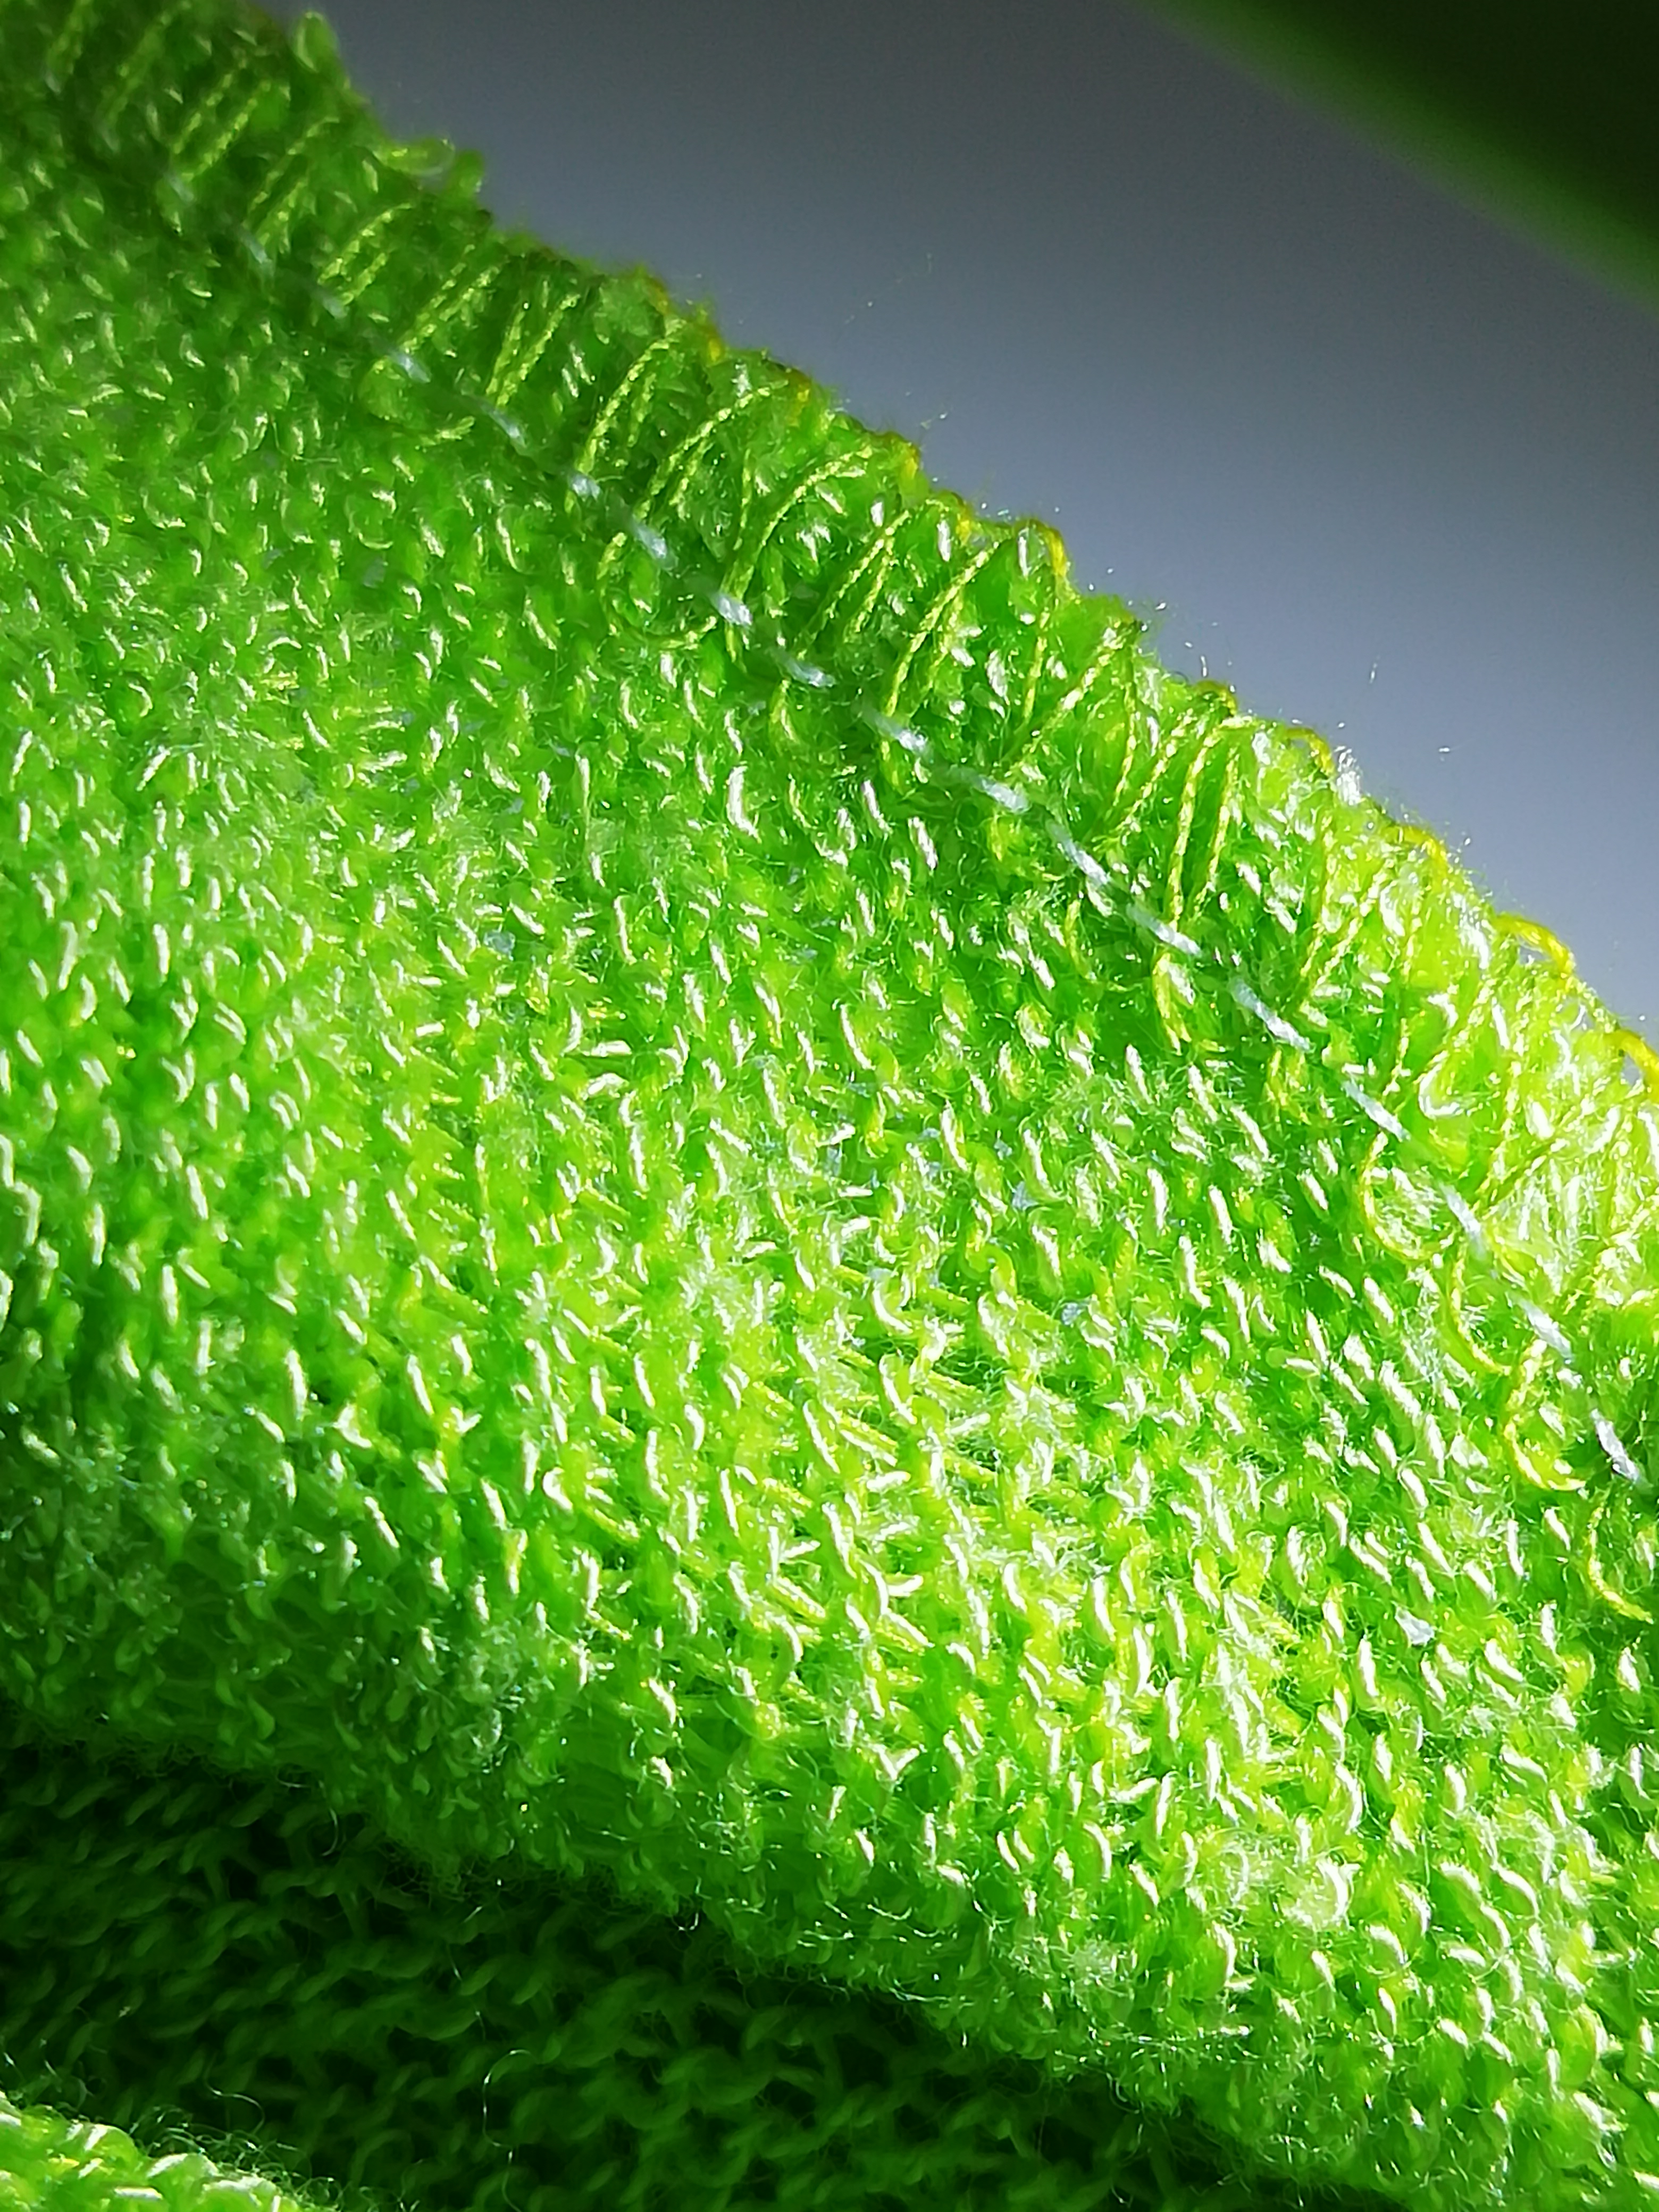
This is an otherwise lovely green shirt in a lightweight cotton blend knit. It’s been sitting in my drawer for about three years.
The Problem
This garment has two problems. First, it’s a California-weight sweater that’s pretty much unwearable on its own in Scotland. And then there are the bat wings.
I can’t do anything about the weight, but I can remove the bat wings, and I will.
The Challenge
To turn The Thing that Came From the ‘80s into a shirt that fits well and looks nice, even if I have to wear it under a sweater.
My Tools
Fortunately, you don’t need a lot of special equipment for this one. But you will need some patience.
Iron
Precision is important, especially since you’ll be making your own pattern. You’ll need to use an iron to make your seams crisp.
Paper and Pencil for Pattern-Making
Writing books can generate a lot of waste paper, so I always have some lying around. I like to re-use it for making patterns.
However, there are some distinct disadvantages to doing this. First, taping the sheets together uses quite a bit of tape, which can be expensive. Also, if you fold your pattern after using it again, then try to iron it, the tape can melt and leave you with another type of mess.
If you’re intending to use your pattern again, you’d do well to invest in proper pattern paper.
Ruler
Any ruler will do, of course, but I love my clear sewing ruler.
Dressmaking Pins
Next to an iron, sewing pins are your best friend for precision and stability.
Tailor Chalk
Full disclosure: I often use a pen when I know the marks won’t matter. But when the marks will matter, tailor chalk is another inexpensive frustration-saver.
Your Sewing Machine
Because this is a stretchy knit, I used my Pfaff Hobbylock 2.0 serger.
A serger is a type of sewing machine that does exclusively seams and edges. It uses multiple threads and needles to make secure, closed seams. It’s especially good for securing fabrics like this loose knit, which fray very easily.
Sergers are also made to deal with sometimes-tricky stretch and knit fabrics. This is because of a feature called differential feed, which allows you to increase or decrease the degree to which your machine stretches the fabric during sewing.
This, in turn, can help you to avoid fabric puckering and distortion, and to make perfectly flat, even seams.
You can, of course, use a regular sewing machine, though you may have to compensate for the stretch in other ways.
Bye Bye Batwings, Step By Step
Right. Let’s do this thing.
Step 1: Find Your Top Model
So, you don’t want a shirt shaped like that. The question is, what kind of shape do you want?
I took one of my favorite shirts that fits *just right* to use as the model. When choosing your model garment, it’s important to make certain that the shirt you’re altering and your model shirt are made from similar fabrics. Check the following:
- Knit vs. Woven
- Amount of stretch
- Direction of stretch
- Is the fabric cut on the bias, grain, or crossgrain?
Although my Purple Shirt is a tighter knit than the Green Batwing Monstrosity, it, too, is a cotton/synthetic blend with a four-way stretch, so we’re good.
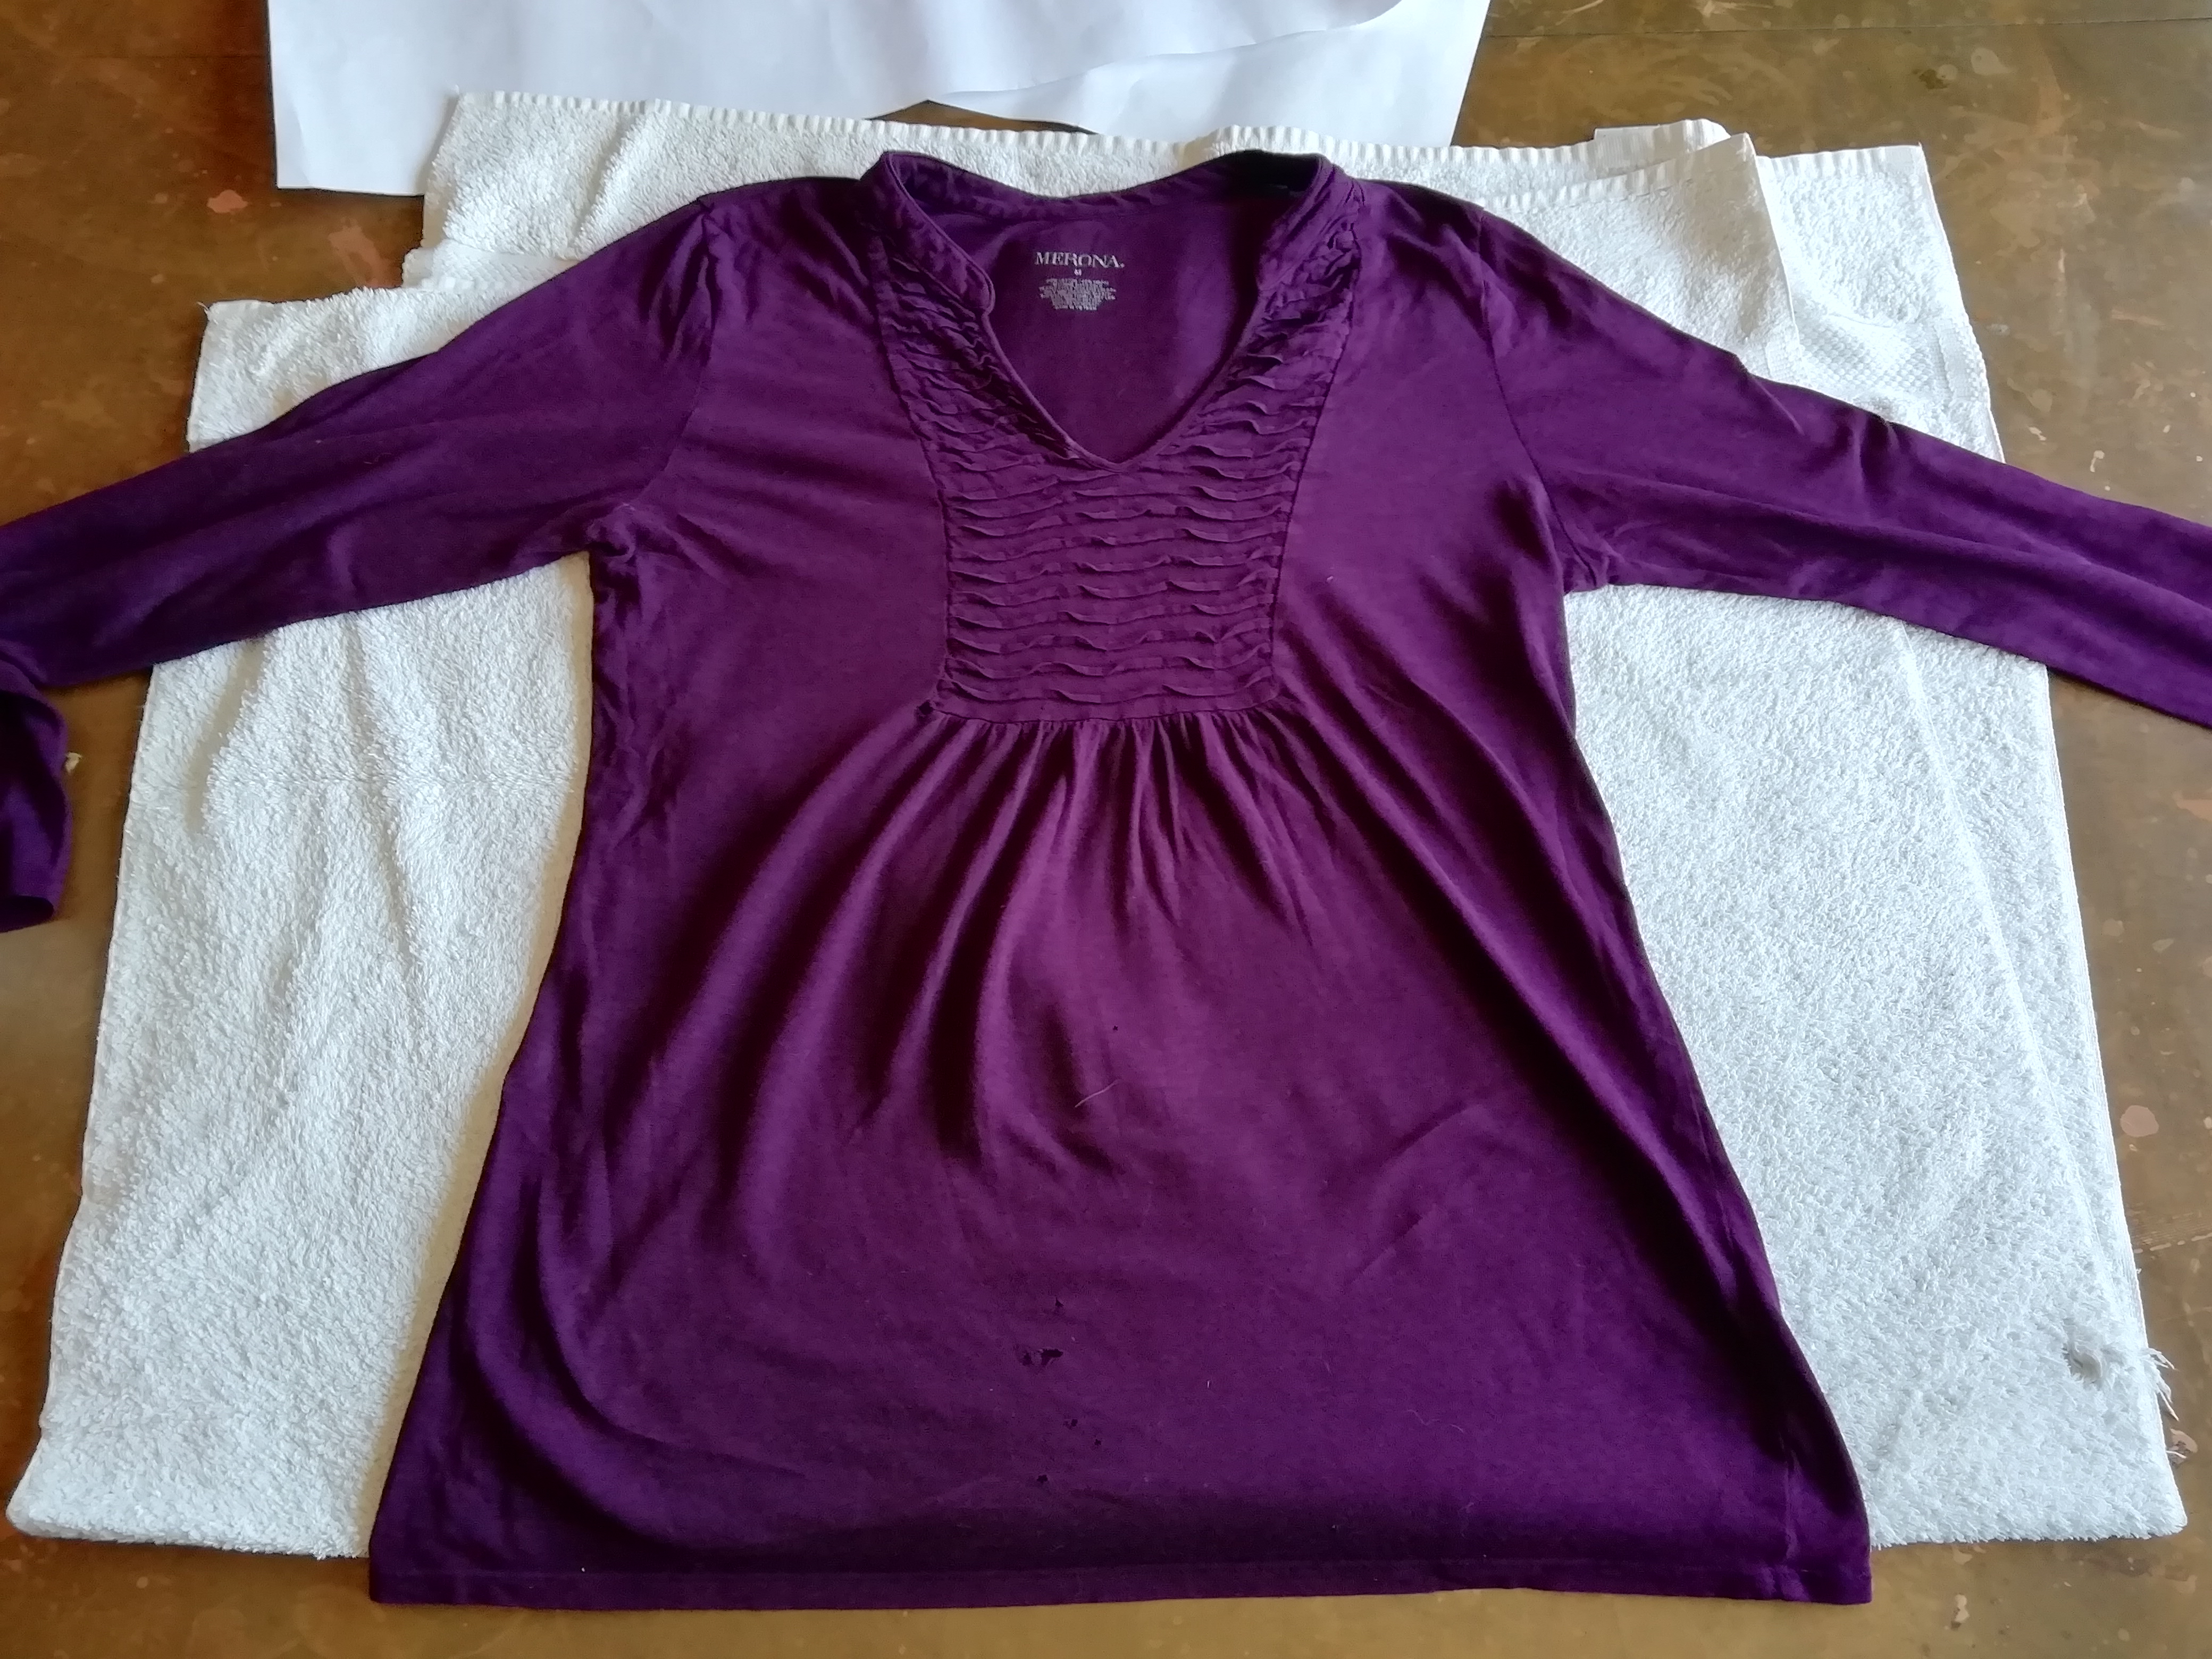
Ideally and for maximum precision, one should take the model shirt apart. But I didn’t want to do that. My Purple Shirt has been with me for a very long time, and as much as I love it, I’m not convinced that it would survive deconstruction.
So. I’m doing what a lot of people would probably consider an Inferior Solution. But needs must.
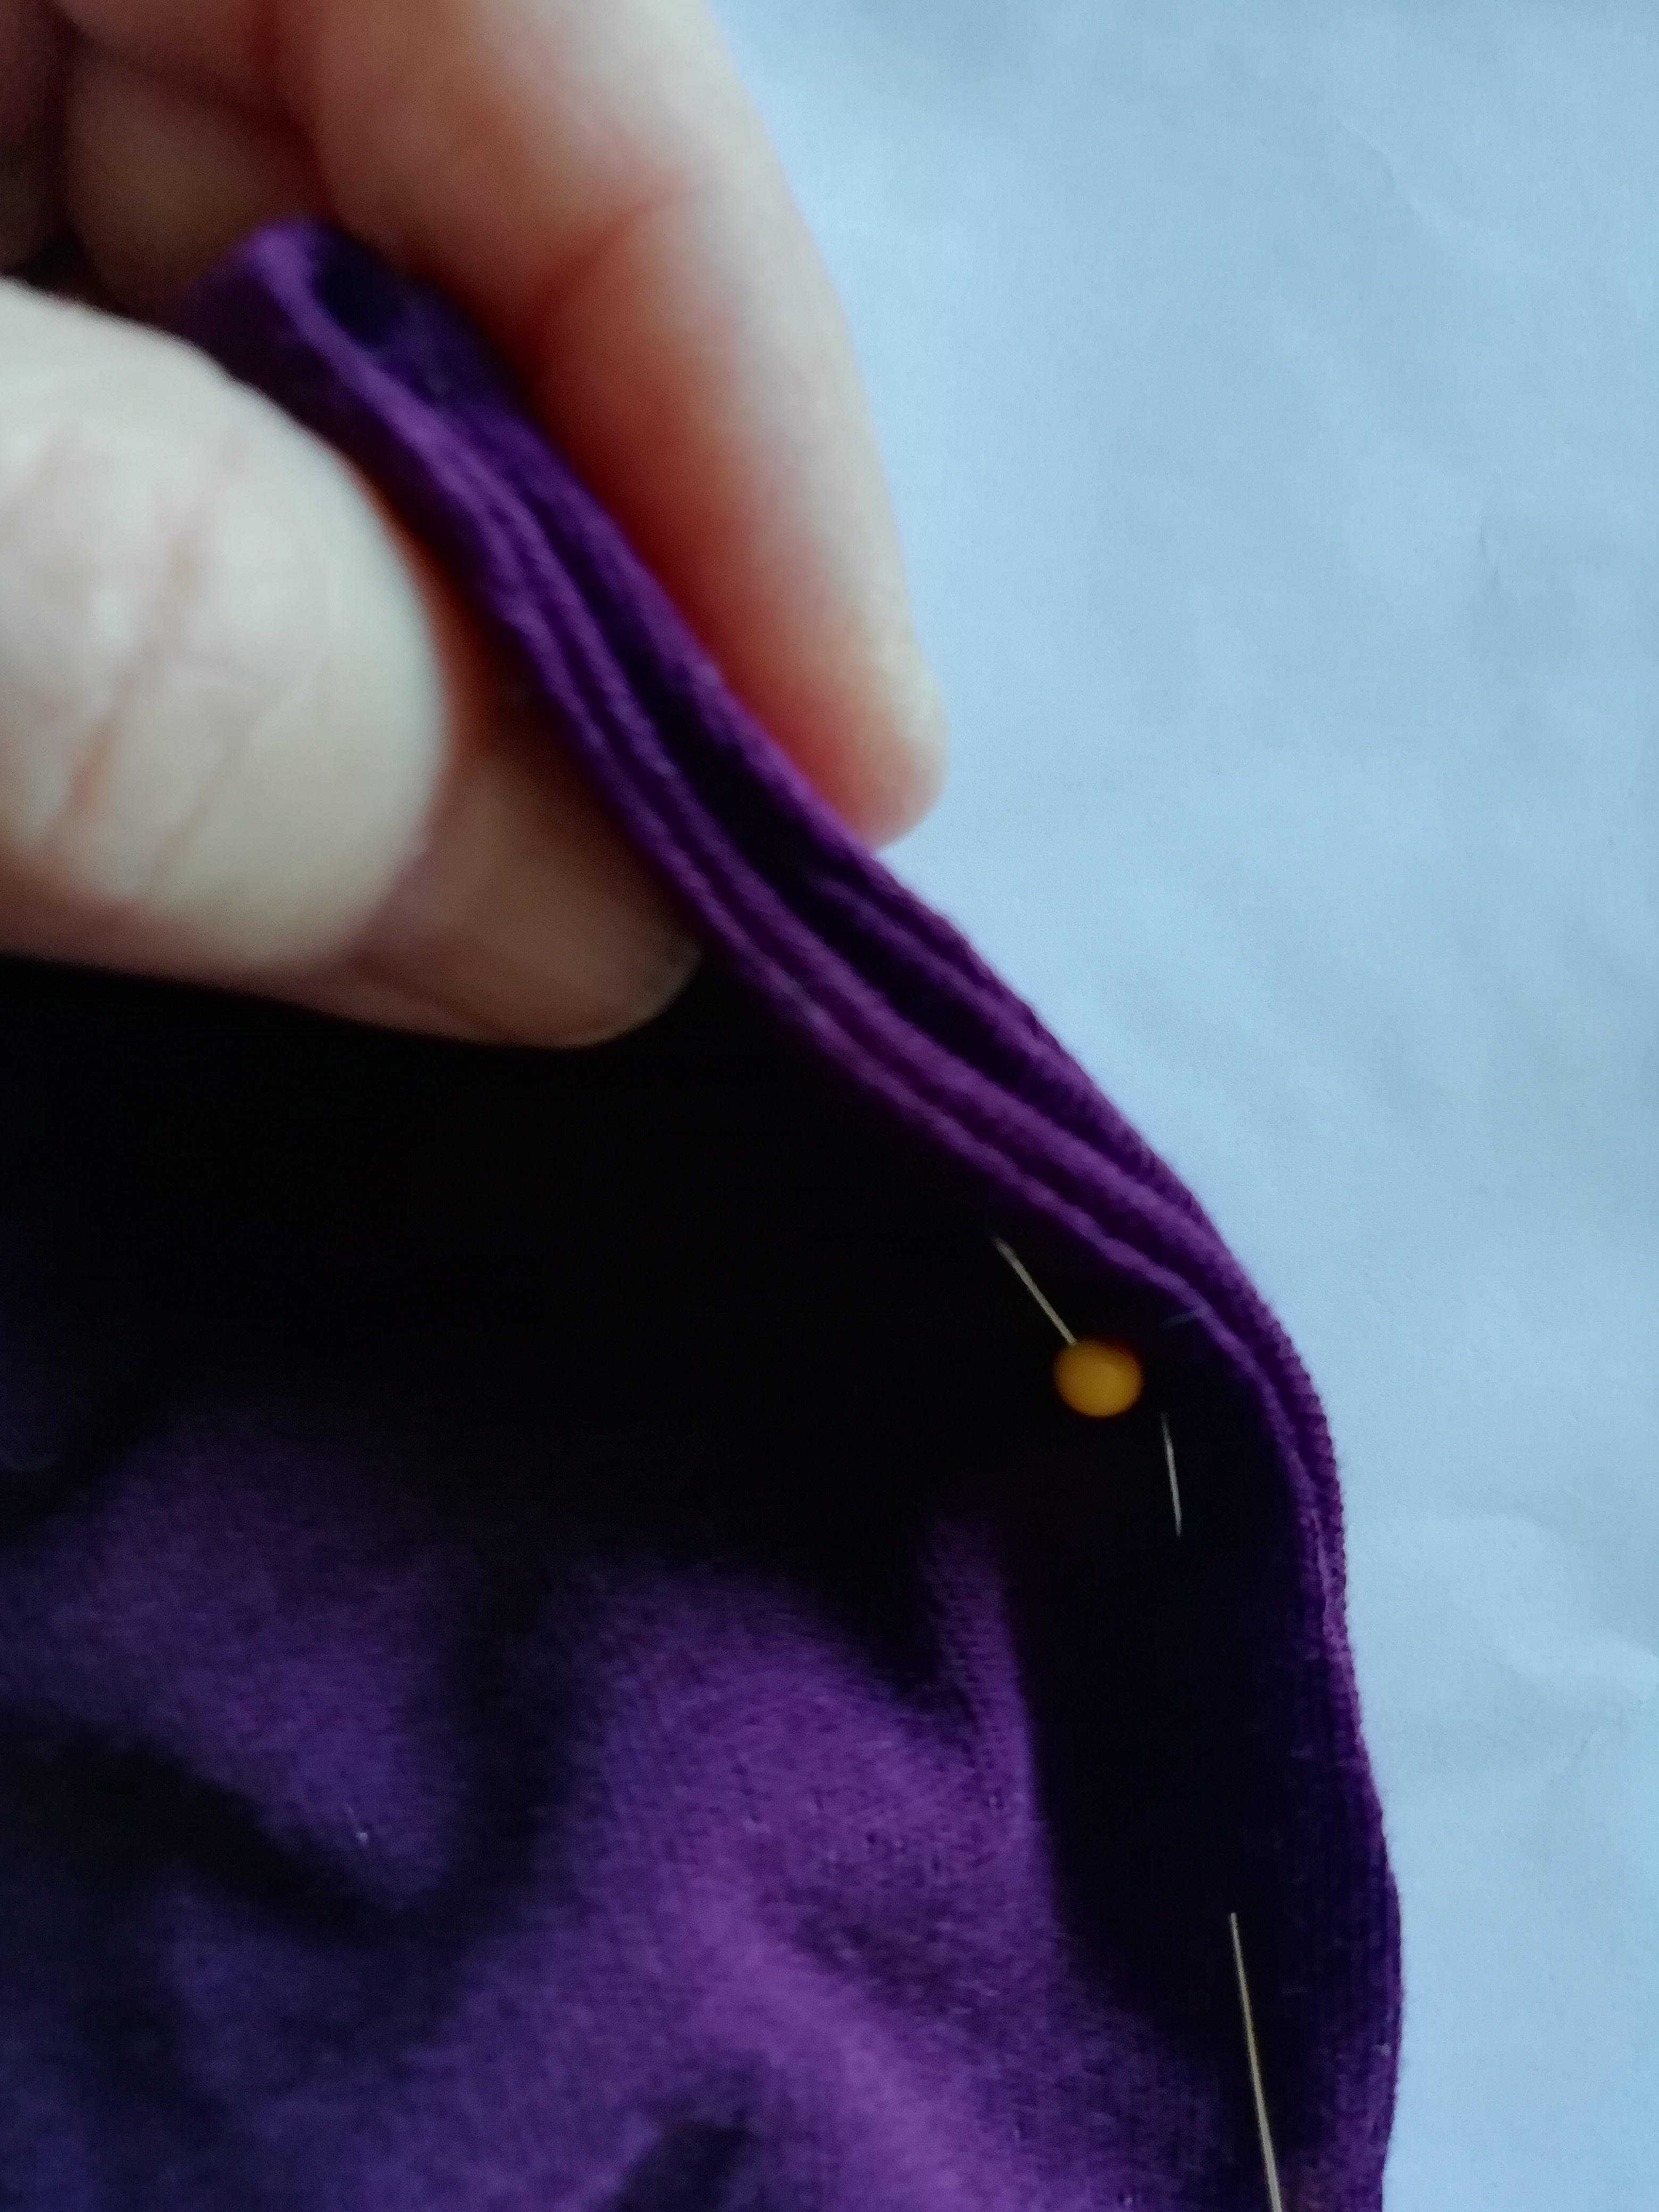
Step 2: Iron and Pin
You’re going to be making a pattern. Precision is paramount. So press those seams crisp and pin them for extra security if you think it’s warranted.

Fold the sleeves back into your model shirt. Press and pin so that you’re looking at the body pieces only. We’ll be dealing with the sleeves in a bit.
Step 3: Trace Your Pattern Pieces
Stop! Take a close look at the front and back pieces of your model shirt. Are they the same size? Are they the same shape? Sometimes they are not, and if you’re not careful, you could end up with a finished product that doesn’t look like you want it to.

Once you’ve finished the body piece(s), it’s time to do the sleeve. Turn the sleeve back out, and trace it as faithfully as you can. This might be a good point to jot down on that pattern piece where the fold will be, and to remind yourself that you’ll be cutting that piece on the fold.
Step 4: Mark Your Seam Allowance and Cut
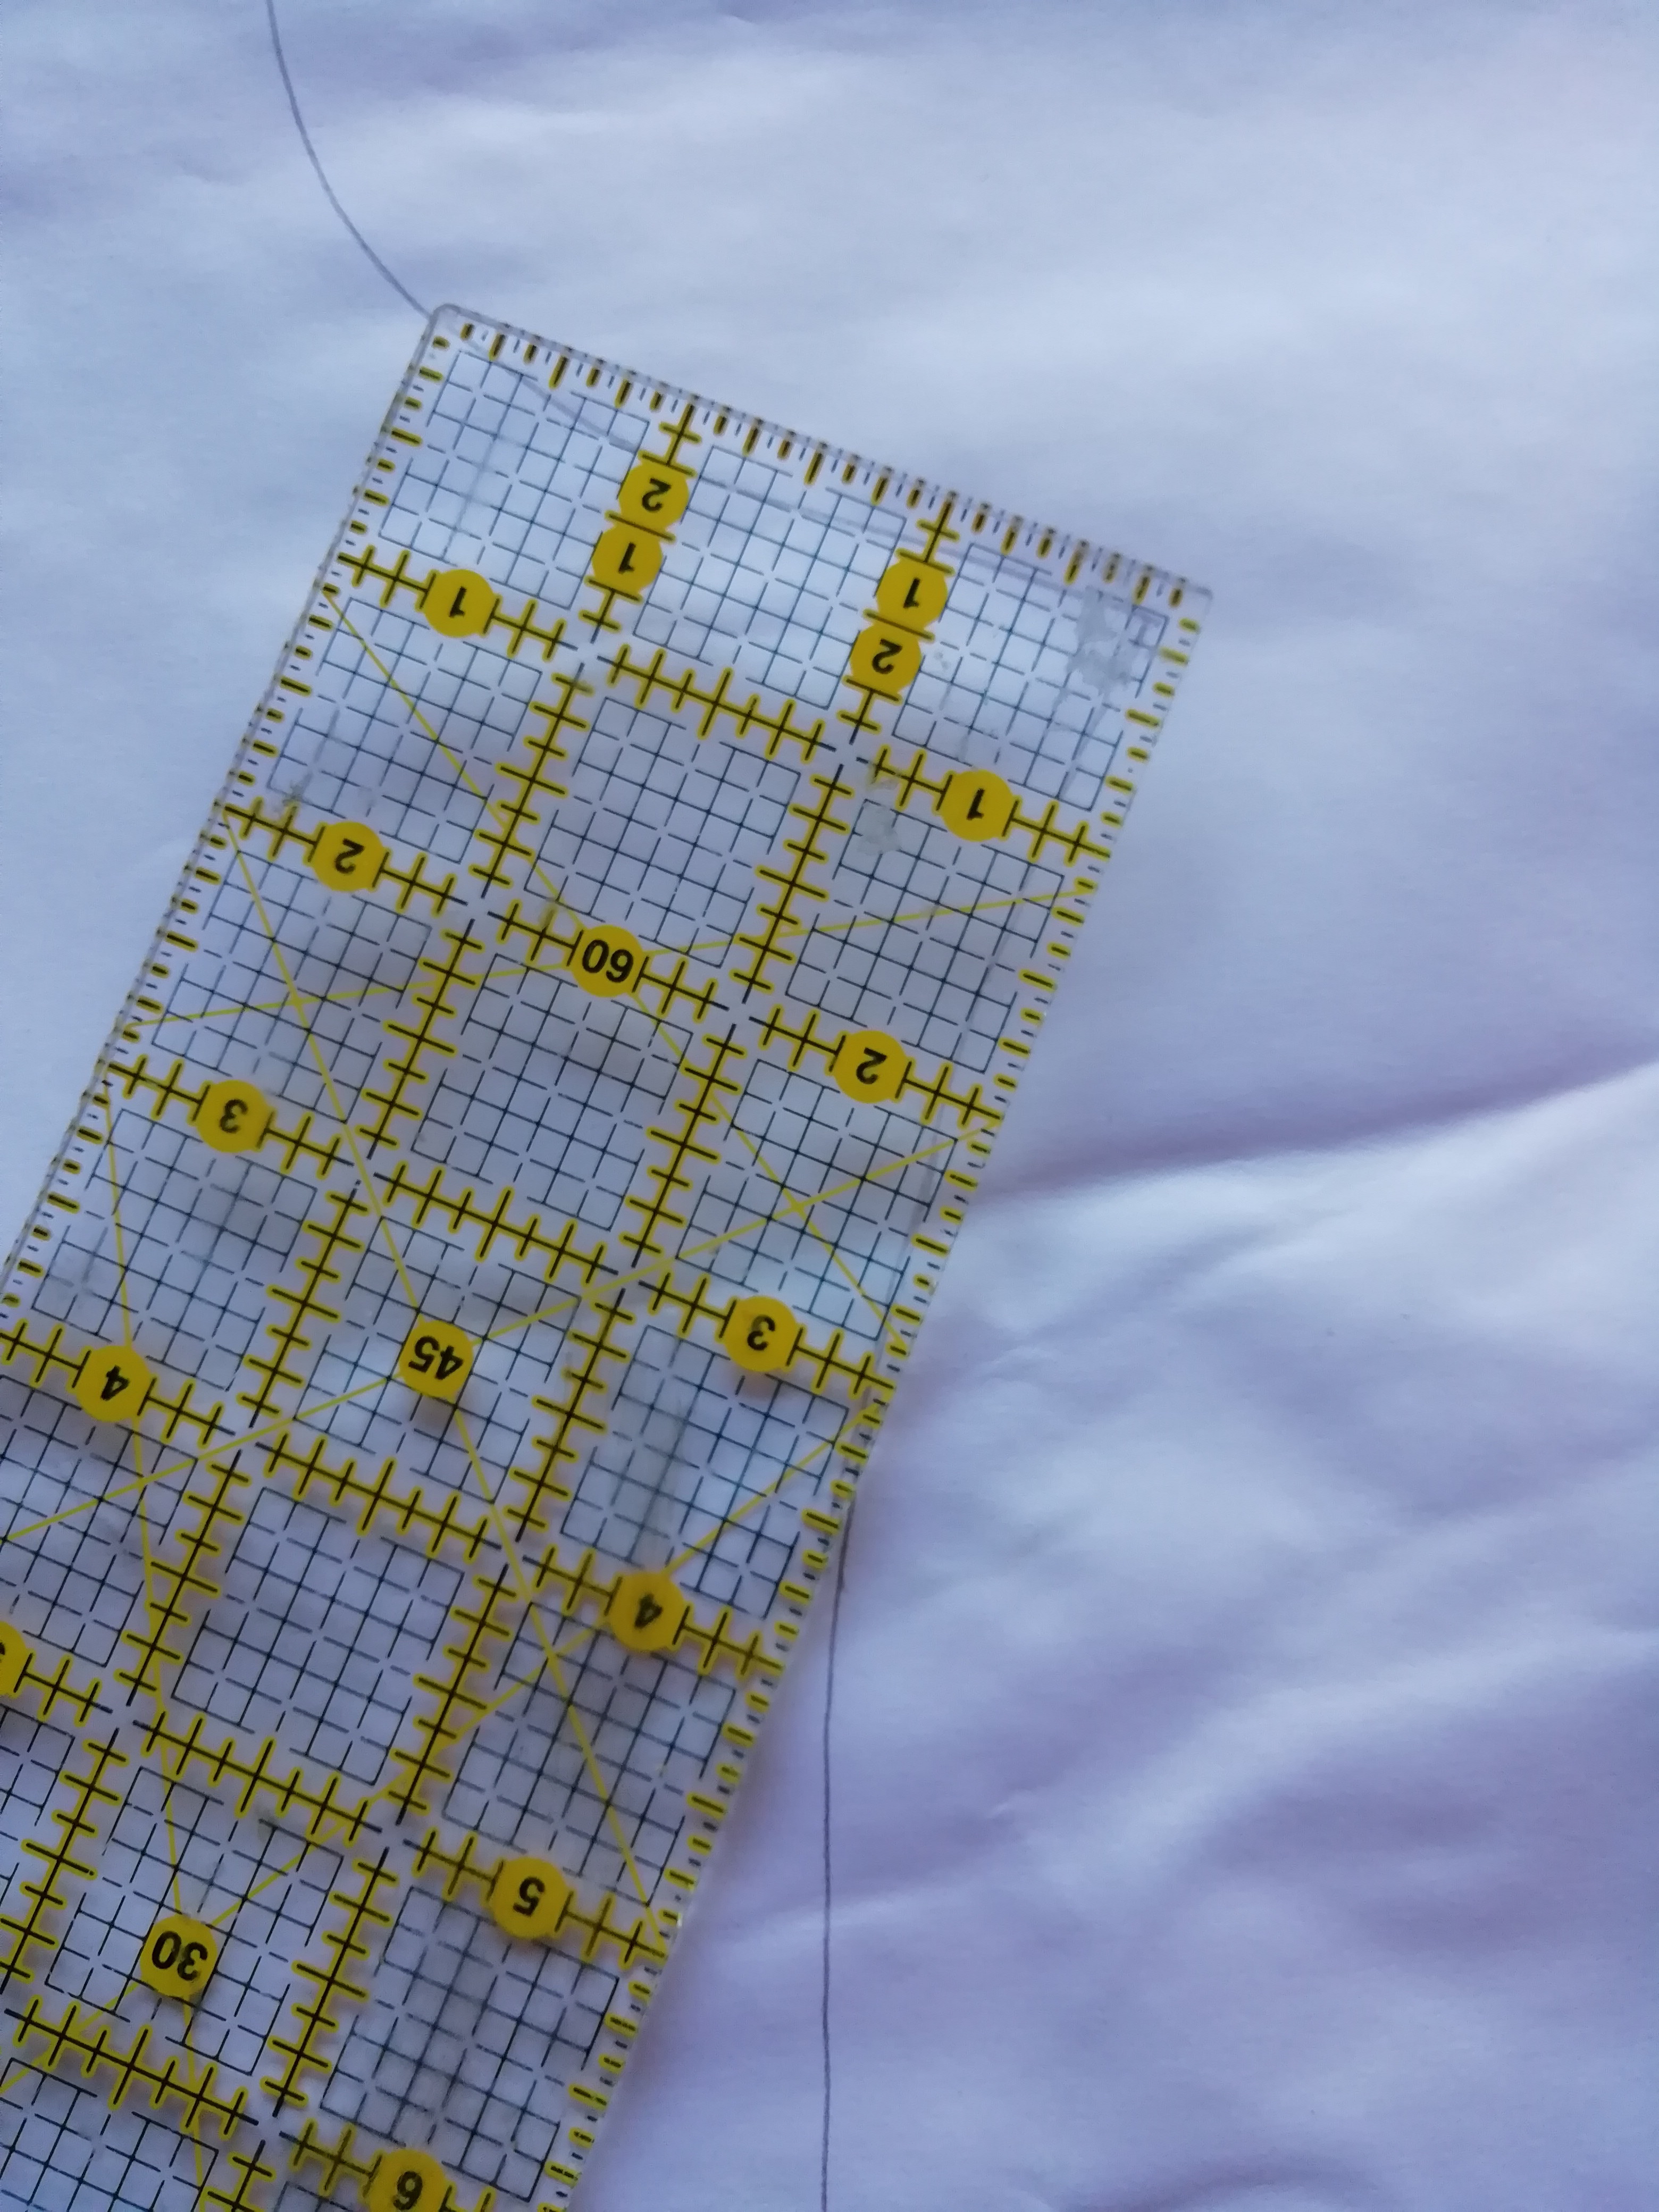
Now take your ruler and mark the seam allowance on all sides of your pieces. I like to work with a quarter inch seam allowance.
Now cut out your pattern pieces.
Step 5: Press Your Seams
Lay your batwing shirt out and press all of the seams flat.
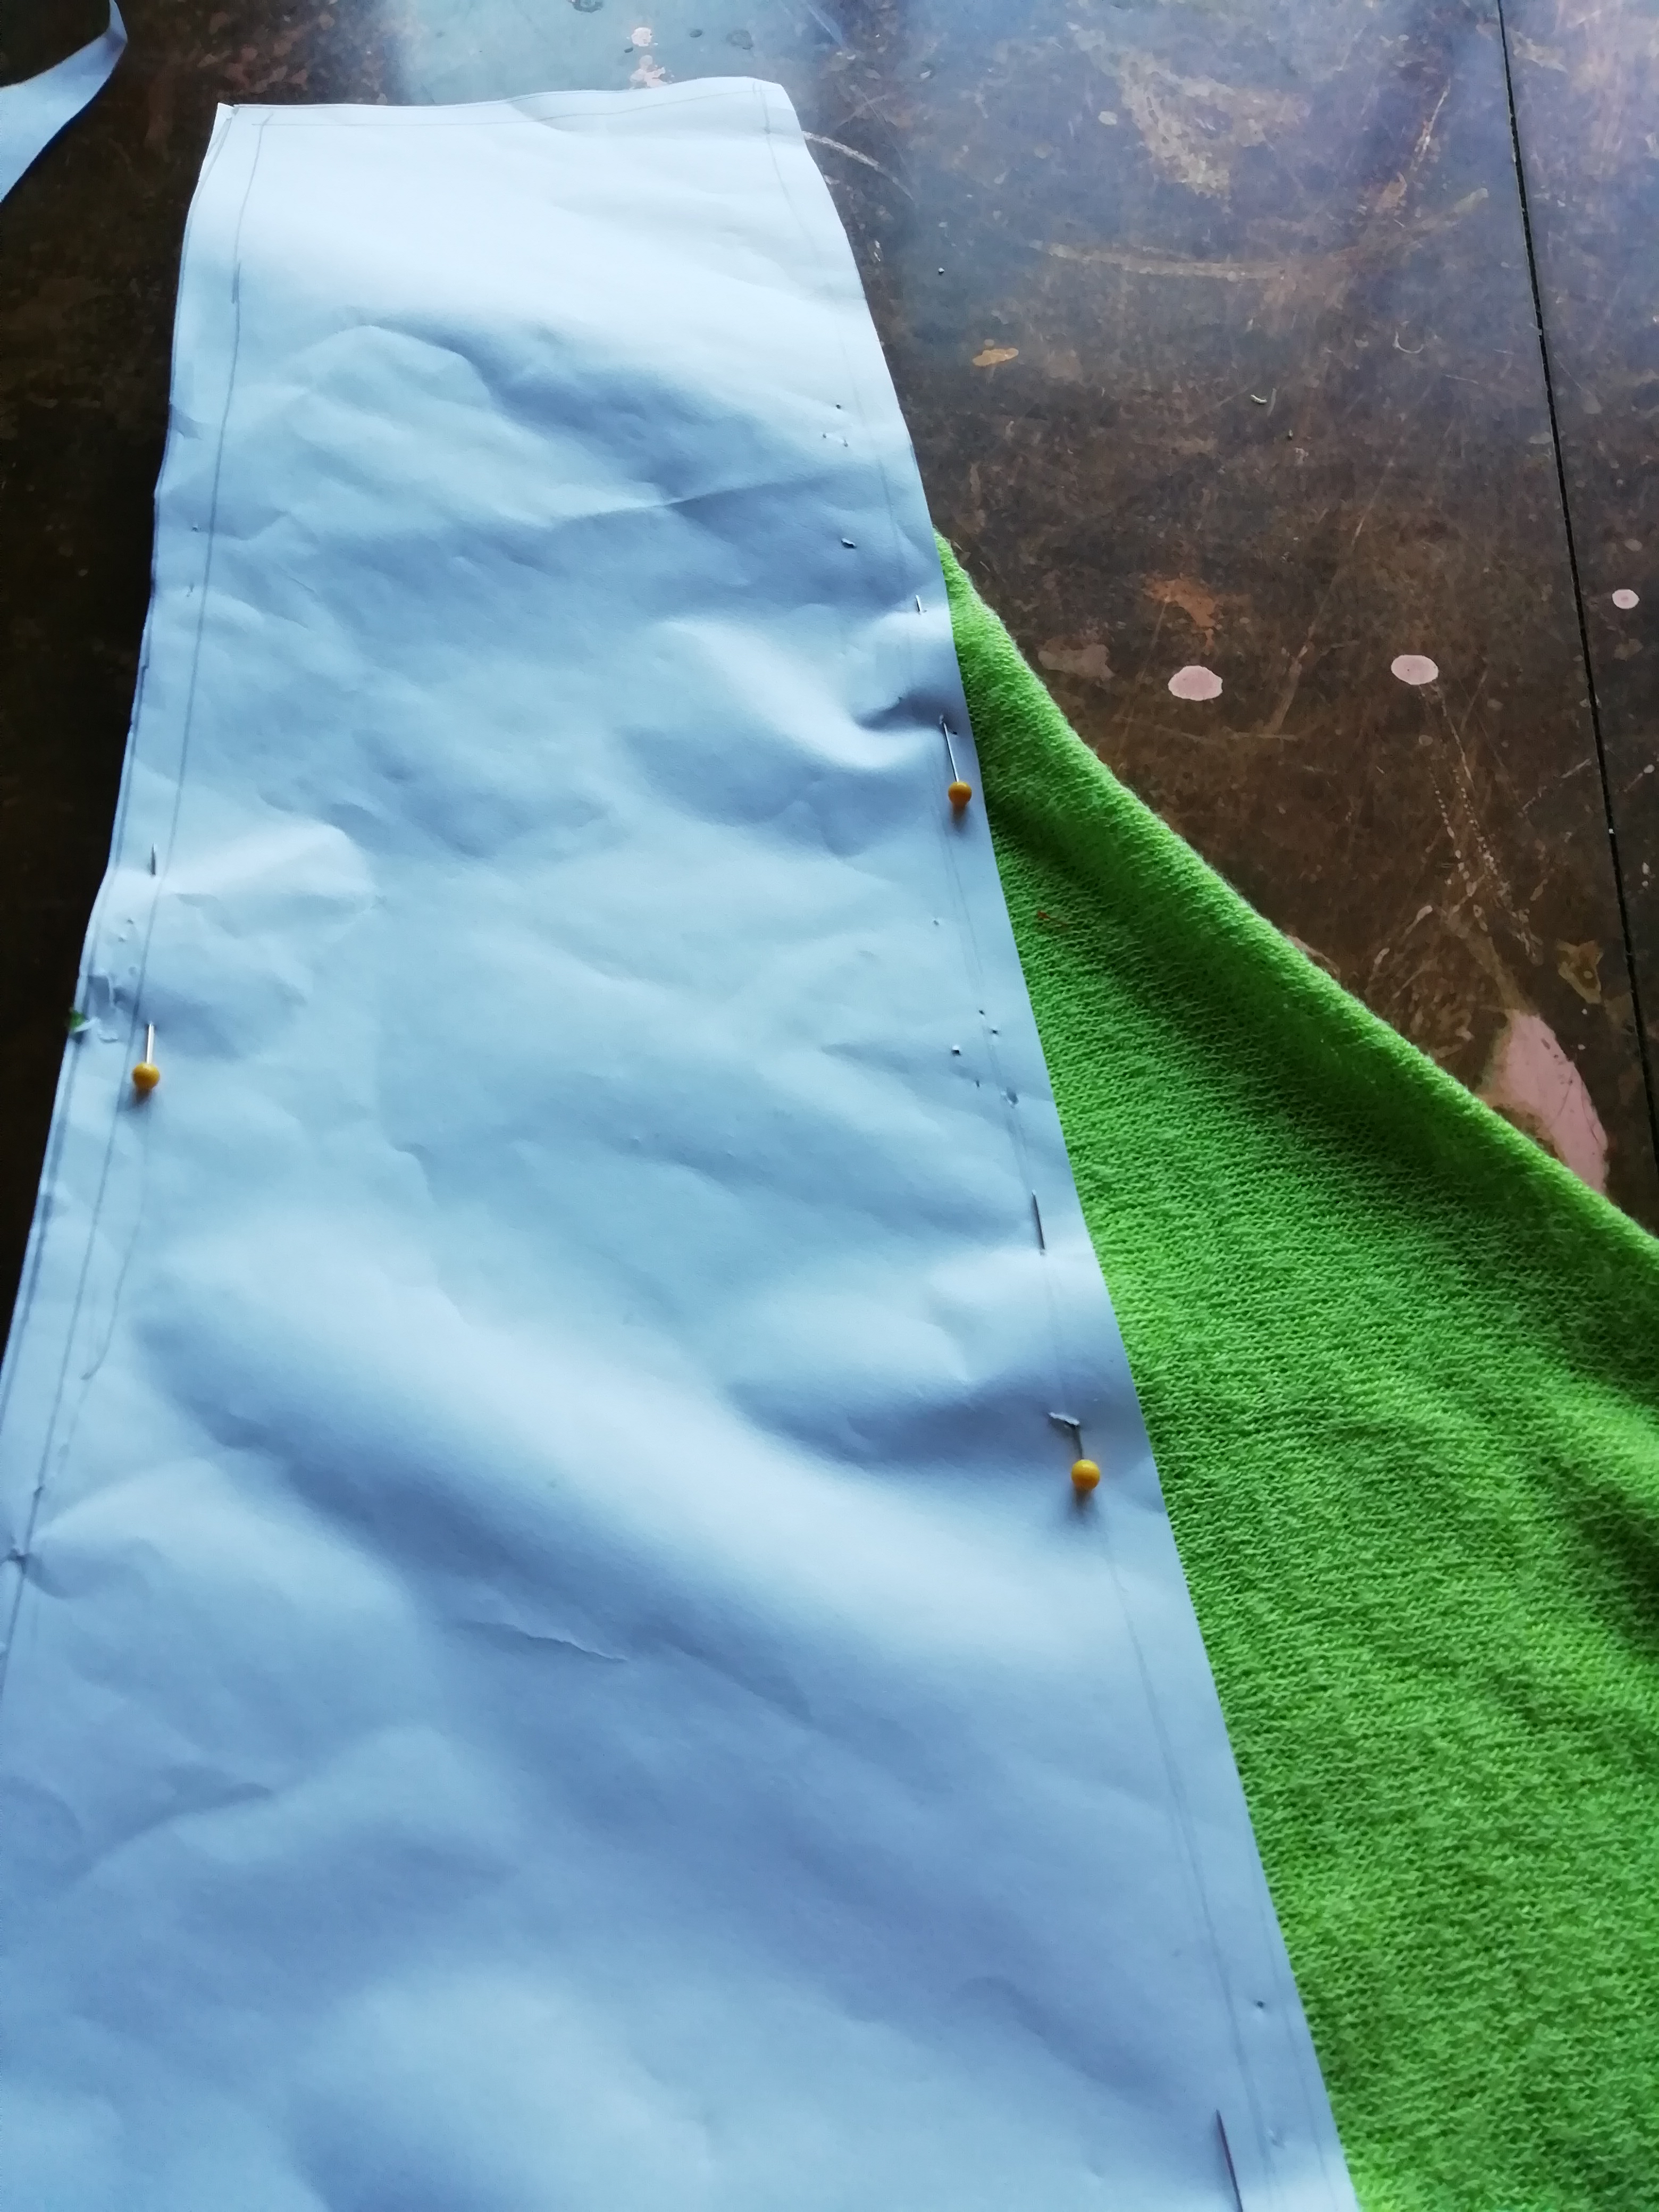
Step 6: Lay Out Your Pattern Pieces
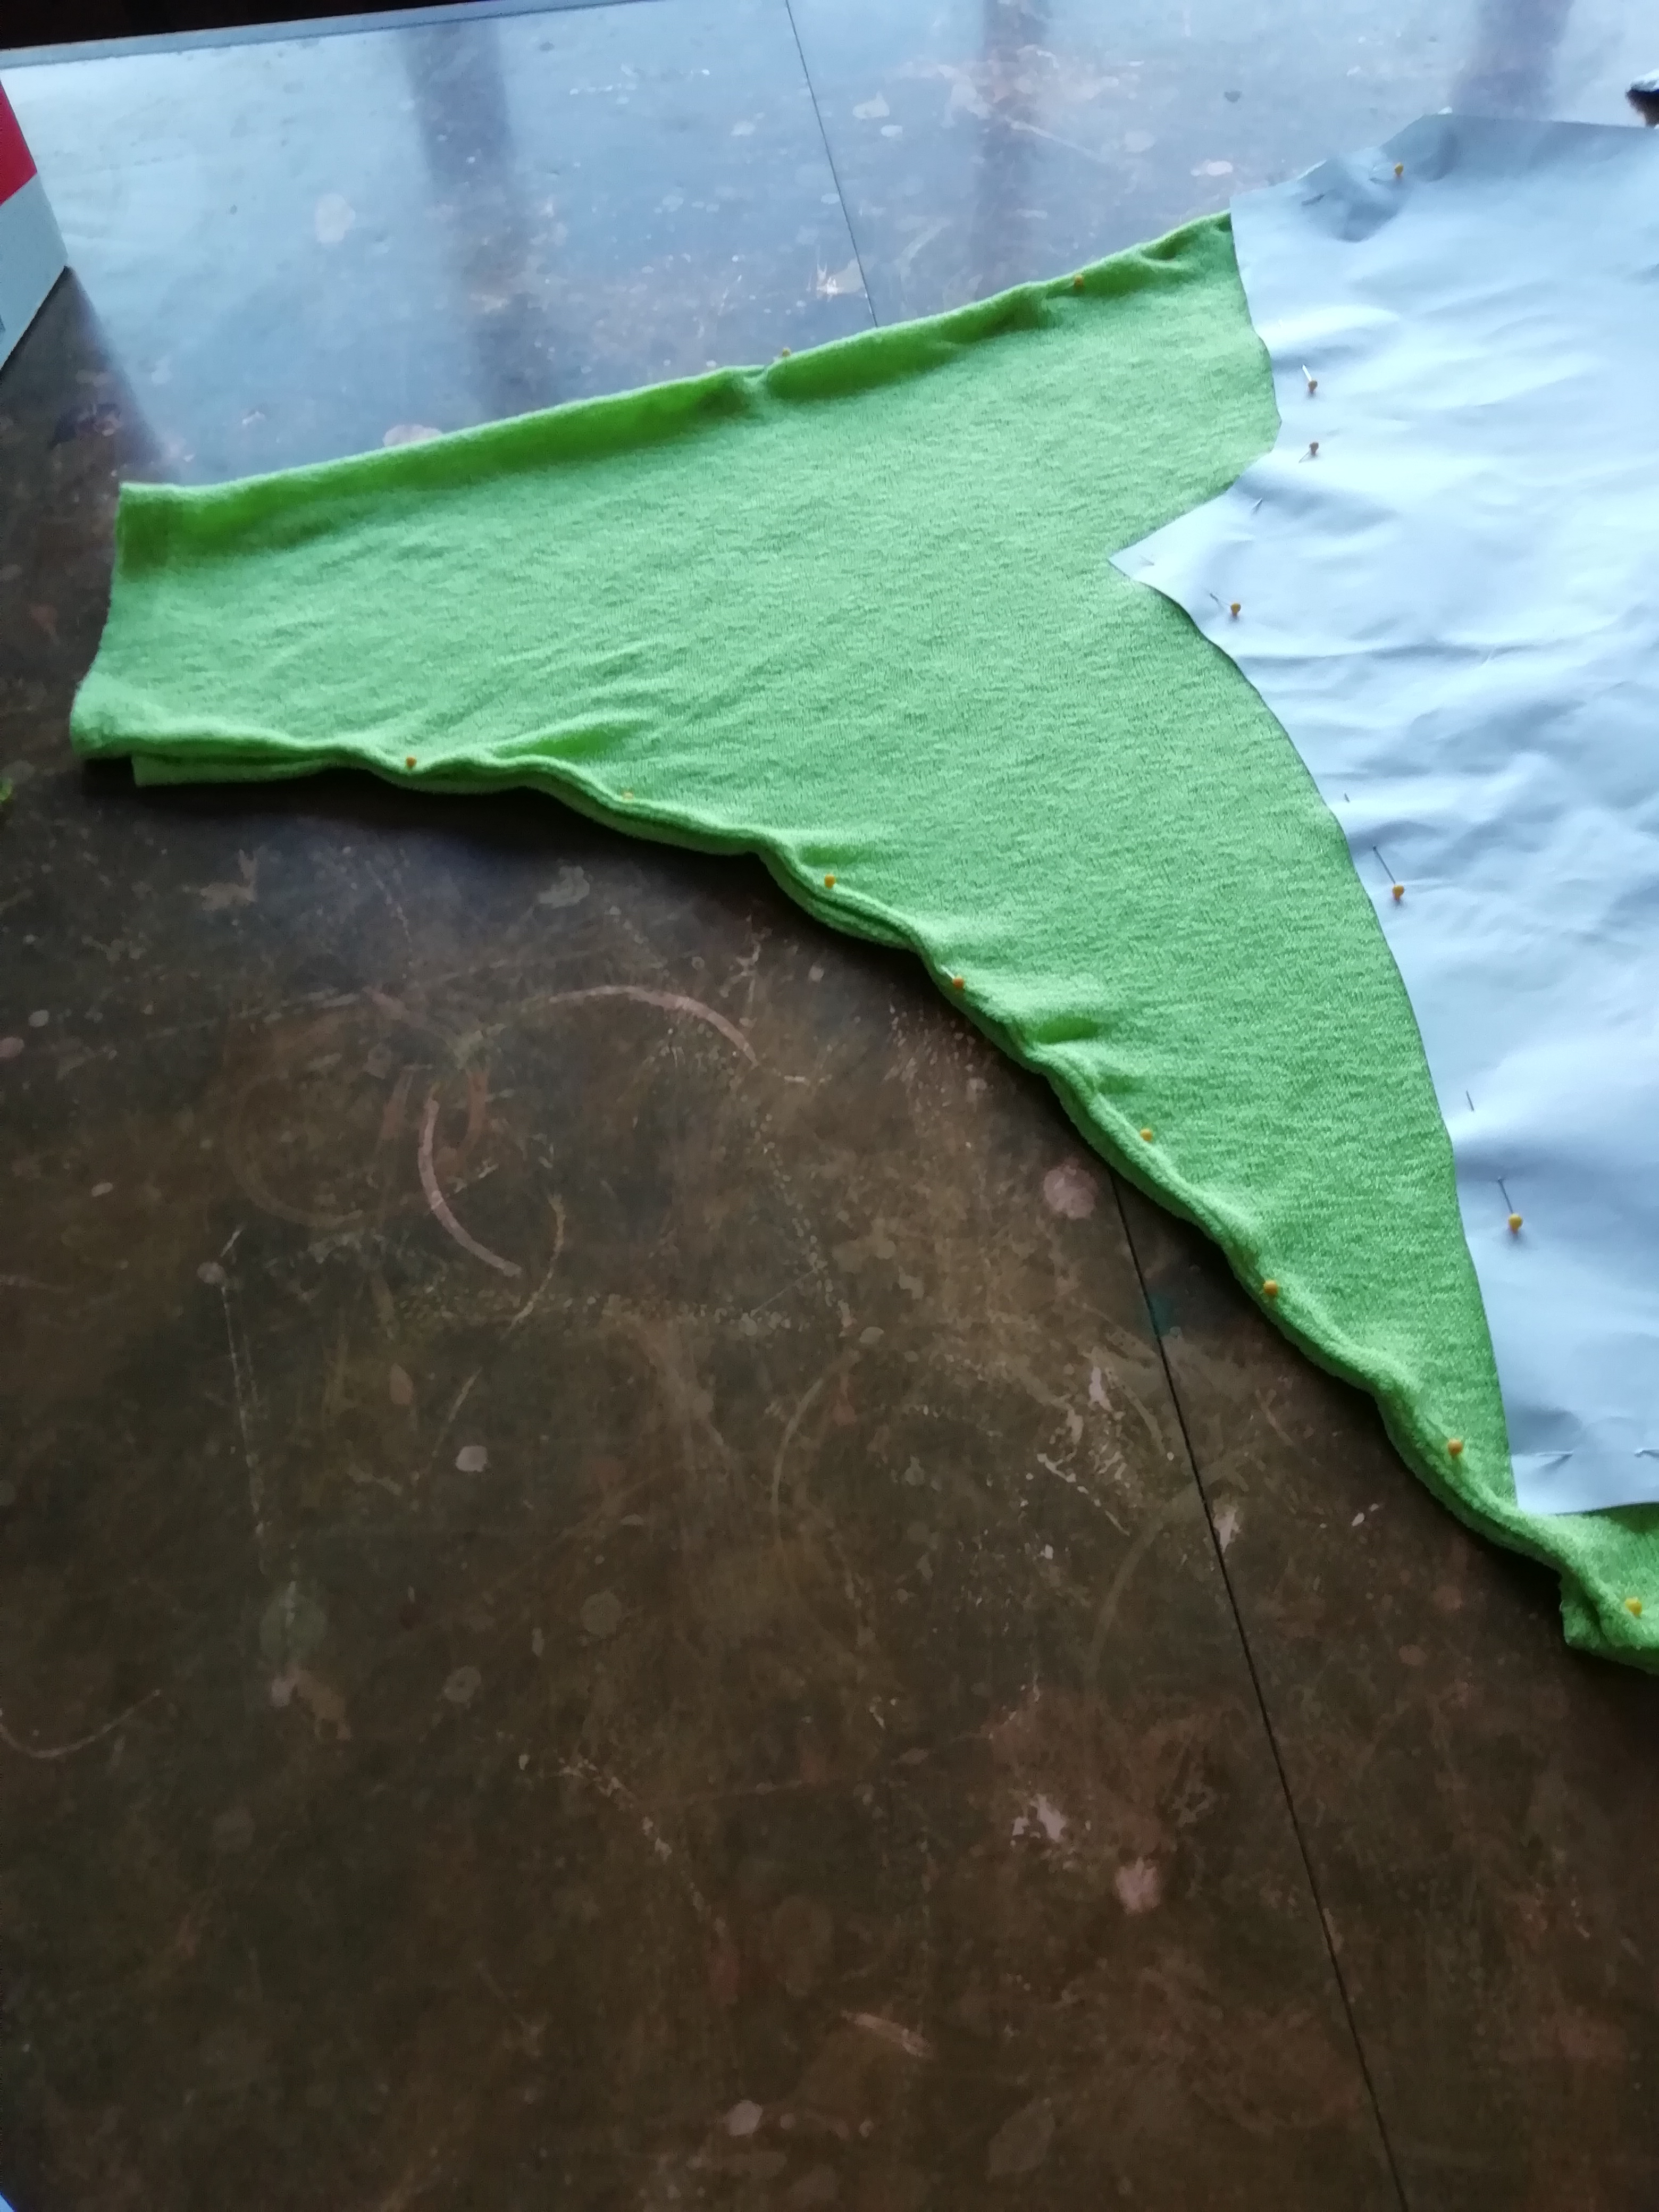
Take the pattern piece that you made for the body of your new shirt. Line it up with the shoulder seam and collar of your batwing top.
Once you have the pattern where you want it, pin the pieces in place.
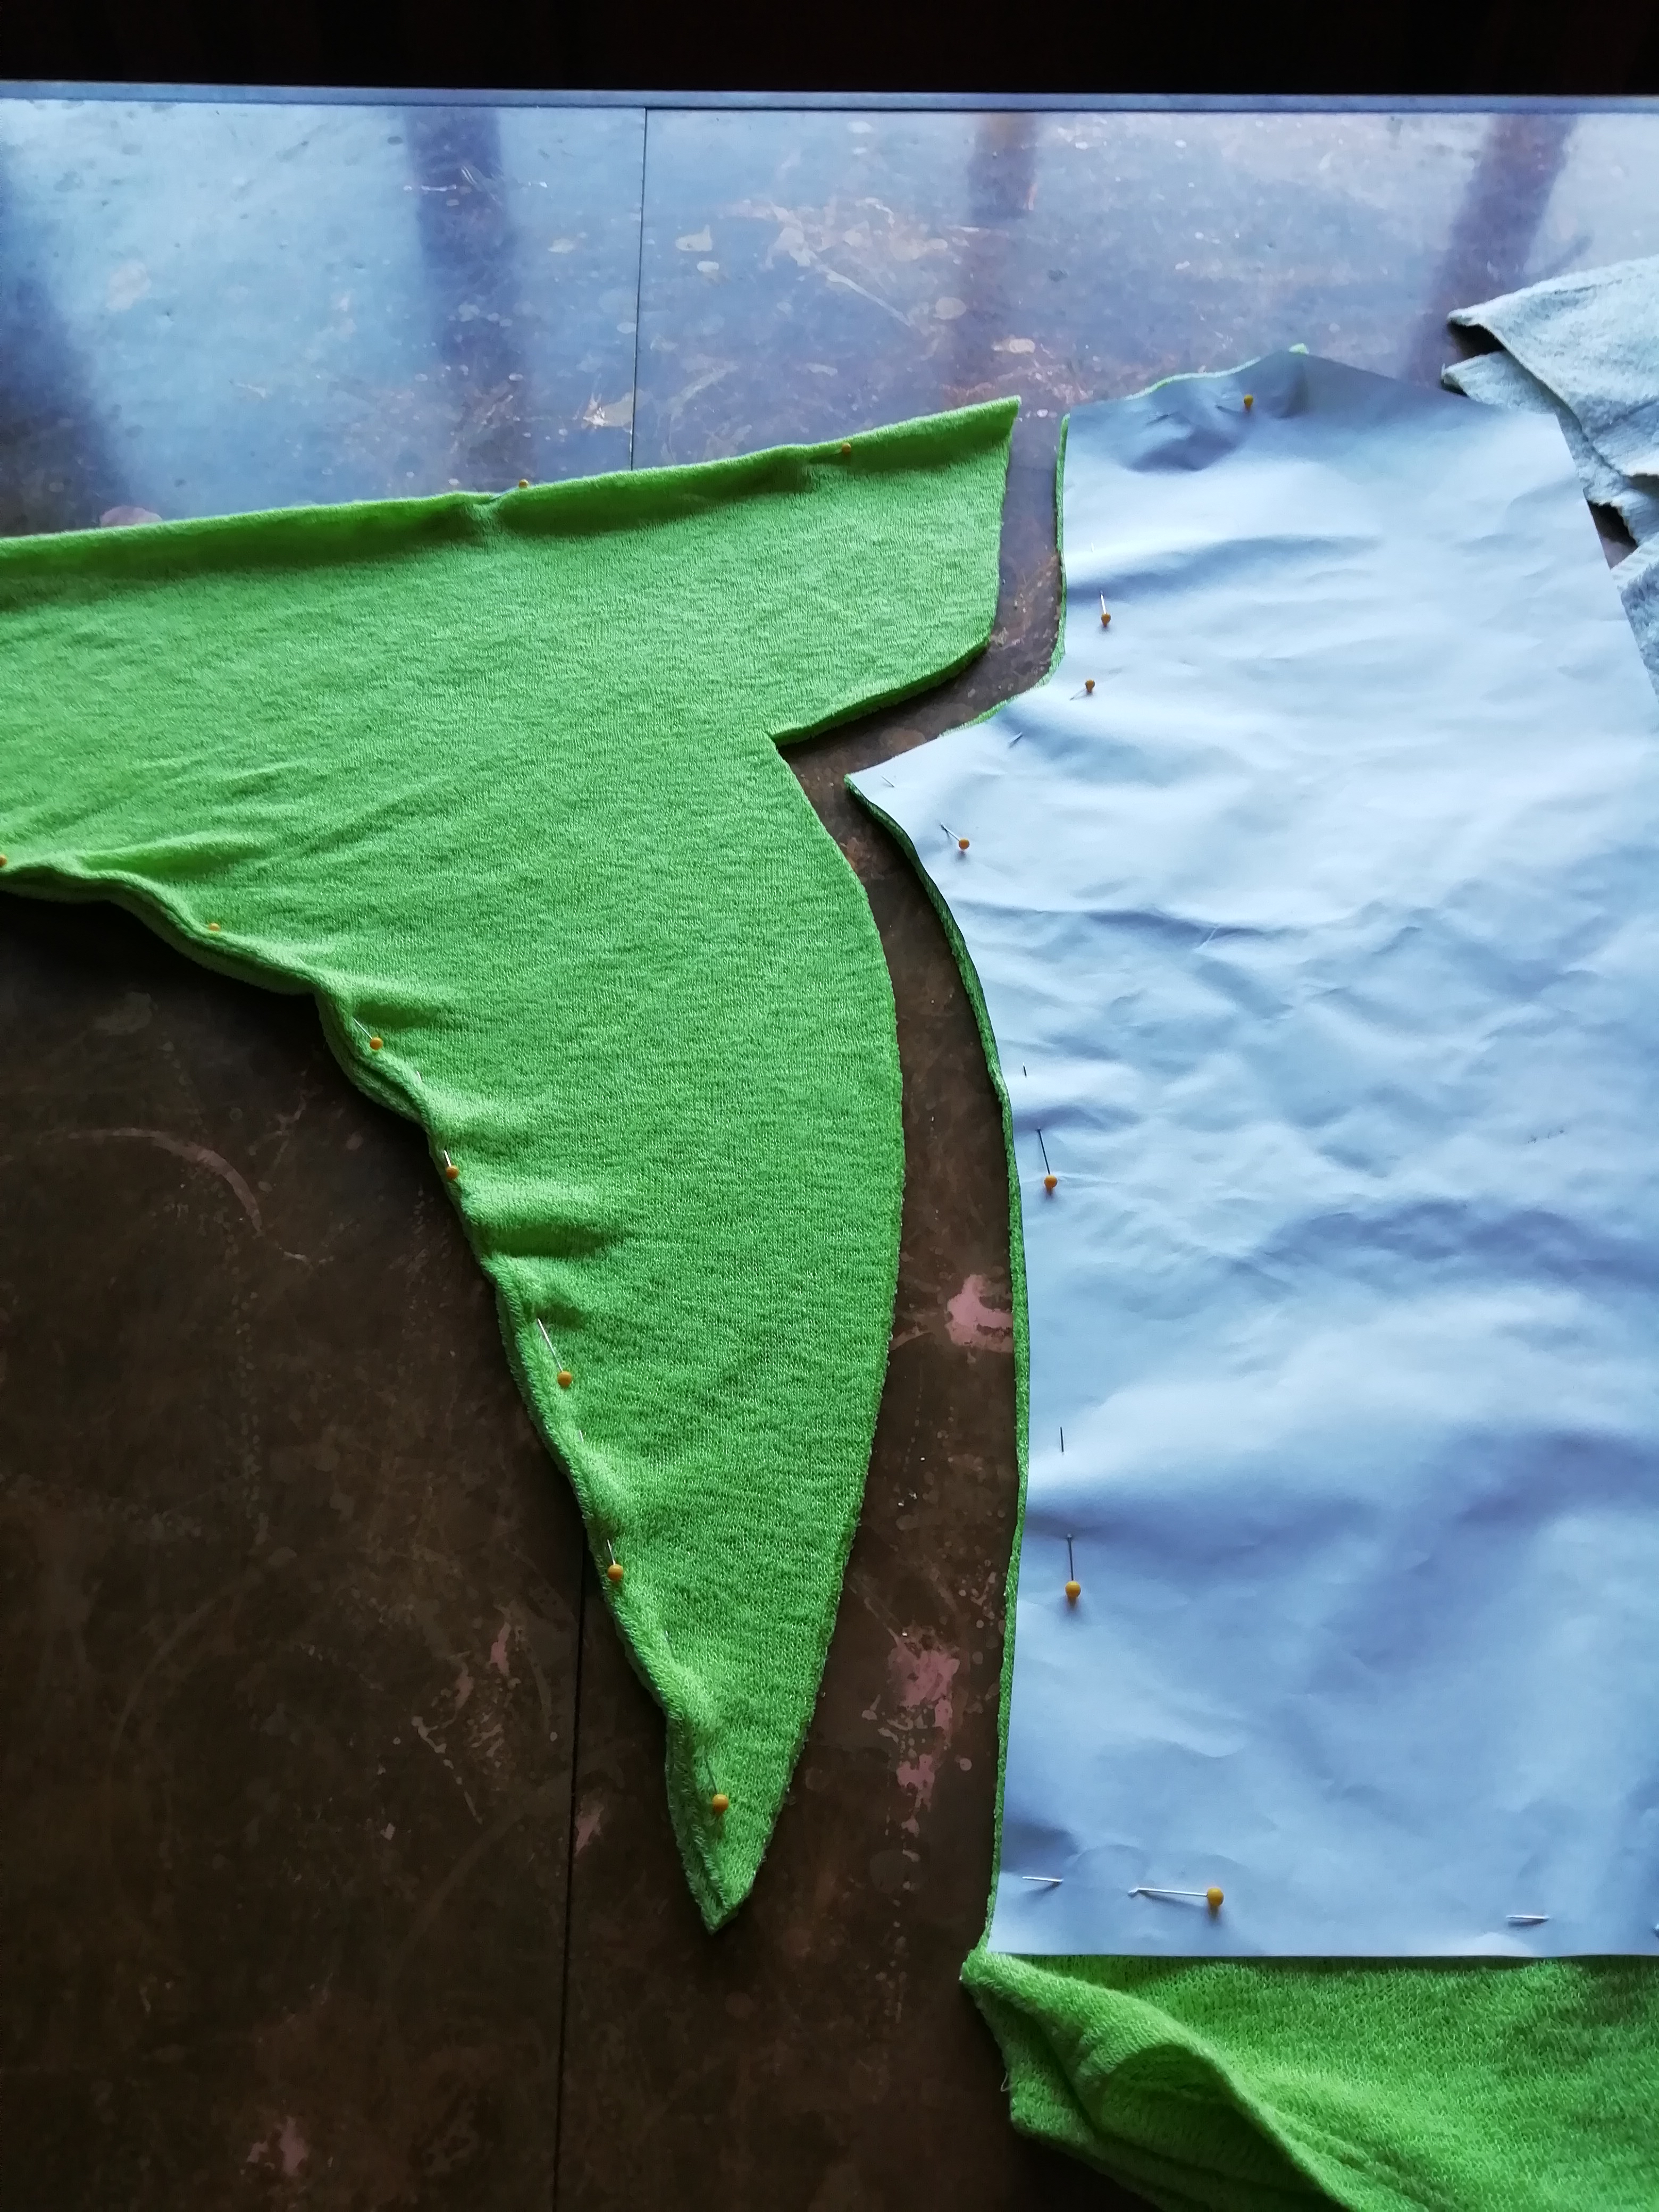
Step 7: OMG CUT
This is it. There’s no going back. It might be scary, but you’ve got to make that cut. Take a deep breath and do it. Just do it.
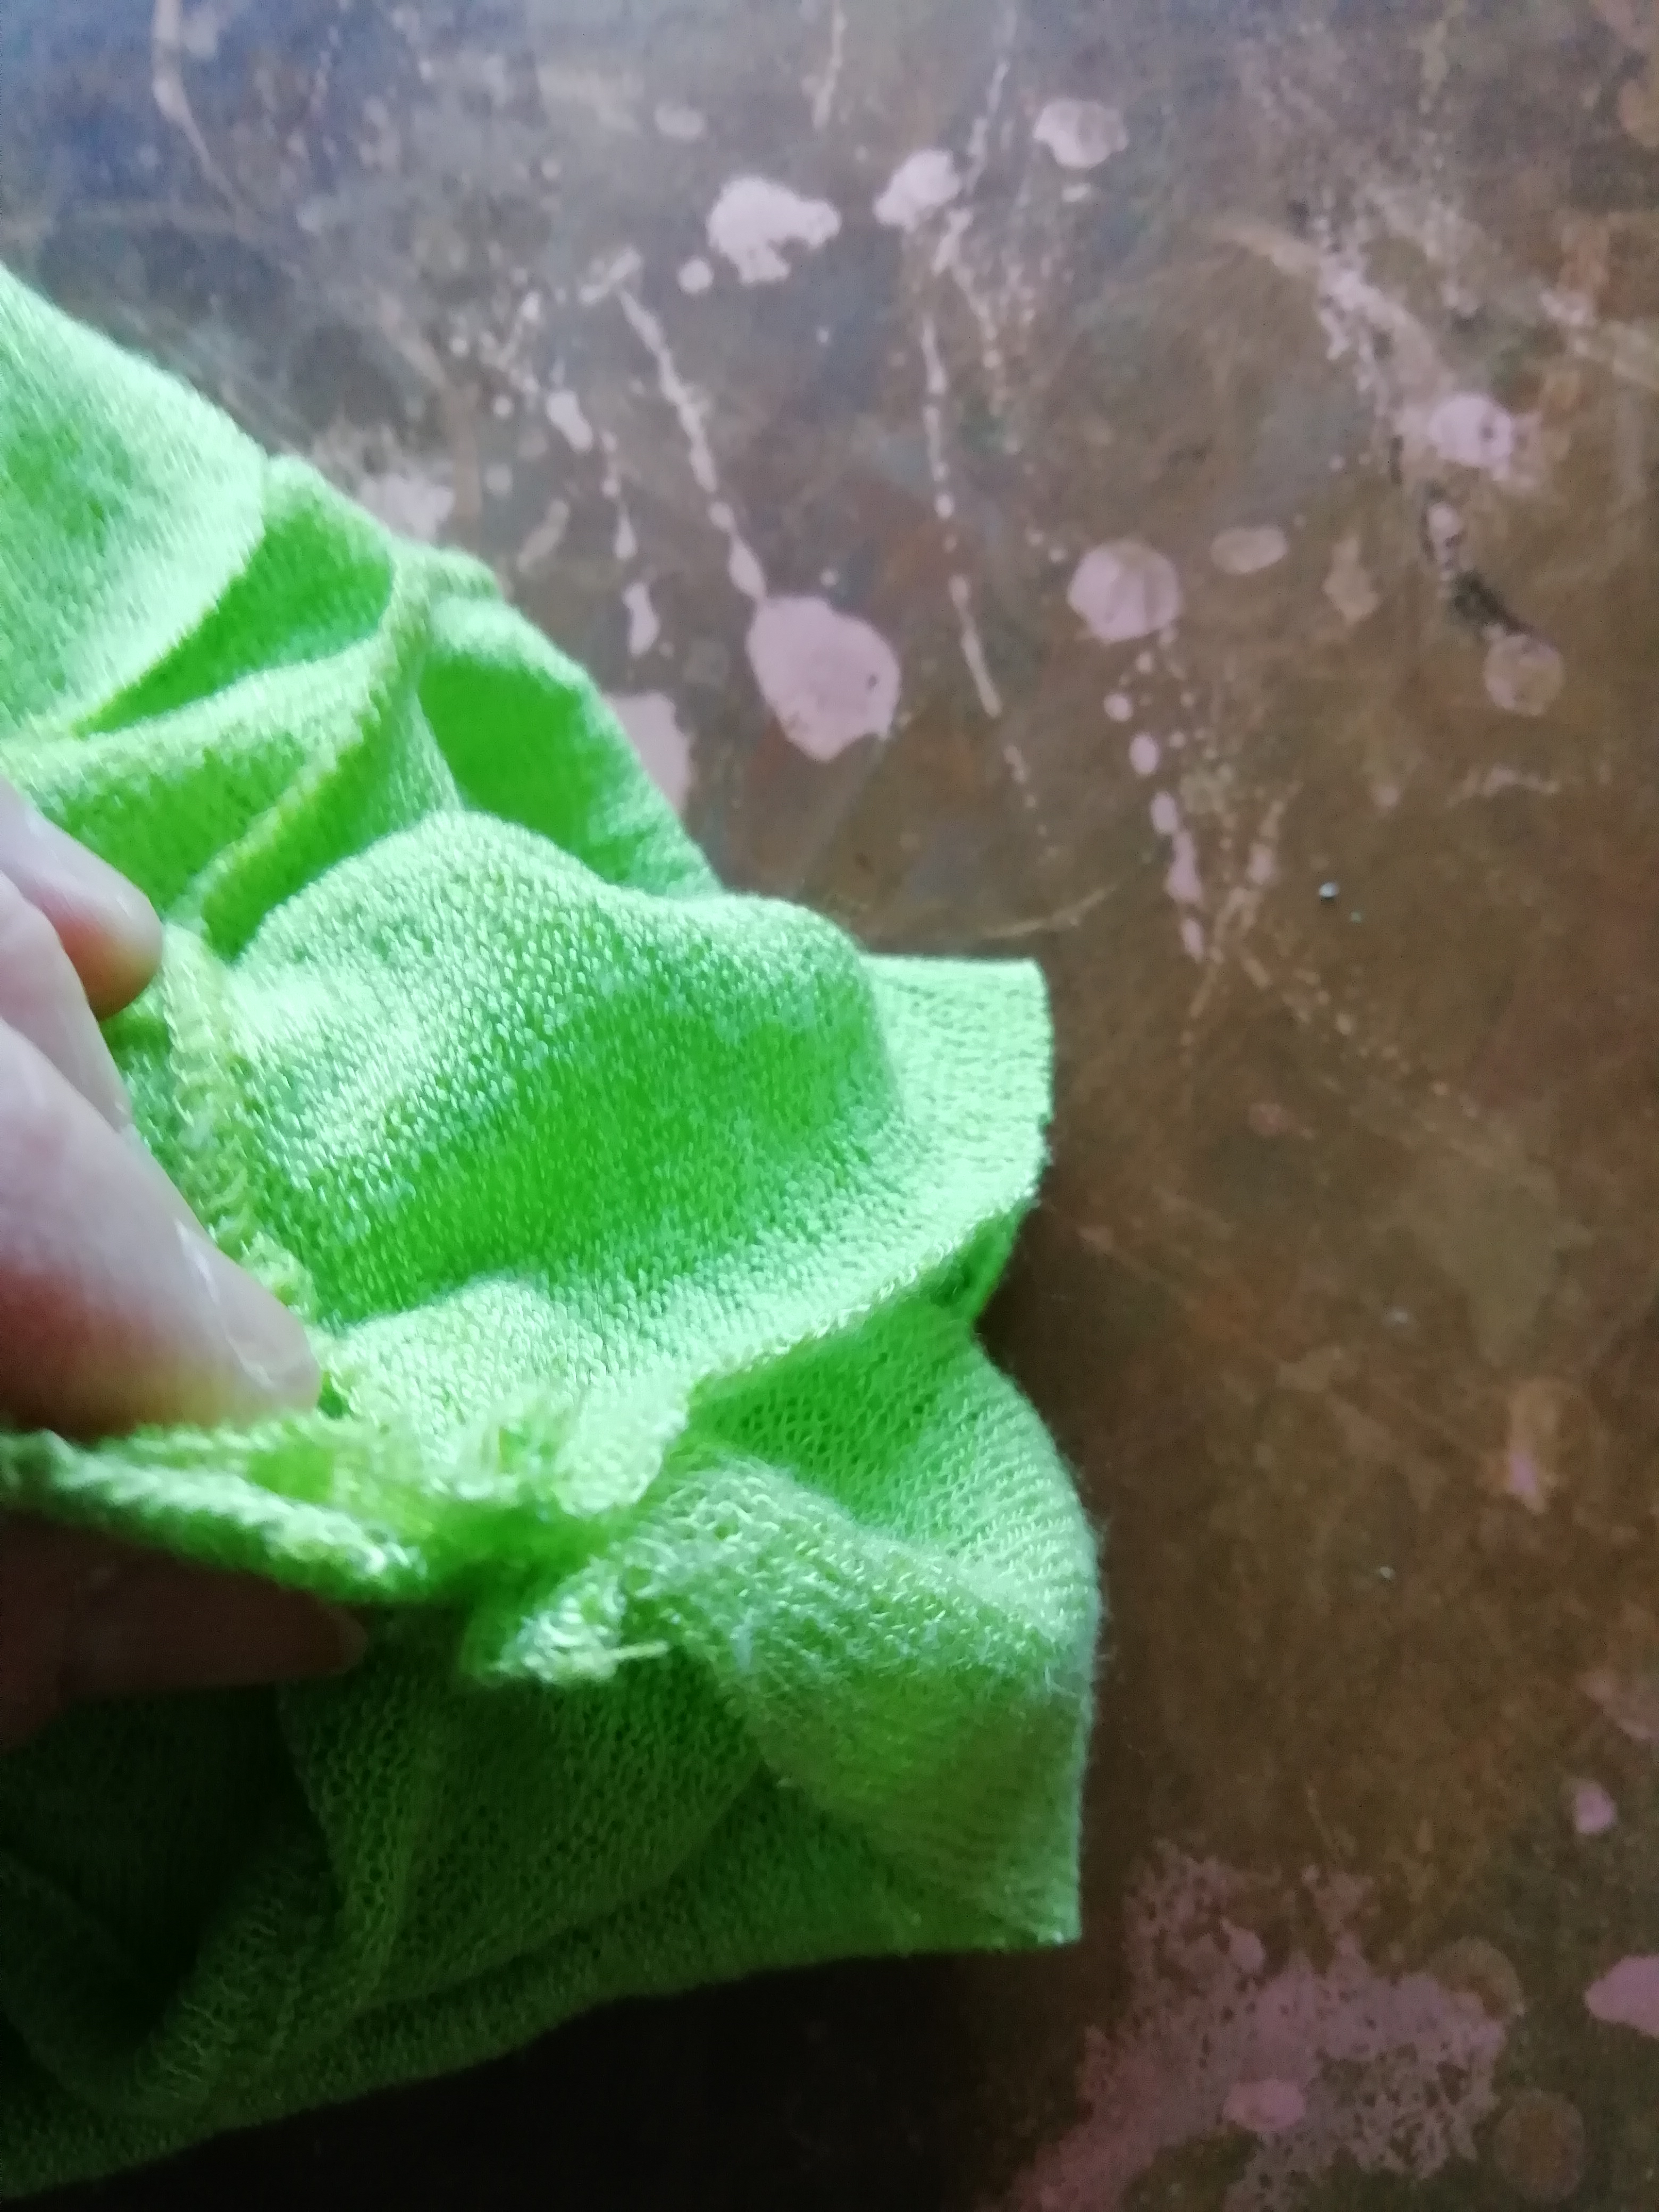
Step 8: Pin and Press
Pin your seam allowance along the cut edges of your top piece. Press.

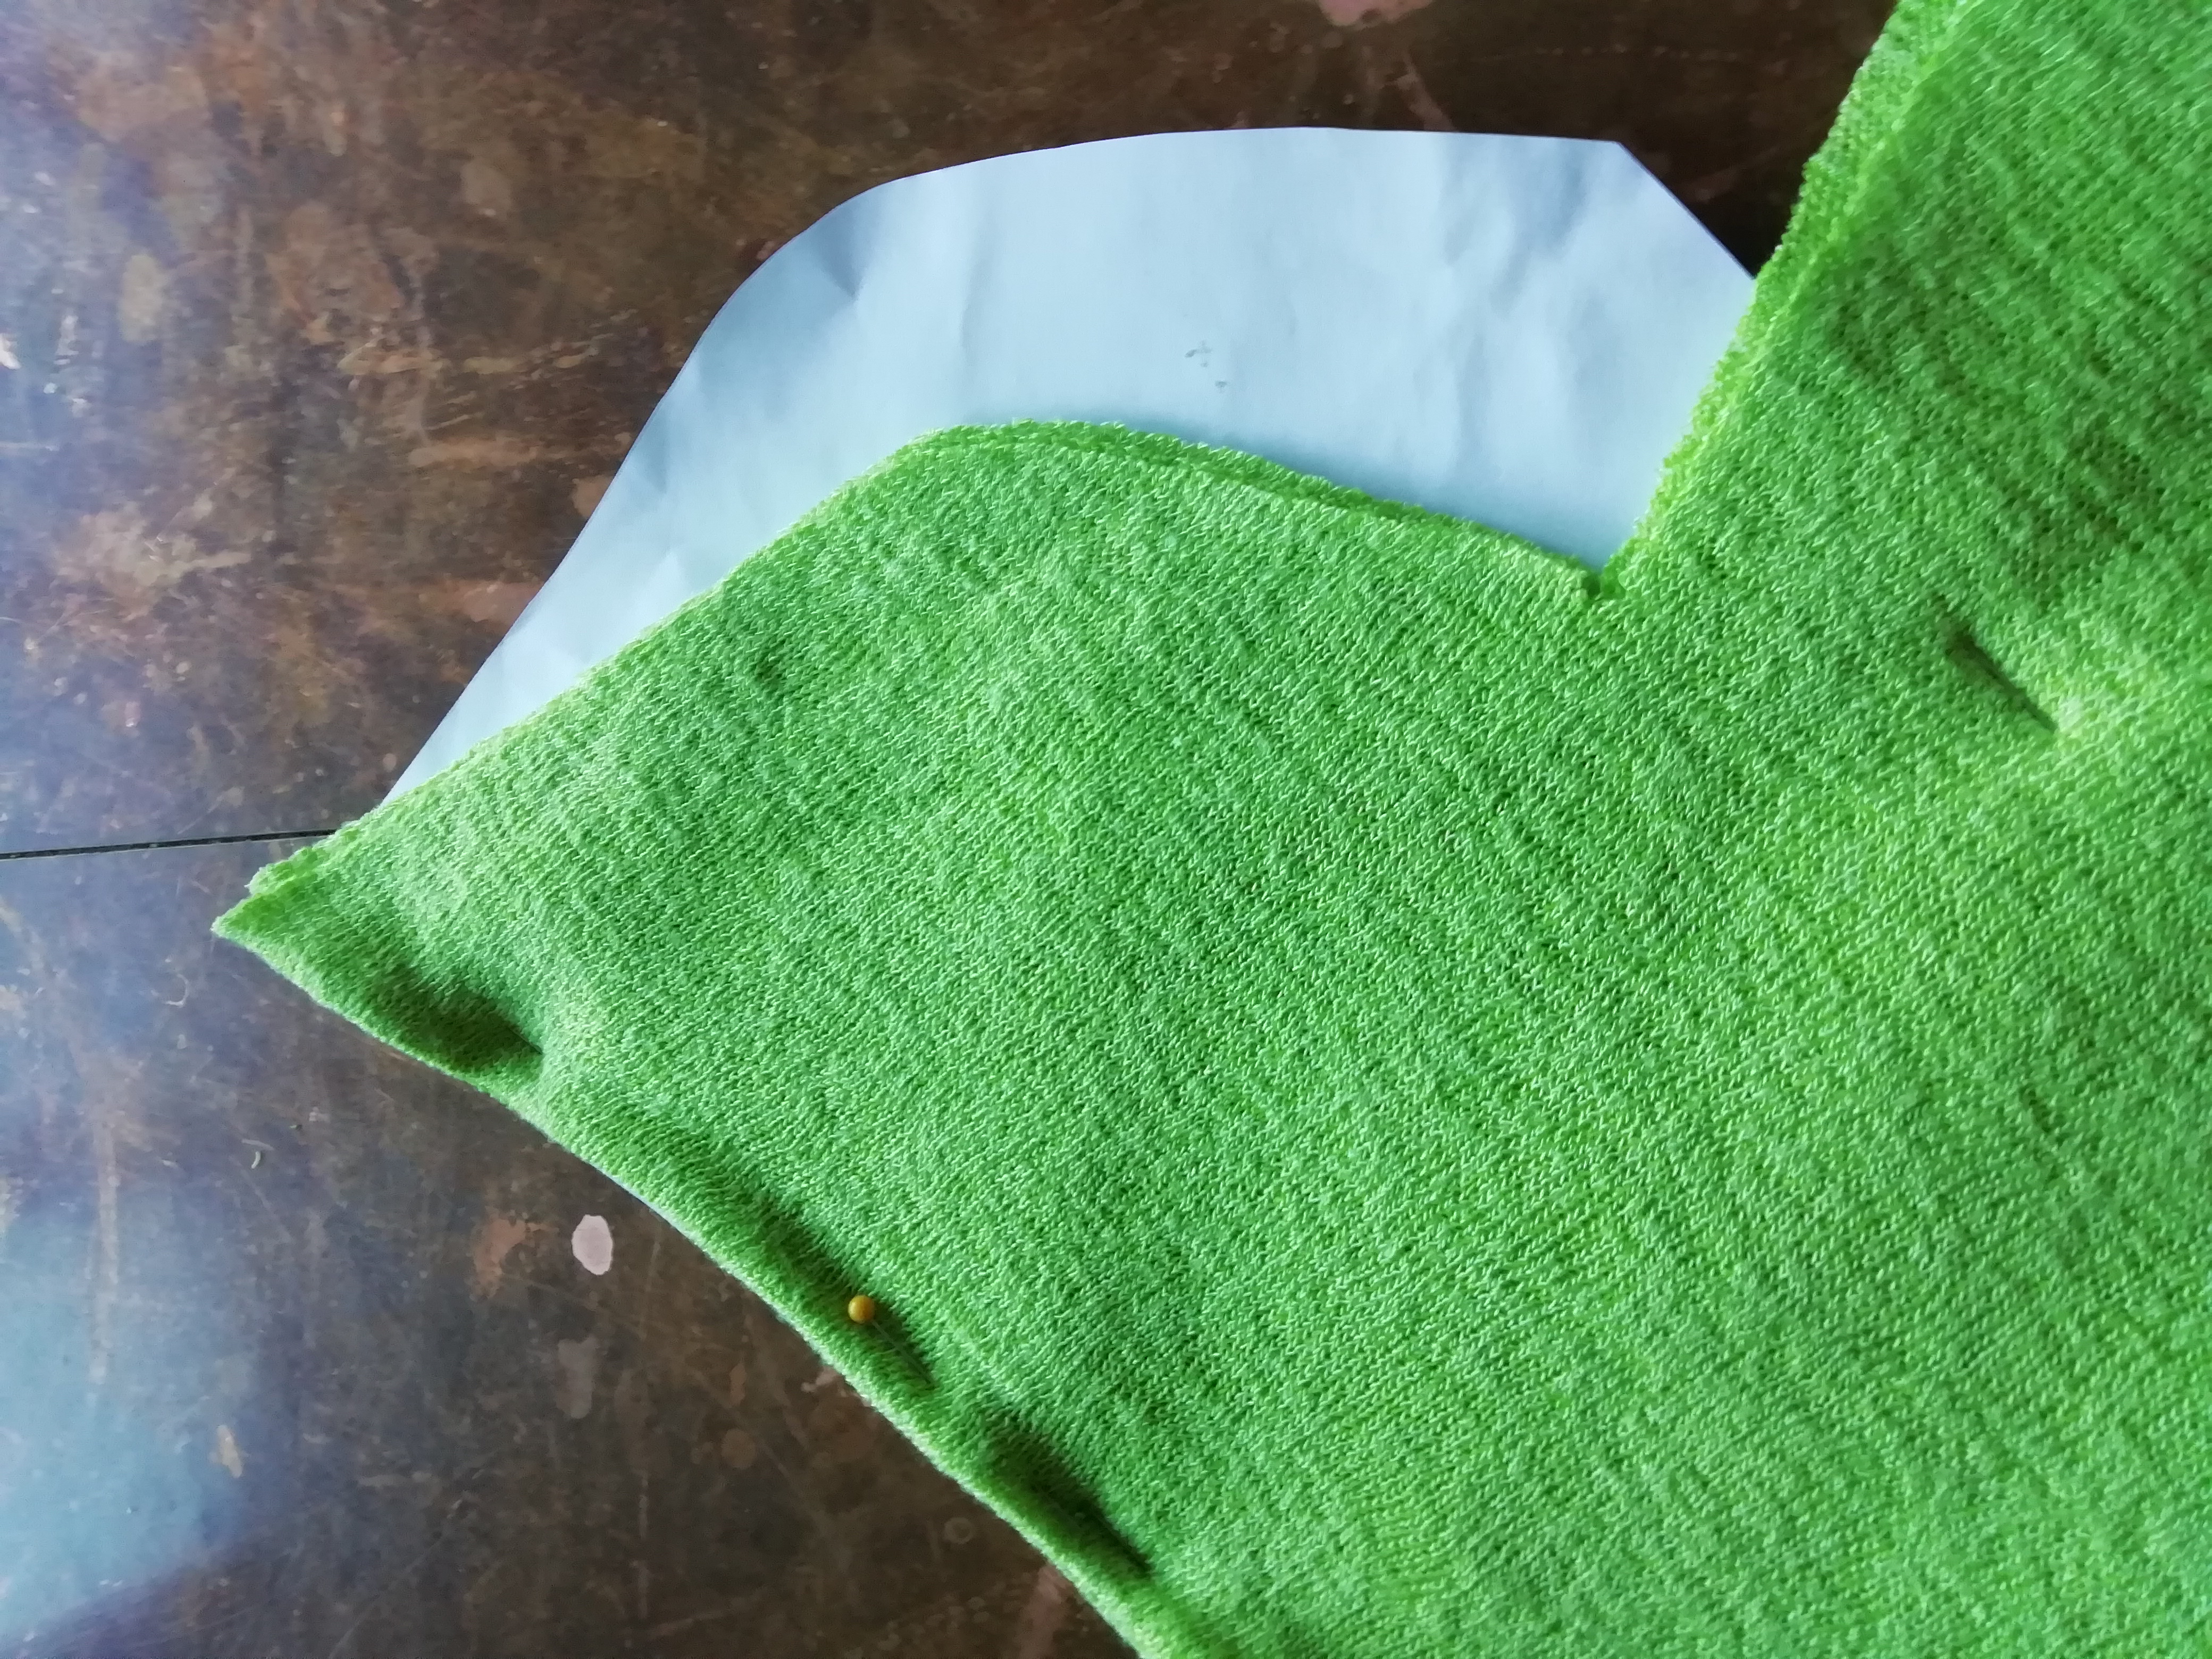
Step 9: Make Your New Sleeves
Lay your sleeve pattern along the top edge of the sleeve part that you cut away from the main body piece. Don’t forget that you’re cutting on a fold.
If you need to orient your sleeve pattern piece differently on the fabric, pay attention to the direction of stretch.
Step 10: Pre-Stitch Flight Check
Because you’re working with a different shape sleeve and a different shape top piece, they’re not going to fit together in the same way that the old pieces did. It’s important to make sure that your two new pieces fit together well, so trim and shape as necessary, and double-check again.
Step 11: Find the Pinch Point
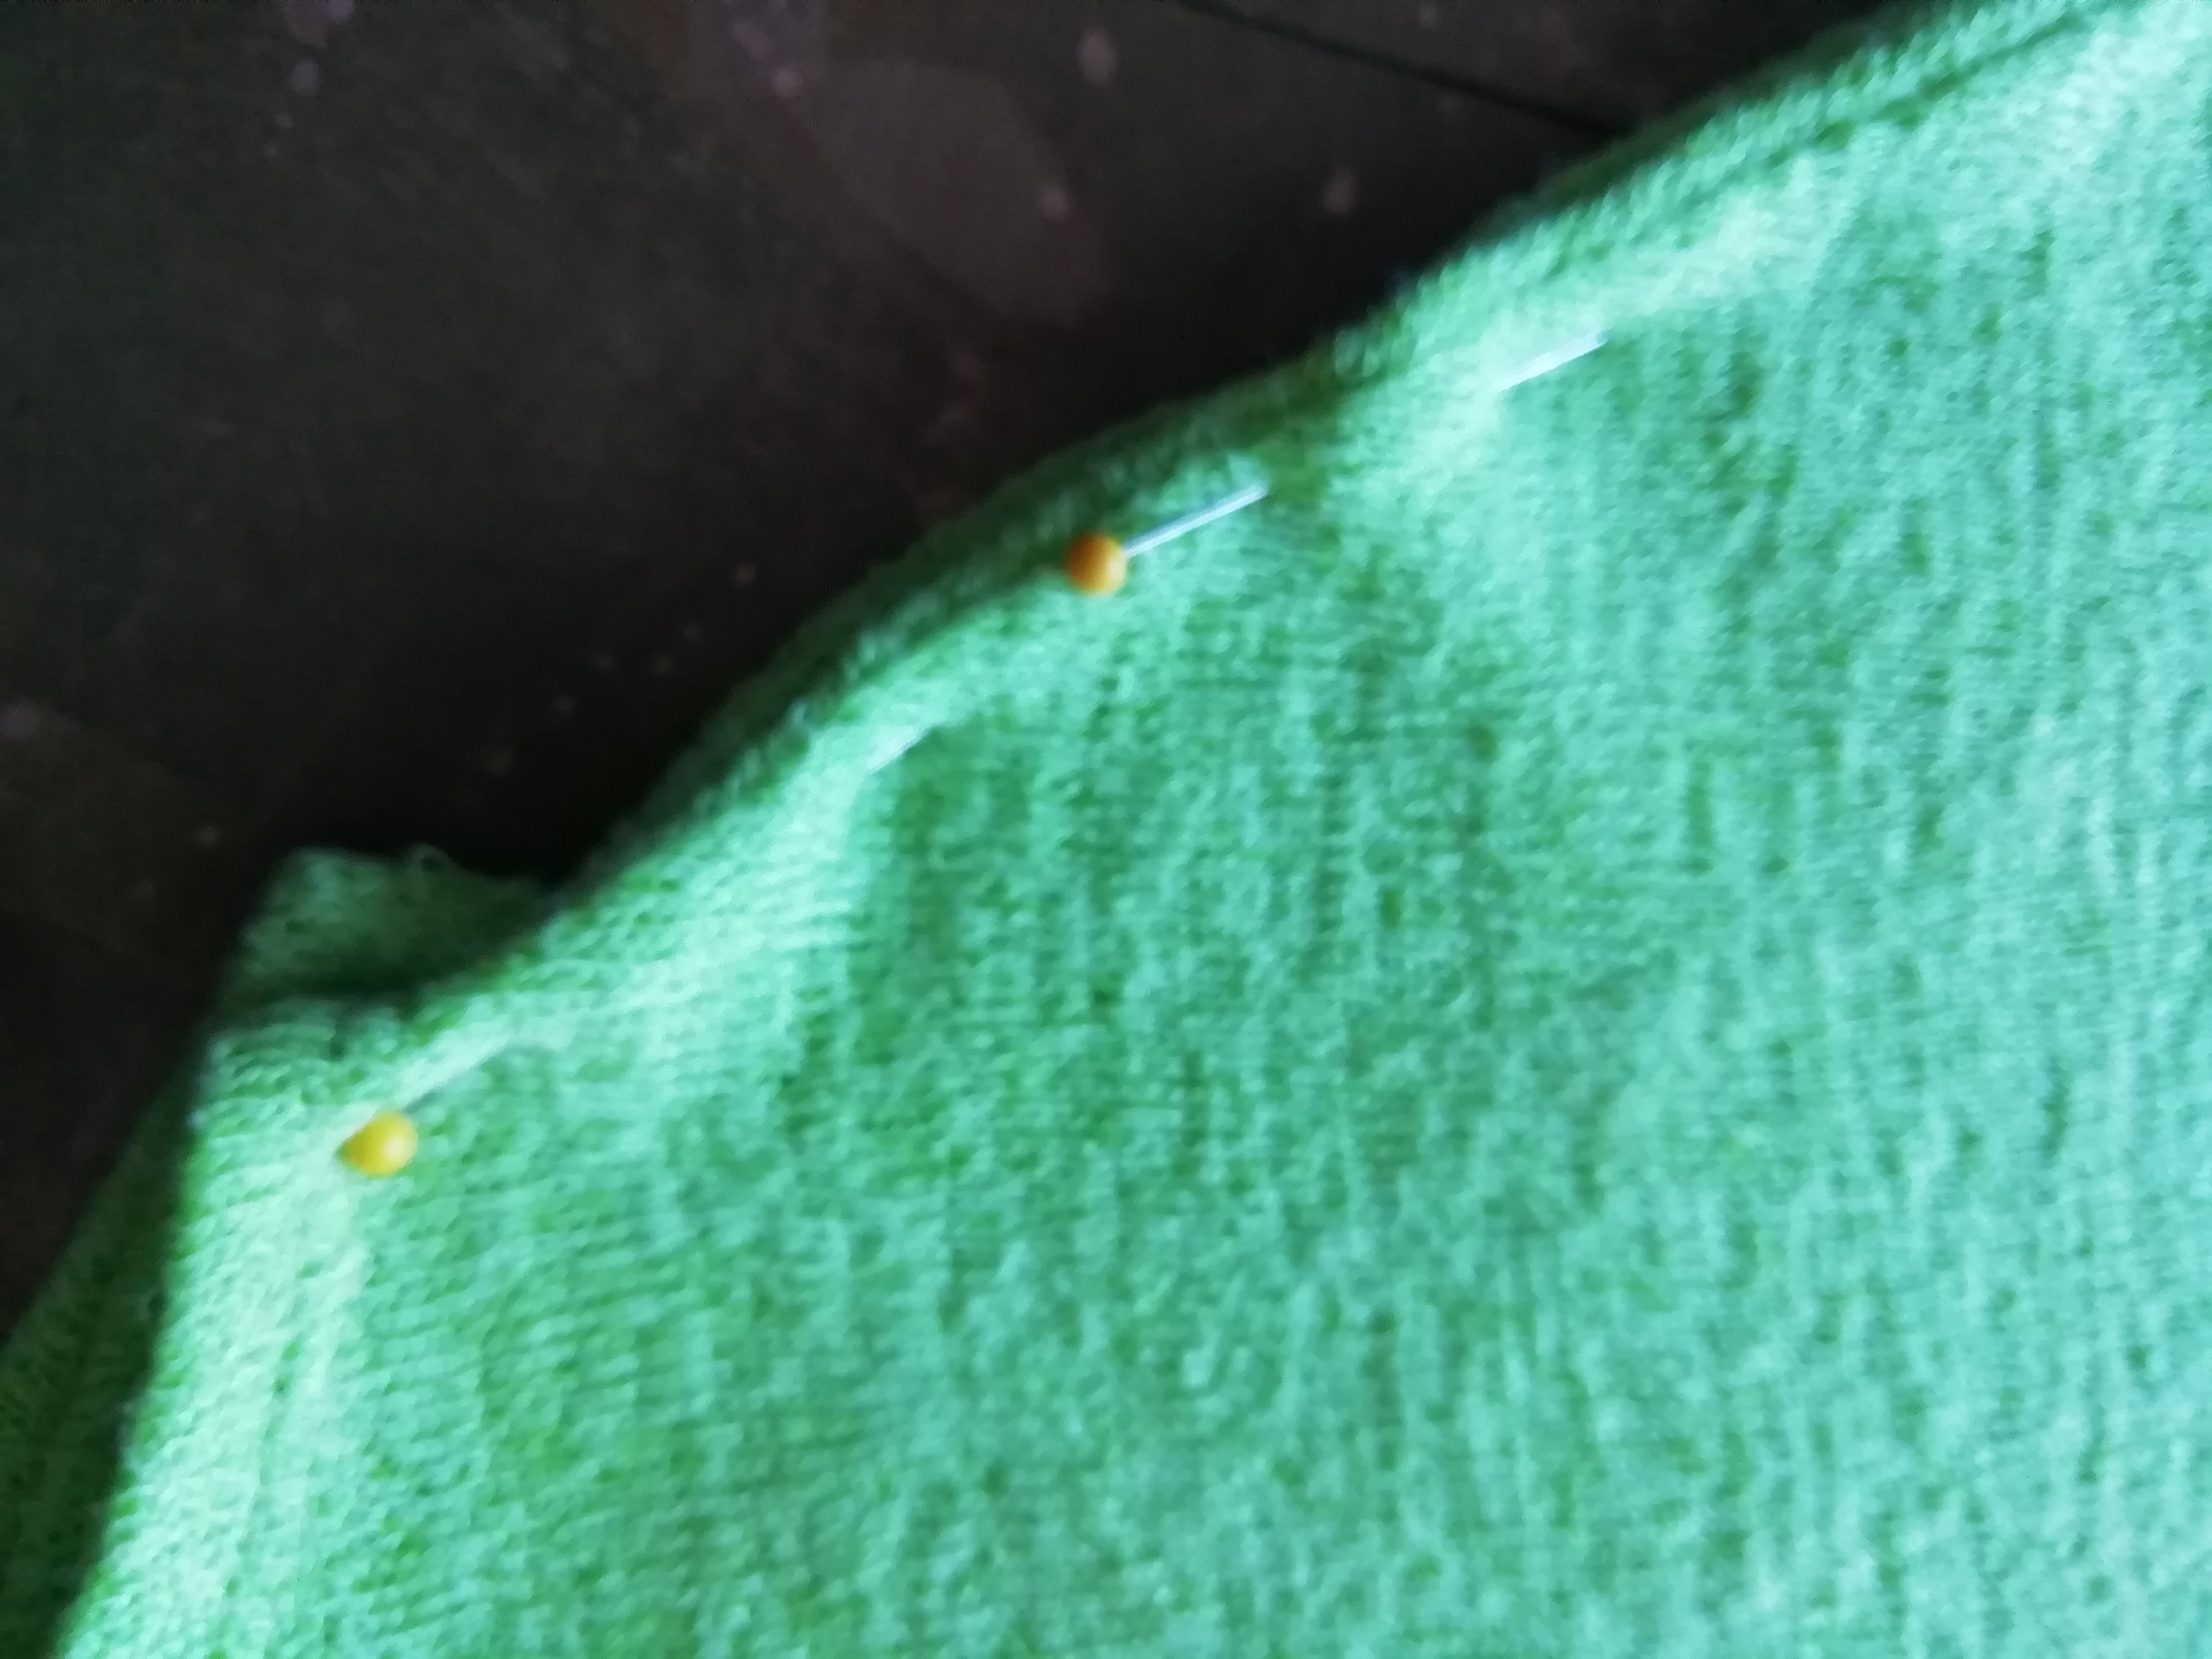
There a point beneath the arm of every sleeved garment where all of the pieces come together. Find it. Pin it. Repeat on the other side.
Step 12: Pin the Sleeves In
Pin your sleeves in. Start by pinning the top of the shoulder hole to the center of the sleeve fold.
The sleeve piece may be a bit larger around than the arm hole. This isn’t uncommon. Gently stretch the sleeve piece out from the shoulder pin until it fits. Then pin the entire sleeve.
Now repeat on the other side.
Step 13: The Fitting
In Bygone times, ladies would go into their dressmaker for a Fitting. That is, to make certain everything fits correctly before anyone begins stitching.
It’s time to do that now.

Be careful not to pull out your pins or stick yourself. If there are any problems, this is the time to address them.
Step 14: Sew Now What?
Stitching, baby. I sewed around the arm holes first, since these are the most fiddly part. Then I went in a straight line from the inside wrist to the bottom of the waist.
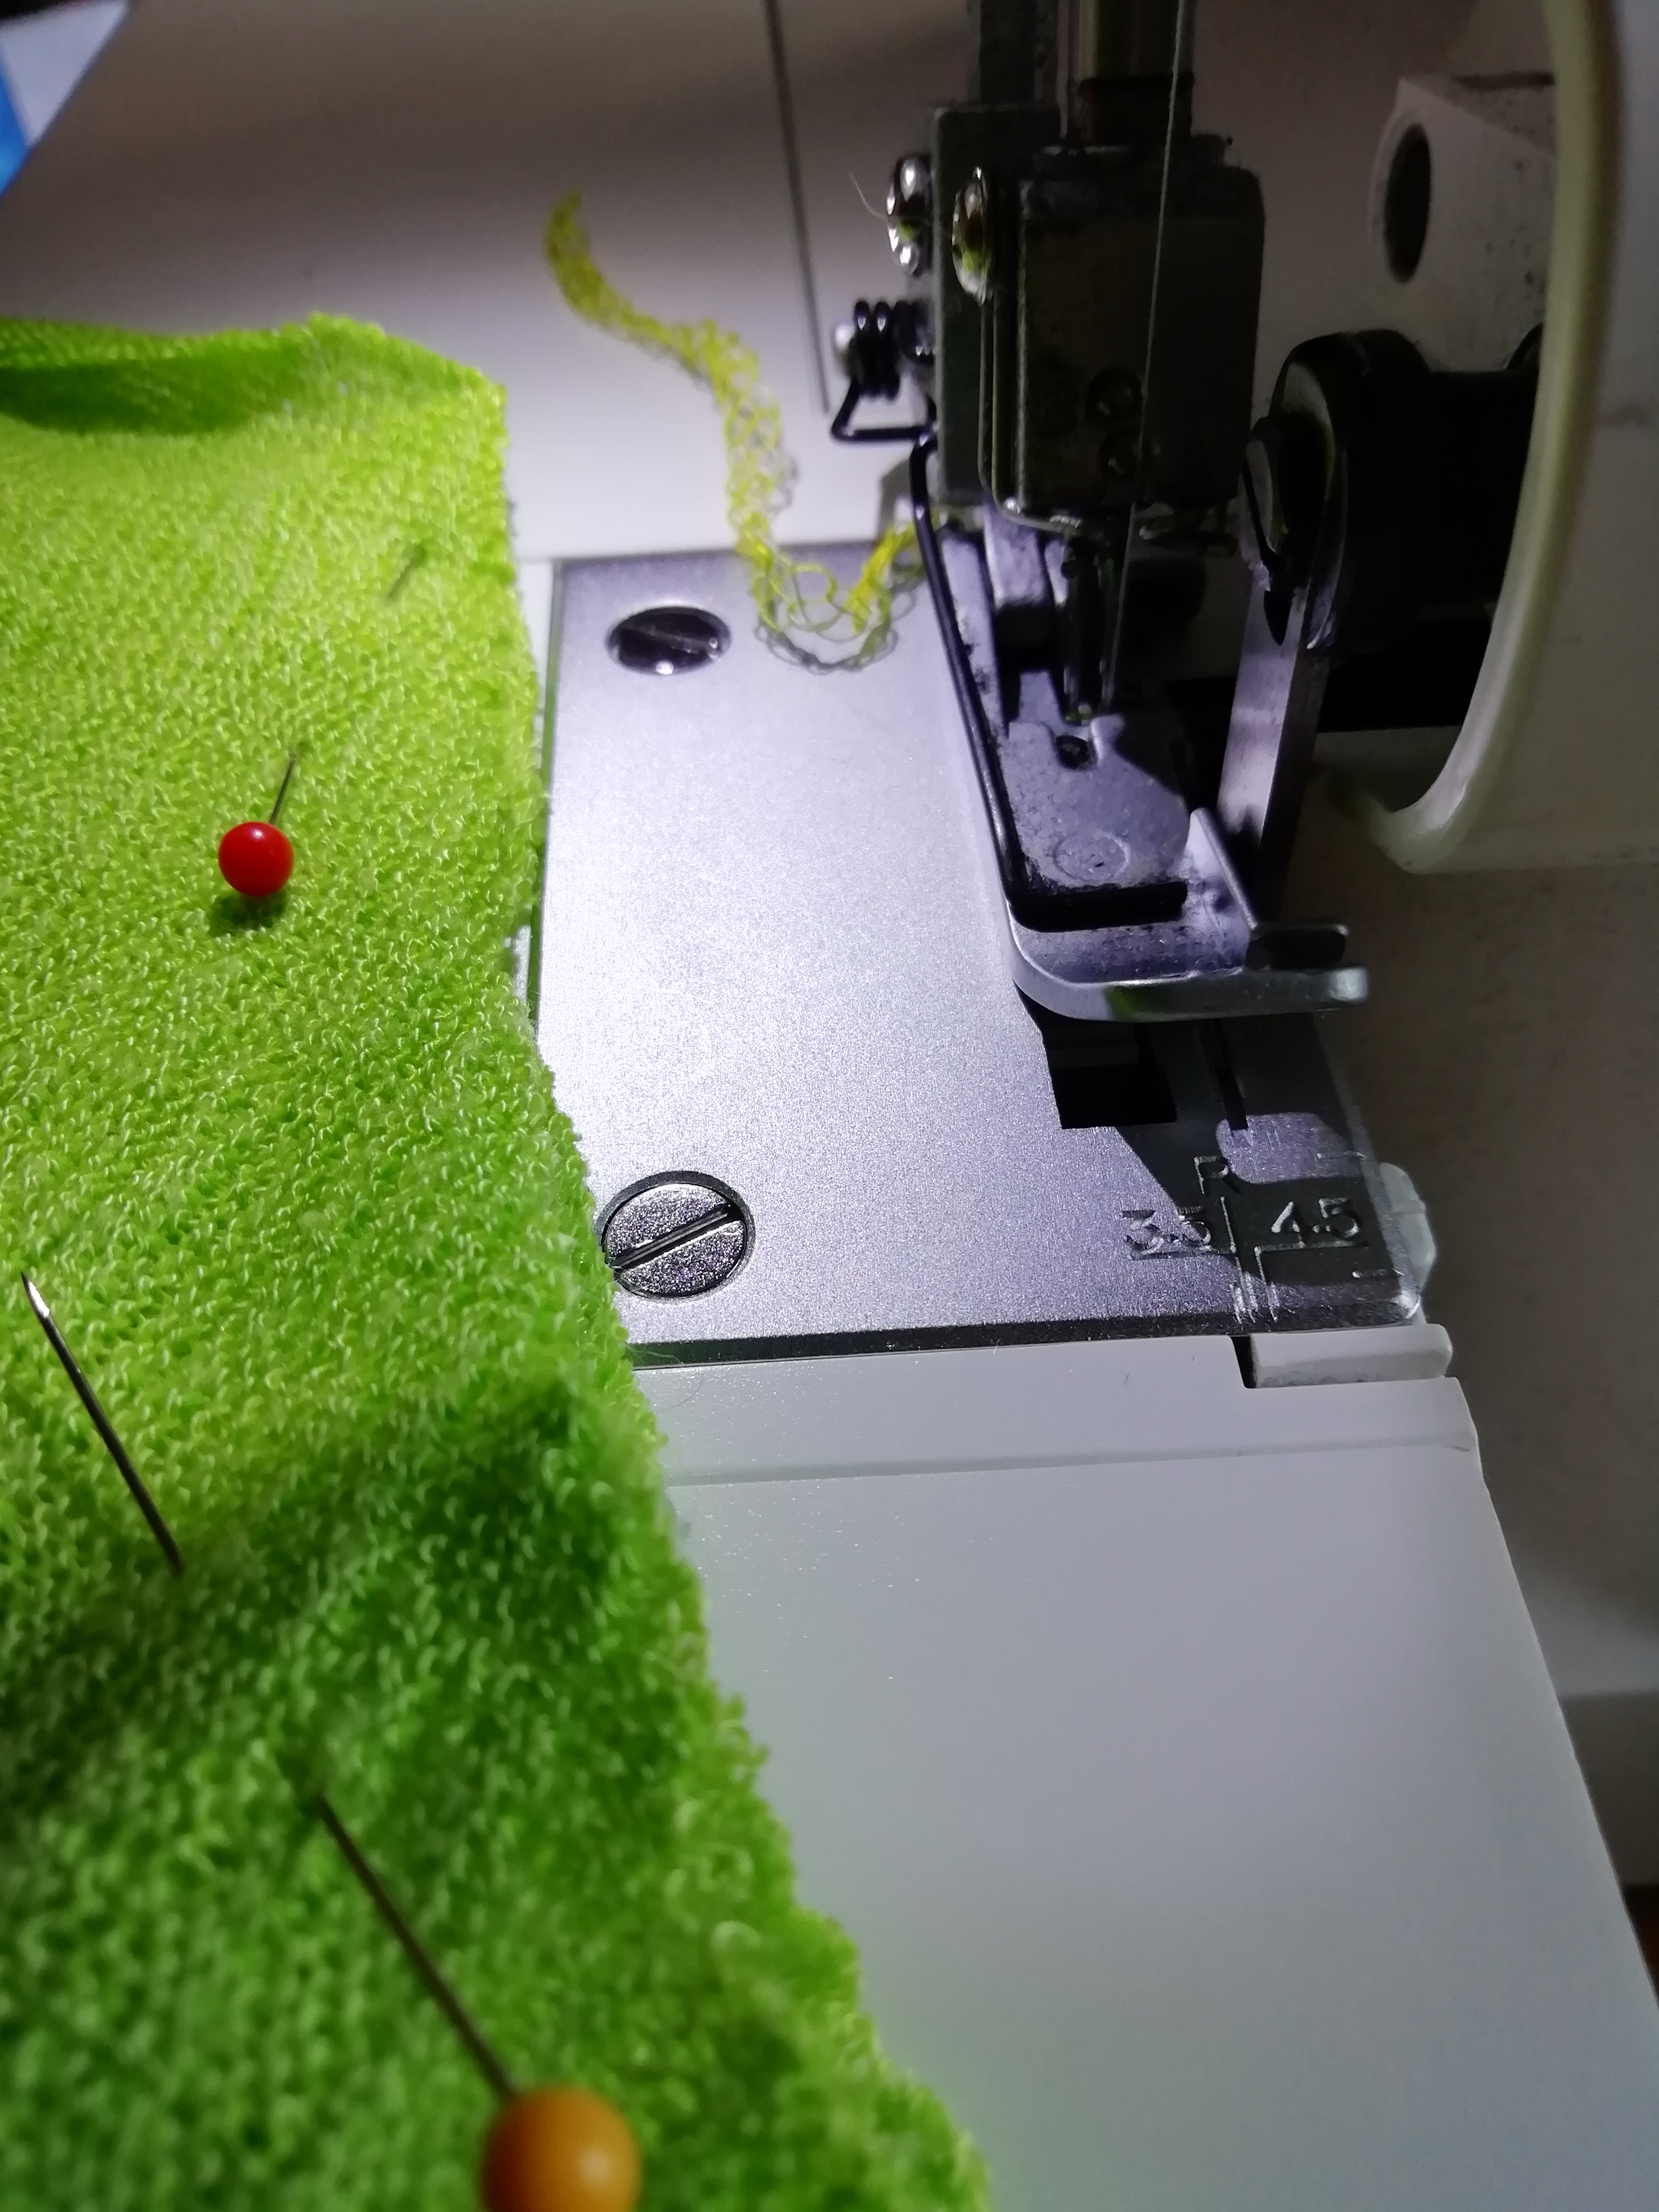
I used a three-thread overlock stitch with an eensy weensy bit of differential feed to accommodate this fabric’s extreme stretch.
Now, please admire the perfectly matching green thread. That was on purpose and carefully planned (*eyeroll*).
Step 15: Done!
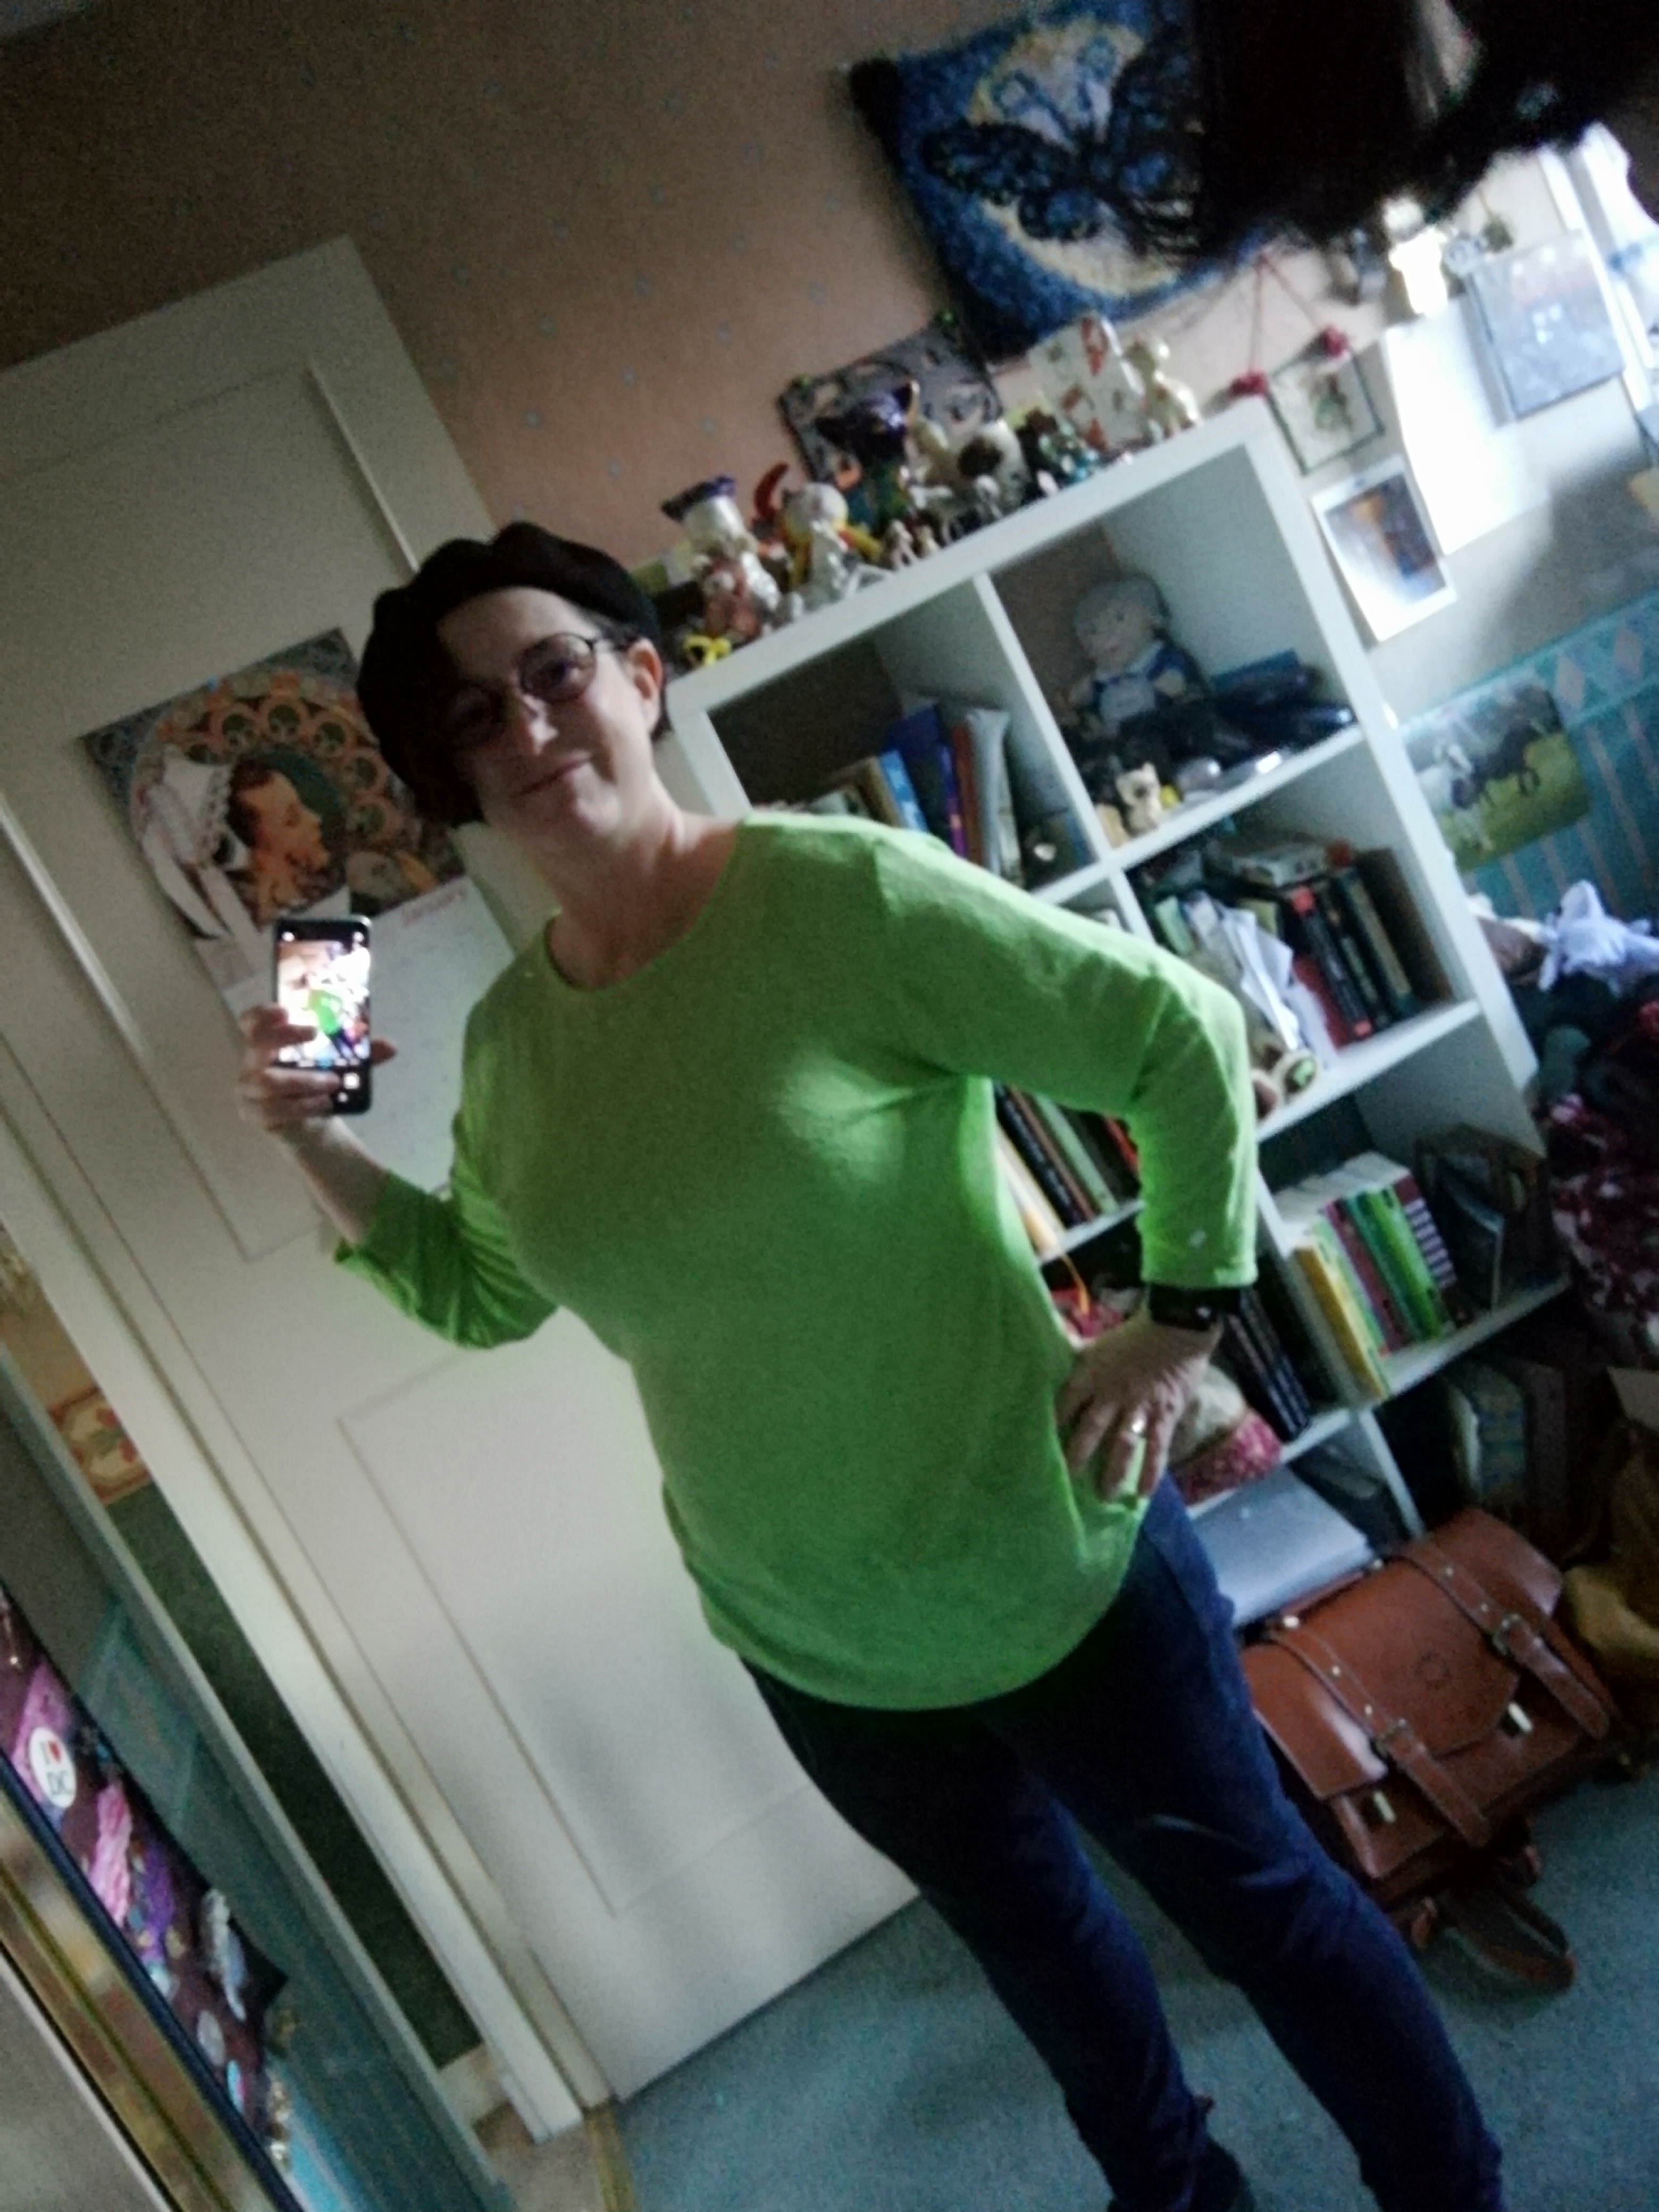
Check it out! No more batwings! This is now one of my most worn tops, though it’s usually worn under a thick sweater because Scotland.
All the Facts, None of the Chat
Your Tools
Patternmaking paper and pencil
Serger or sewing machine
Bye Bye Batwings, Step by Step
- Choose your model shirt
- Iron and pin your model shirt
- Trace your pattern pieces
- Mark the seam allowance on all of your pattern pieces and cut them out
- Press the seams of your batwing shirt
- Lay your body pattern piece(s) on top of your batwing shirt. Pin them to the fabric.
- Cut your new body pieces from the old shirt.
- Now do the sleeves.
- Double check the shape of the sleeve holes against the tops of the pieces for your new sleeves. Trim and shape if necessary.
- Find and pin your pinch point on each side, where the front, back, and sleeve edges all meet.
- Pin both sleeves in. Also pin the sides.
- Try your shirt on to make sure you have it where you want it.
- Now sew. I did arm holes first, then a straight line from wrist to waist.
I hope you’ve enjoyed this tutorial. Have you ever reformed a batwing shirt? How did you do it? I’d love to hear about it in the comments!

Leave a comment