
Garments should be made to fit the body, not the other way around.
A lot of mass-produced garments aren’t made to fit the body at all, not to mention a diversity of body shapes. Instead, they’re made to fit the needs of a factory to churn things out quickly and cheaply.
Often this means sheath dresses, which look chic and stunning on models and mannequins but make the rest of us look a bit like sausages trying to escape our casings.
Occasionally one tries to make a simple pattern look more interesting, by, say, adding an unusual hemline. I’m all for interesting hemlines, but some of them work better on certain body types than on others.
And this is the topic of this month’s back-of-the-closet rescue.
The Garment
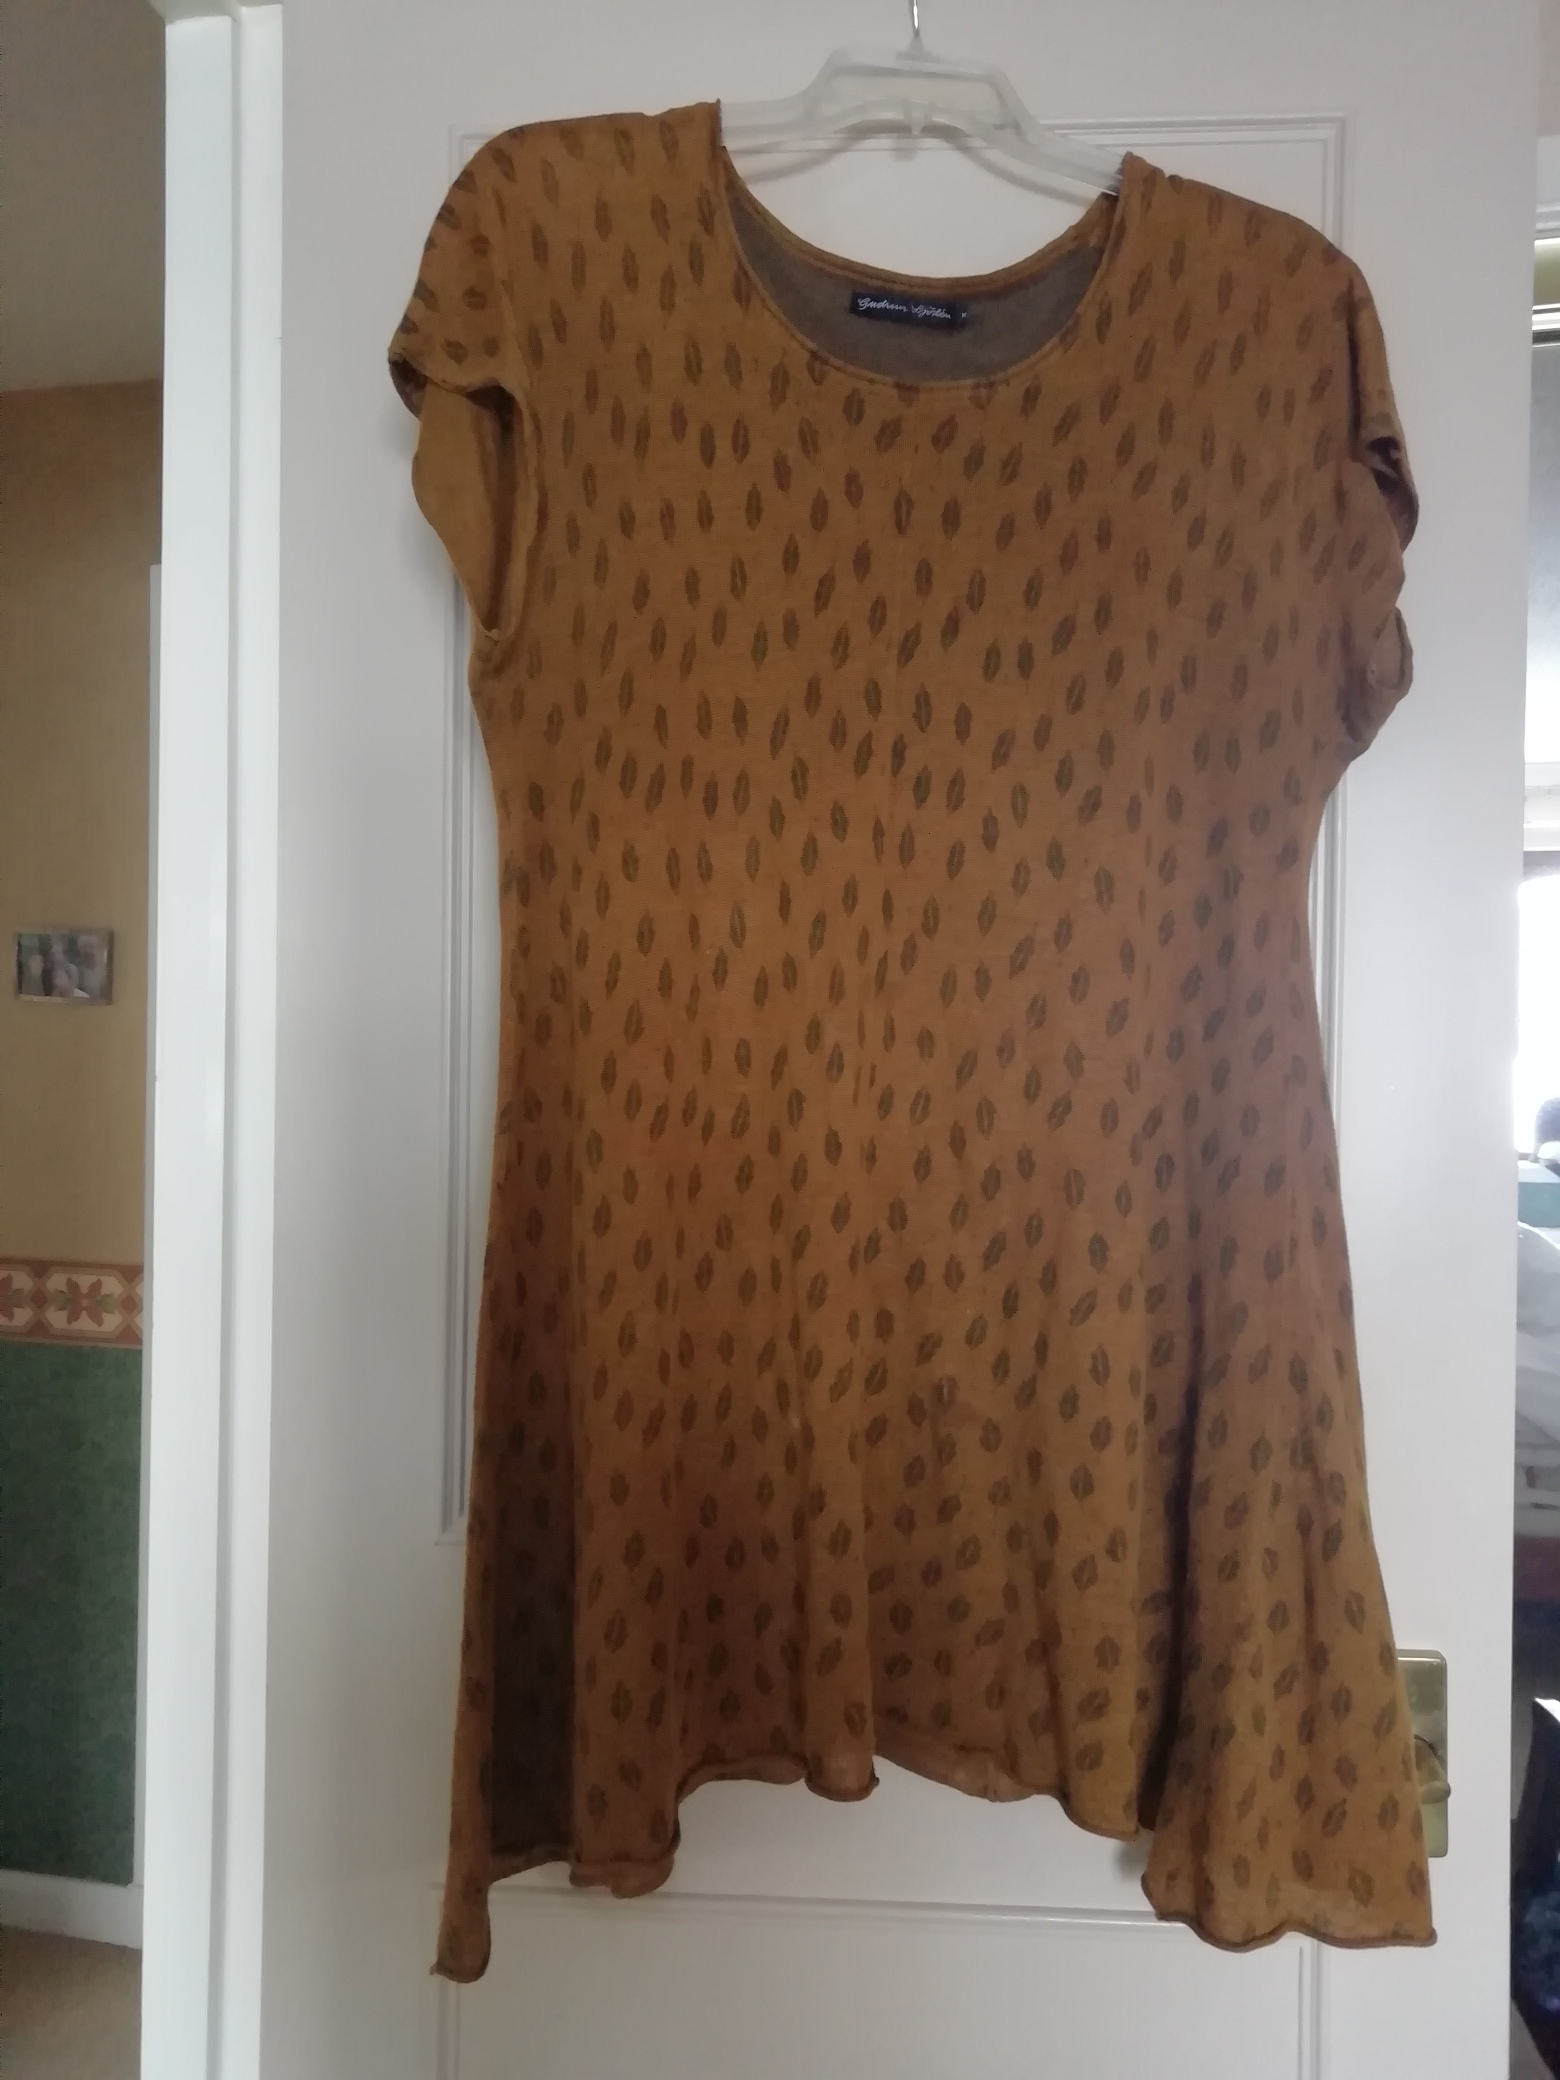
Today’s garment rescue is this lovely knit dress from Gudrun Sjoden. I love Gudrun’s use of color, and their designs are both unique and made to look amazing on actual humans. I also love how they use models who are diverse in age, ethnicity, and body type.
Gudrun’s clothes are generally out of my price range, but every now and then the perfect piece will go on sale, and that’s when I pounce.
This is a simple four-piece (two front pieces, two back, with integrated sleeves) dress with a handkerchief hem. I’ve had it for about five years. It doesn’t get worn nearly as much as it deserves. But we’re going to fix that.
The Problem
There are three problems here.
First, Gudrun tends to make clothes with a lot of extra room in them. On one hand, this is a boon for the ordinary human, who often does not want every flaw outlined and emphasized. On the other hand, if one is also short, too much room in general does one no favors.
Second, that hem.
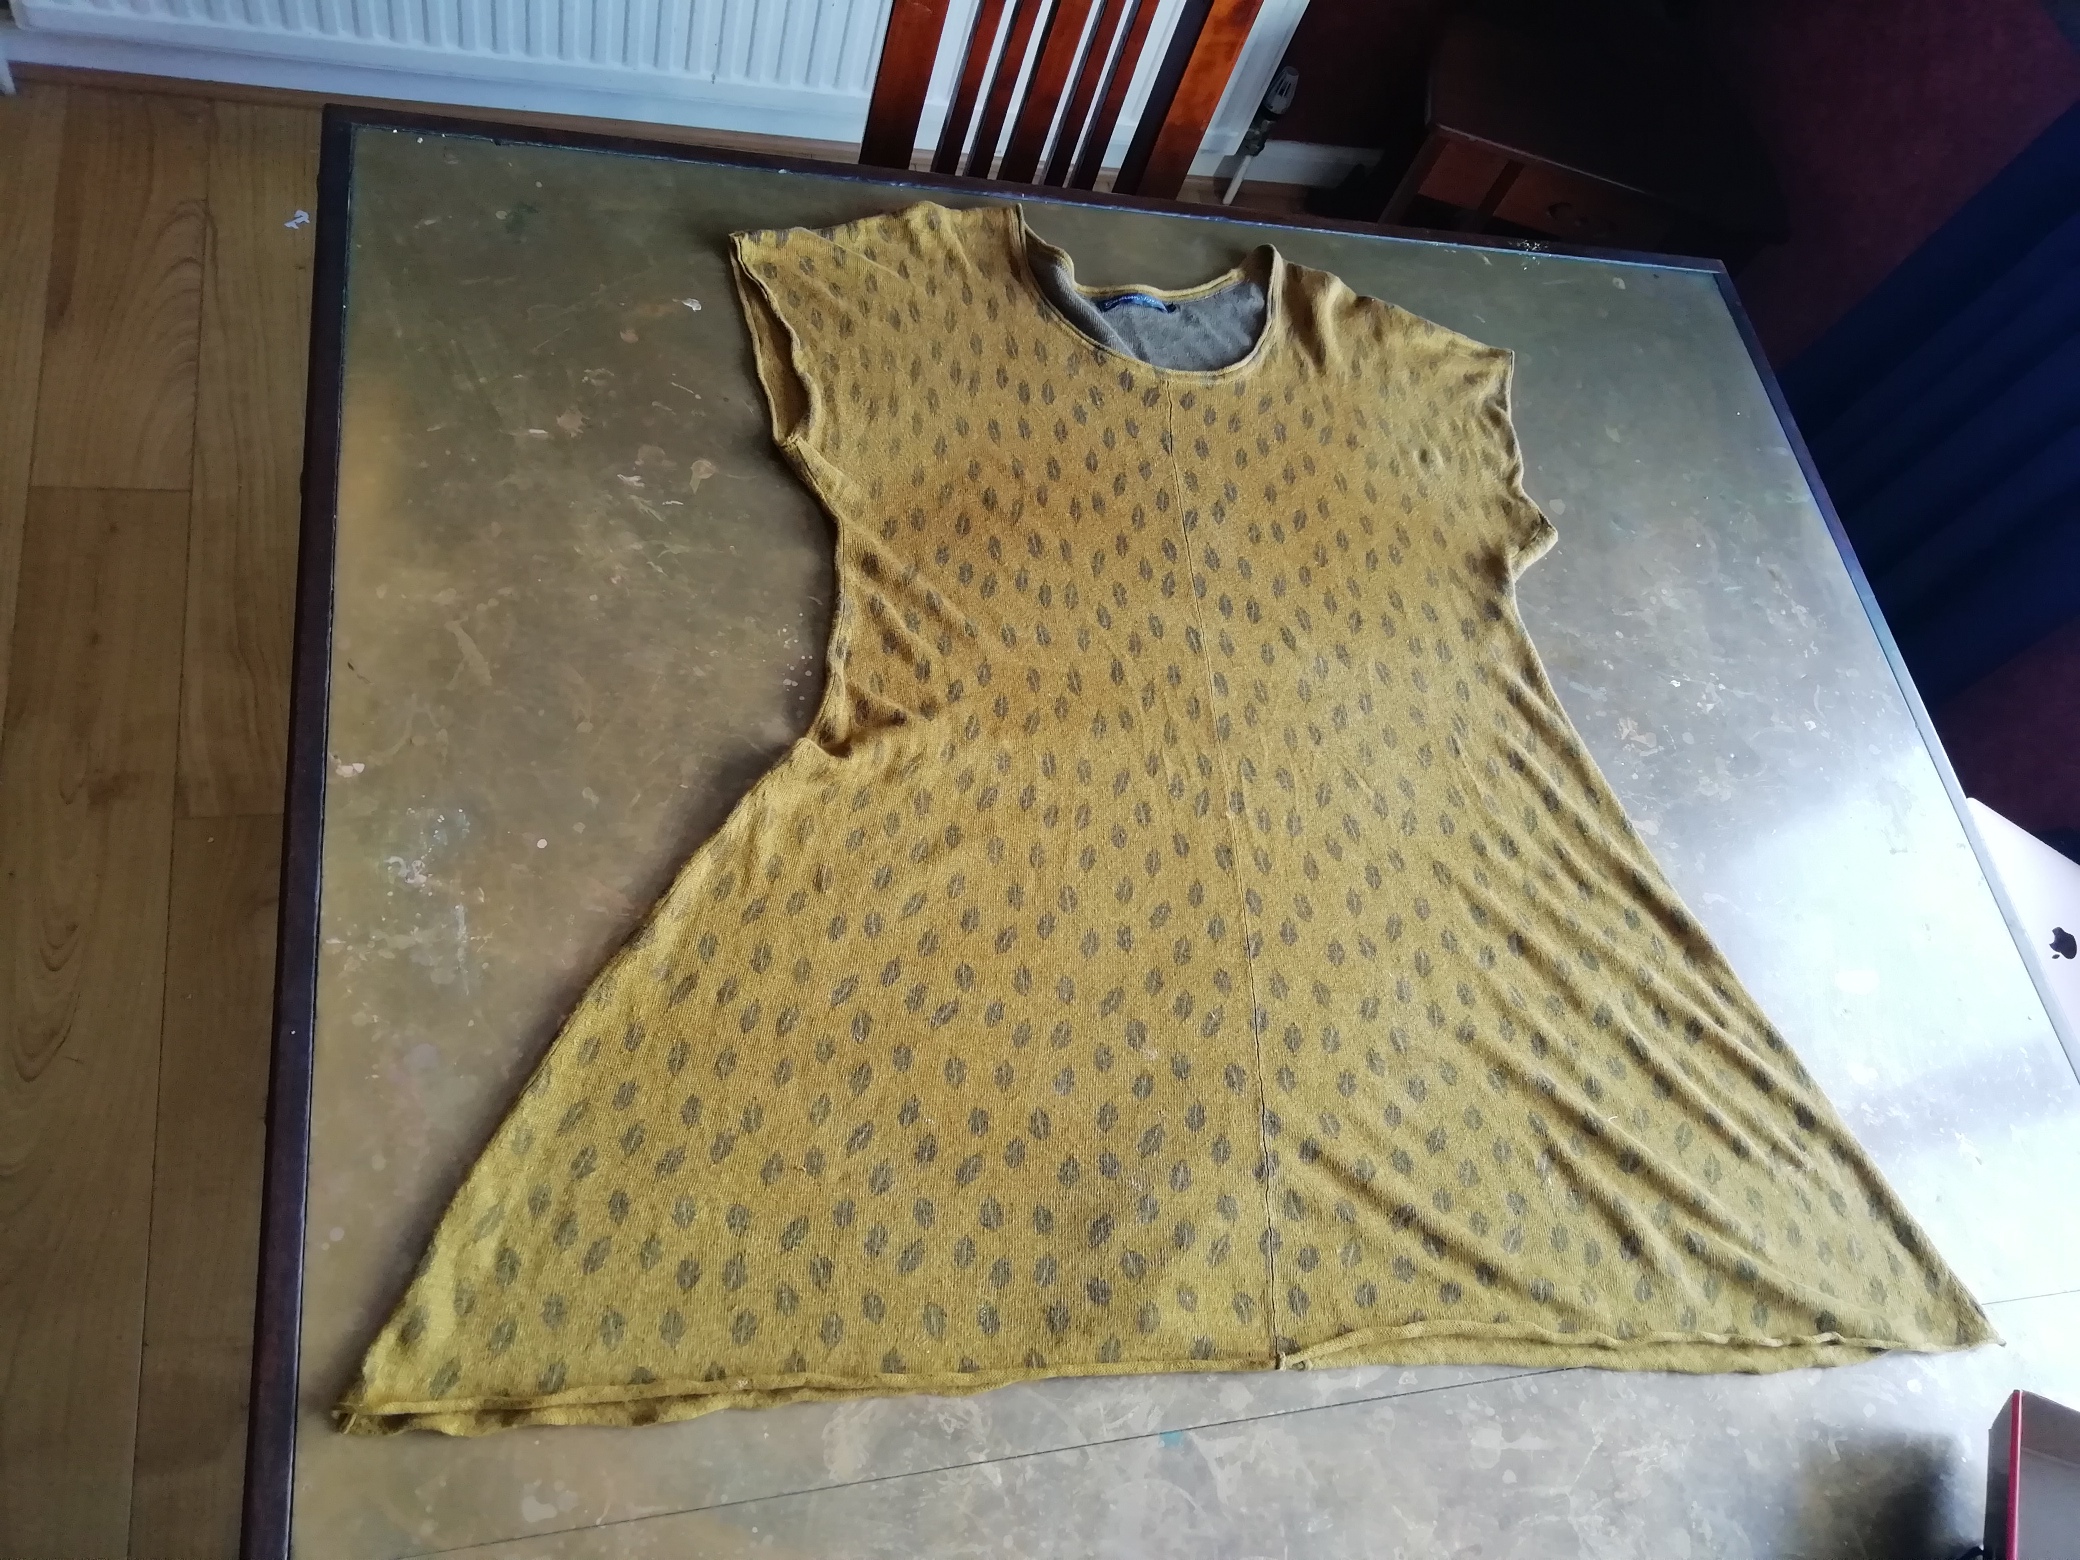
There are a lot of different skirt shapes, and some look better on some body types than on others. This particular dress has a handkerchief hem. A handkerchief hem is a type of asymmetrical hem that’s shorter in the front and back and longer on the sides.

The handkerchief hem is no friend of the vertically challenged.
Finally, as is the case with so many garments when one is 5’2” in heels, this dress is just plain too long.
(There’s also the matter of the sleeves, which normally would not be my favorite. But because of the extra room, they fall to the middle of my bicep, which is actually just right.)
The Challenge
So, this month’s challenge is to:
- Shorten the garment
- Endow it with a more complimentary hemline
- Make it a skosh more form-fitting
Also, I’m going to attempt a bit of decoration. Gudrun Sjoden is based in Sweden, and I’m a big fan of Nordic Chic, so my decoration will attempt to reflect that.
Right.
Let’s get to it.
Skip the Chat and Get Straight to the Instructions
Your Tools
What will you need to complete this challenge?
Serger or Sewing Machine
Because this is a knit, I’m using my serger. I use a Pfaff Hobbylock 2.0, which is a mid-priced entry-level machine.
In a perfect world, I would have this incredible Singer coverlocker just because it’s so darn cool. But I wanted to support my local sewing store, and this was my favorite of the models that they had in stock.
And truth to tell, my Pfaff and I have become the best of friends.
However! This rescue also involves a teensy bit of topstitching, so I’m using my regular sewing machine, too. I use a Necchi 6160, which is a bit of a white elephant, but it’s served me well for many years.
I’d like to point out a little trick I learned recently.
As you probably know, the spool pins on a serger are made to accommodate both spool thread and cone thread (with adapters). Many serger users prefer cone thread because it’s more cost effective.
But you may not want to buy three or four different cones of the same thread, especially if it’s a color you don’t use very often.
You might wonder, can you transfer cone thread to an empty spool?
Yes, you can! And it’s pretty easy, too.
All you have to do is tape a bobbin to the bottom of an empty spool (if you don’t have any lying around, you can always buy them). Then place the bobbin on your regular sewing machine’s bobbin winder.
Place your thread cone on your spool stand and bring the thread through the bobbin’s thread winding path as usual. Tape the thread end to the spool, and use your bobbin winder to wind yourself a new spool of thread.
It may take a little practice, but it can save you money, and it’s kind of fun, too.
Having a difficult time picturing the process? This video can explain it better.
Now that we have that sorted, let’s get on with the dress.
Hankie Hemline Transformation, Step by Step
We’re starting with a simple garment, and the hemline transformation is pretty straightforward. But, as always, precision is paramount.
Step 1: Measure for Length
Measure from the highest point of your shoulder, over your bust (for busty gals like me, this is important) and down to the point where you want your hemline to hit. Write that number down.
Another hint: don’t use a ruler; use measuring tape. Humans have curves, and a ruler won’t do those curves justice.
Step 2: Measure for Width
Take the following measurements: The largest measurement around your bust, the thinnest part of your waist, and the roundest part of your hips.
Of course I don’t want this dress to be tight. I just want to give it a bit more shape. Specifically, I want it to be shaped a bit more like me.
Fortunately, for once, the bust is *exactly right*. However, I’d like a bit less fullness in the waist and the hips.
Step 3: Measure and Mark Your Pieces
I’m making the following alterations:
- Hemline: cutting it straight
- Bust: decrease
- Waist: decrease
- Hips: decrease
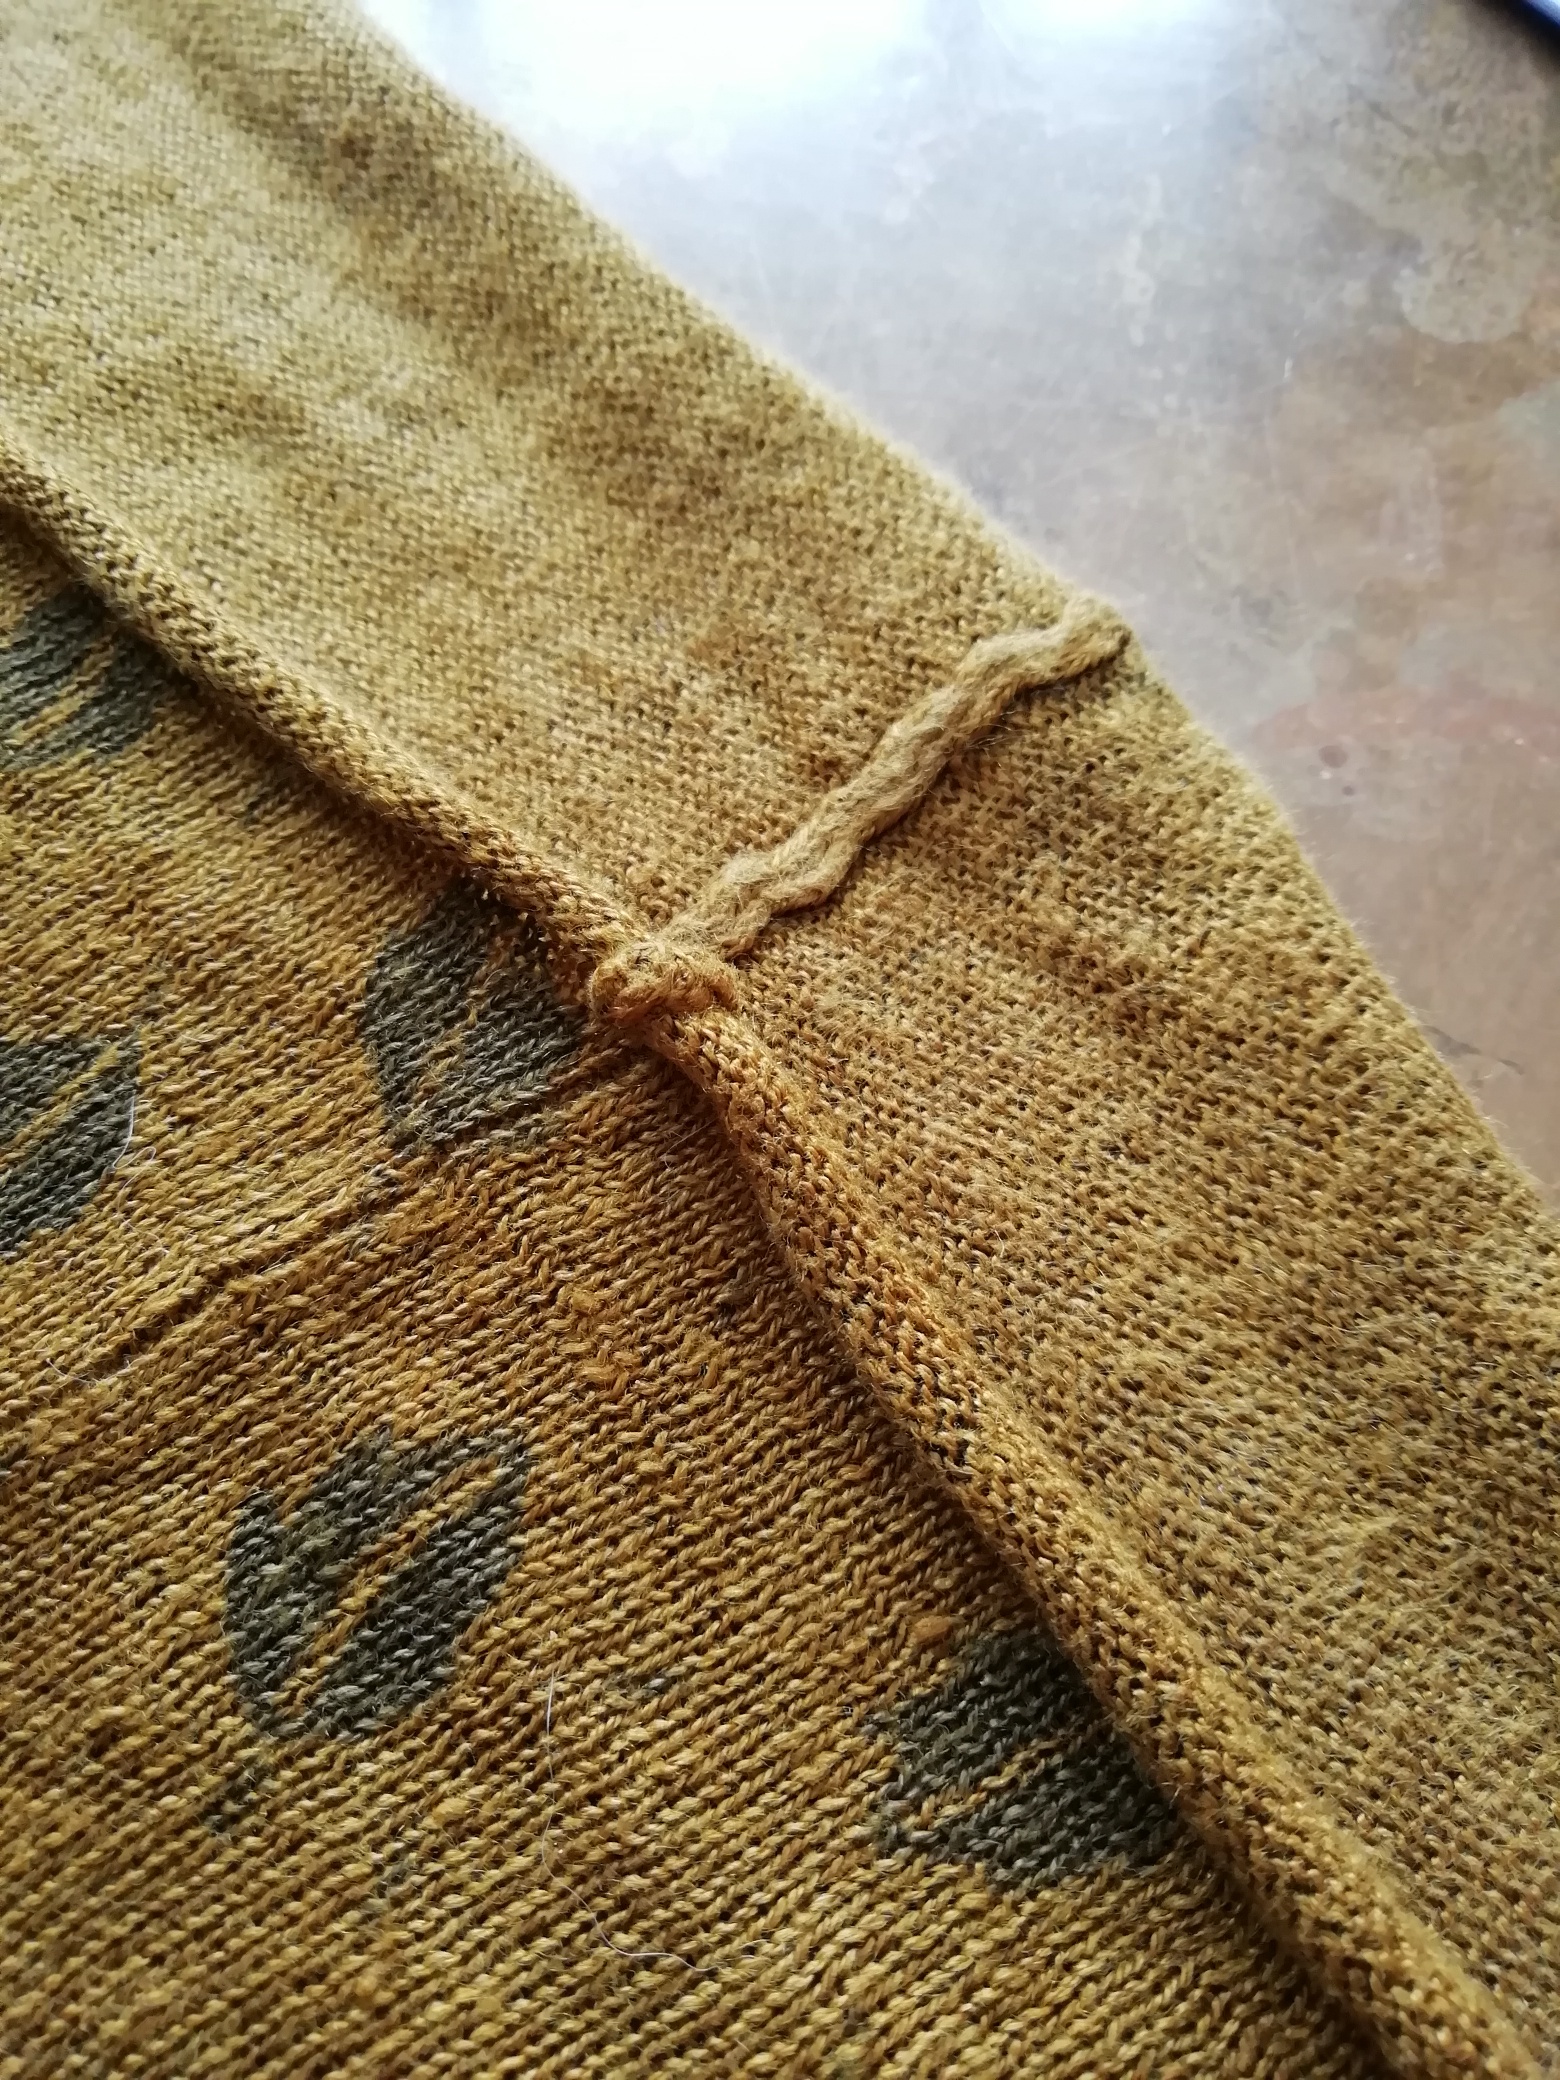
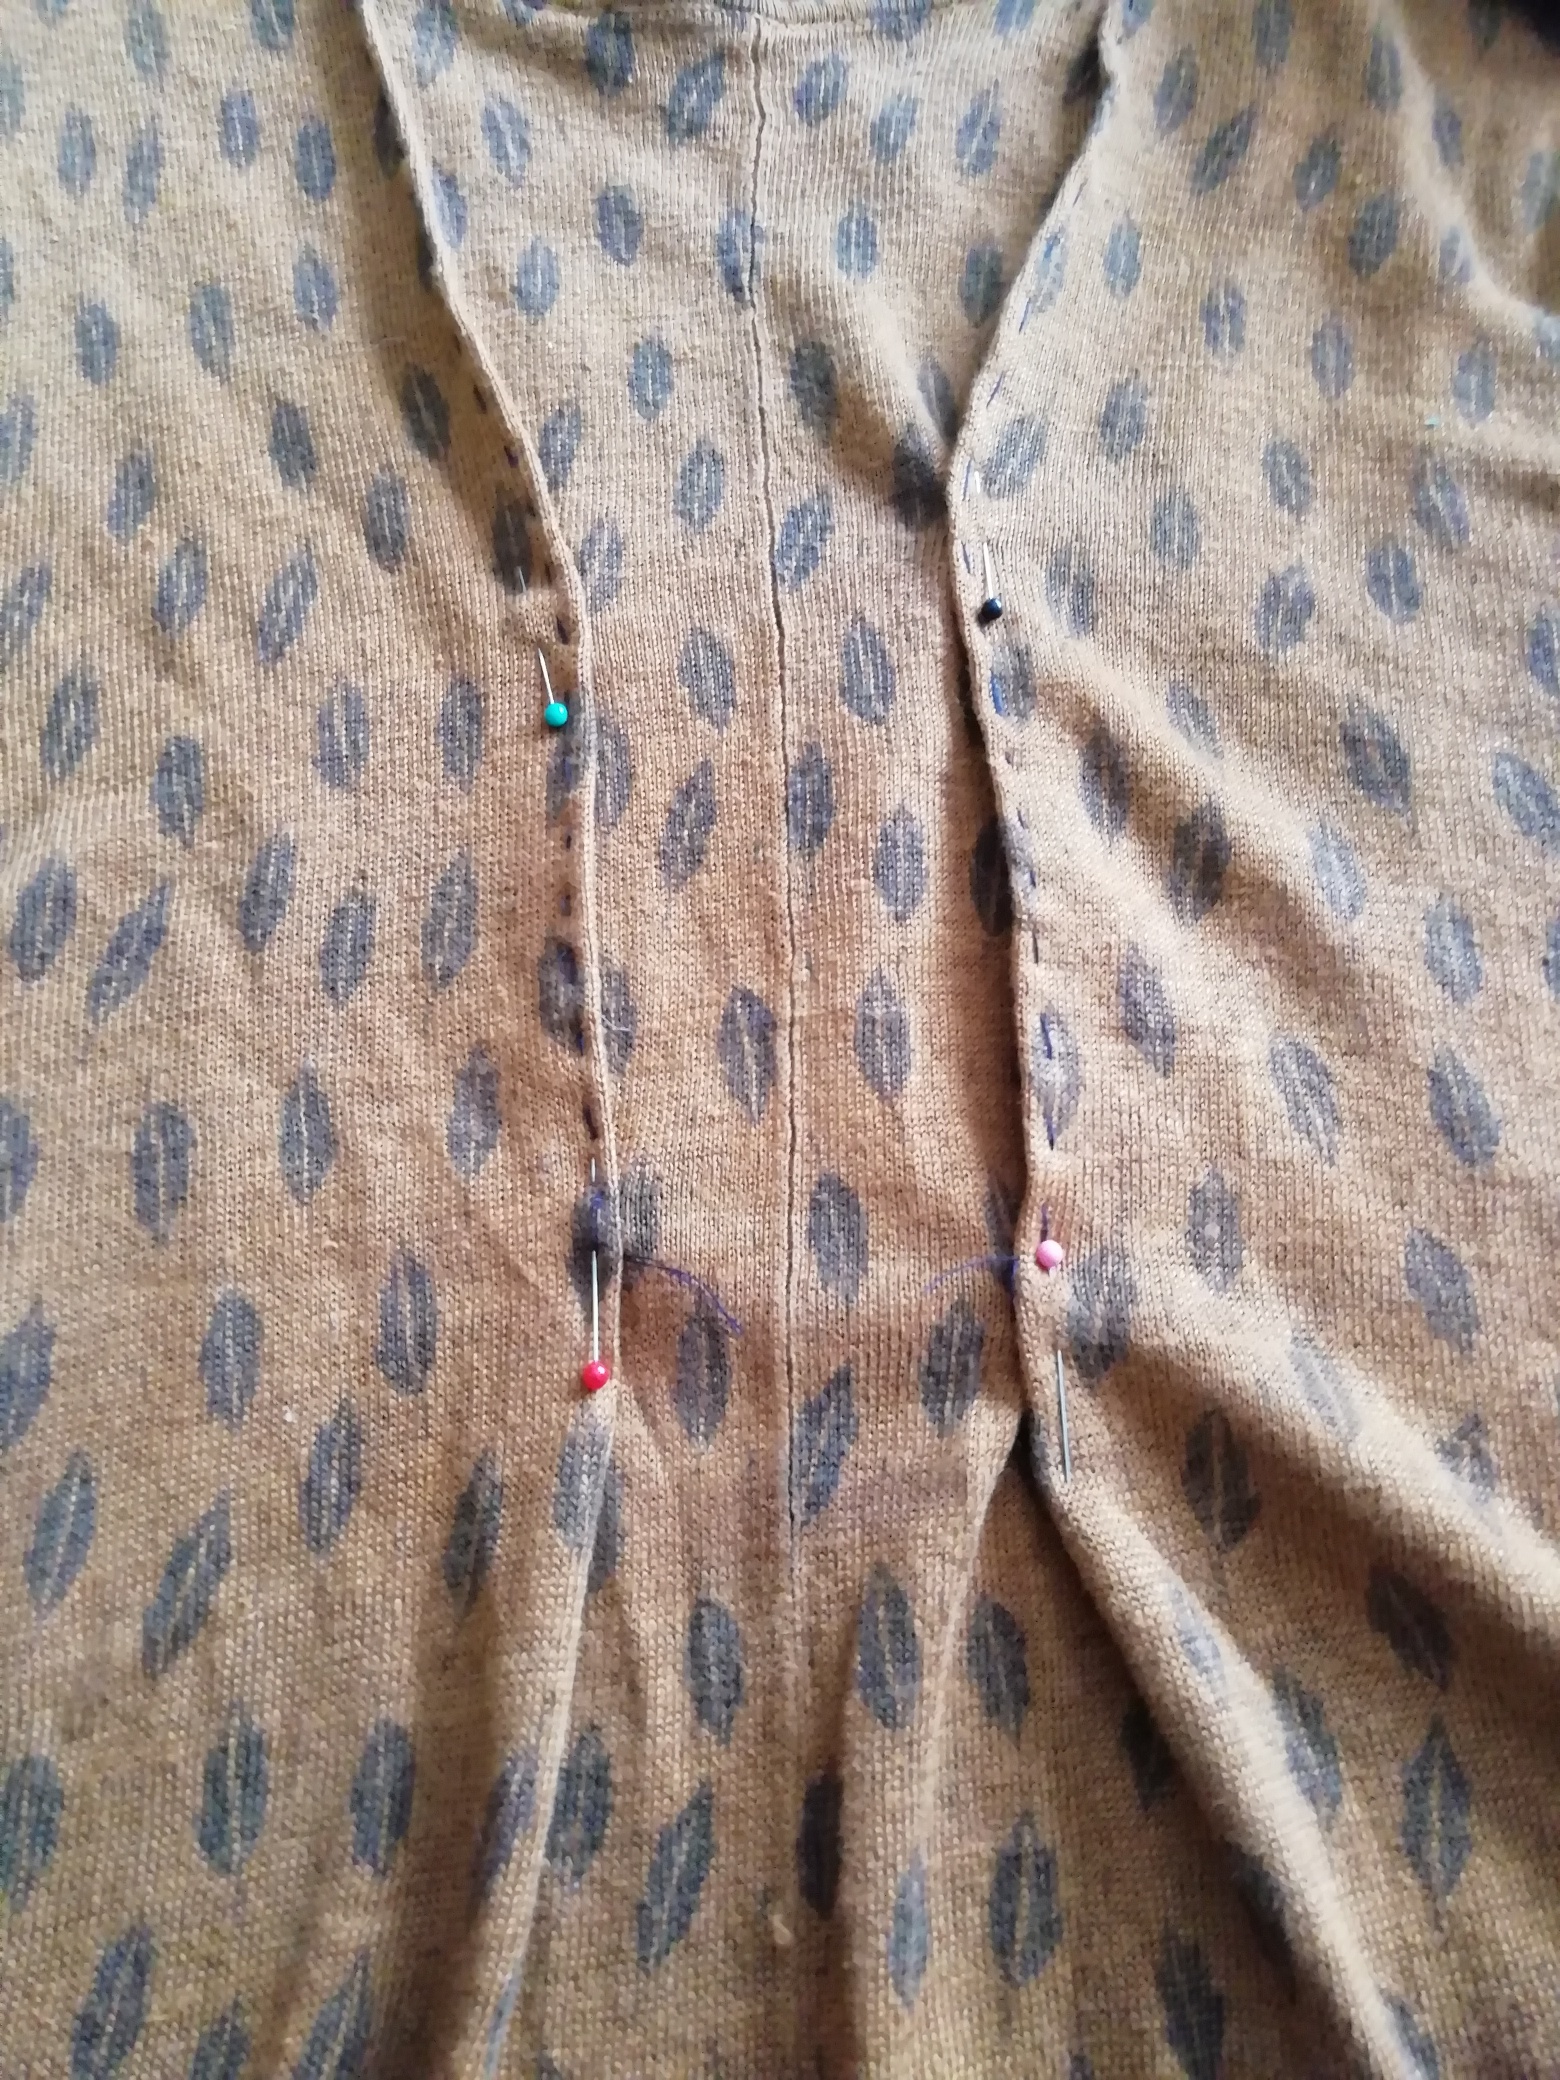
I laid the dress out flat, and was glad to see that the middle seams line up in the front and back. This will make things easier.
Also, make sure to line up your side and shoulder seams. The hankie edge doesn’t look like much, but when on a person it’s quite noticeable.
Pin your vertical measurement and mark it. Pin the hem so that you’ll keep things even while you mark and cut.
Step 4: Trim That Hem
Normally, I would cut a strip off of the bottom, being careful to maintain an even width. But that’s the technique to use if you want to preserve the shape of the hem, which I don’t. Instead, I want a straight hem. So I’m cutting straight across.
This fabric rolls up in a lovely way even when you leave it unfinished. I love that, but it means extra work when you’re trying to pin the hems together in an exact way.
Step 5: Try it On
When making anything that you’ll eventually wear, it’s important to try it on as often as is practicable, to make sure that things are exactly as you want them.
As you can see, the dress is a bit better, now, but still sort of dowdy.

Step 6: Oh, look! An Idea!
This is when inspiration struck, as it sometimes does. I saw a place to add some simple detail — simple for me, but still interesting for the viewer. Specifically, I thought to add some grommets and use an Oktoberfest-style detail to take in some of the dress’s fullness, rather than reshaping the side pieces or adding darts.
Step 7: Forming the Bodice Triangles
While wearing the dress, I started thinking about darts. Then I started thinking about external darts. Then I pinched a bit of fabric over the chest on each side, and drew them toward the center. It took a bit of experimentation, but ultimately, I ended up with two evenly-spaced, same-size triangles.
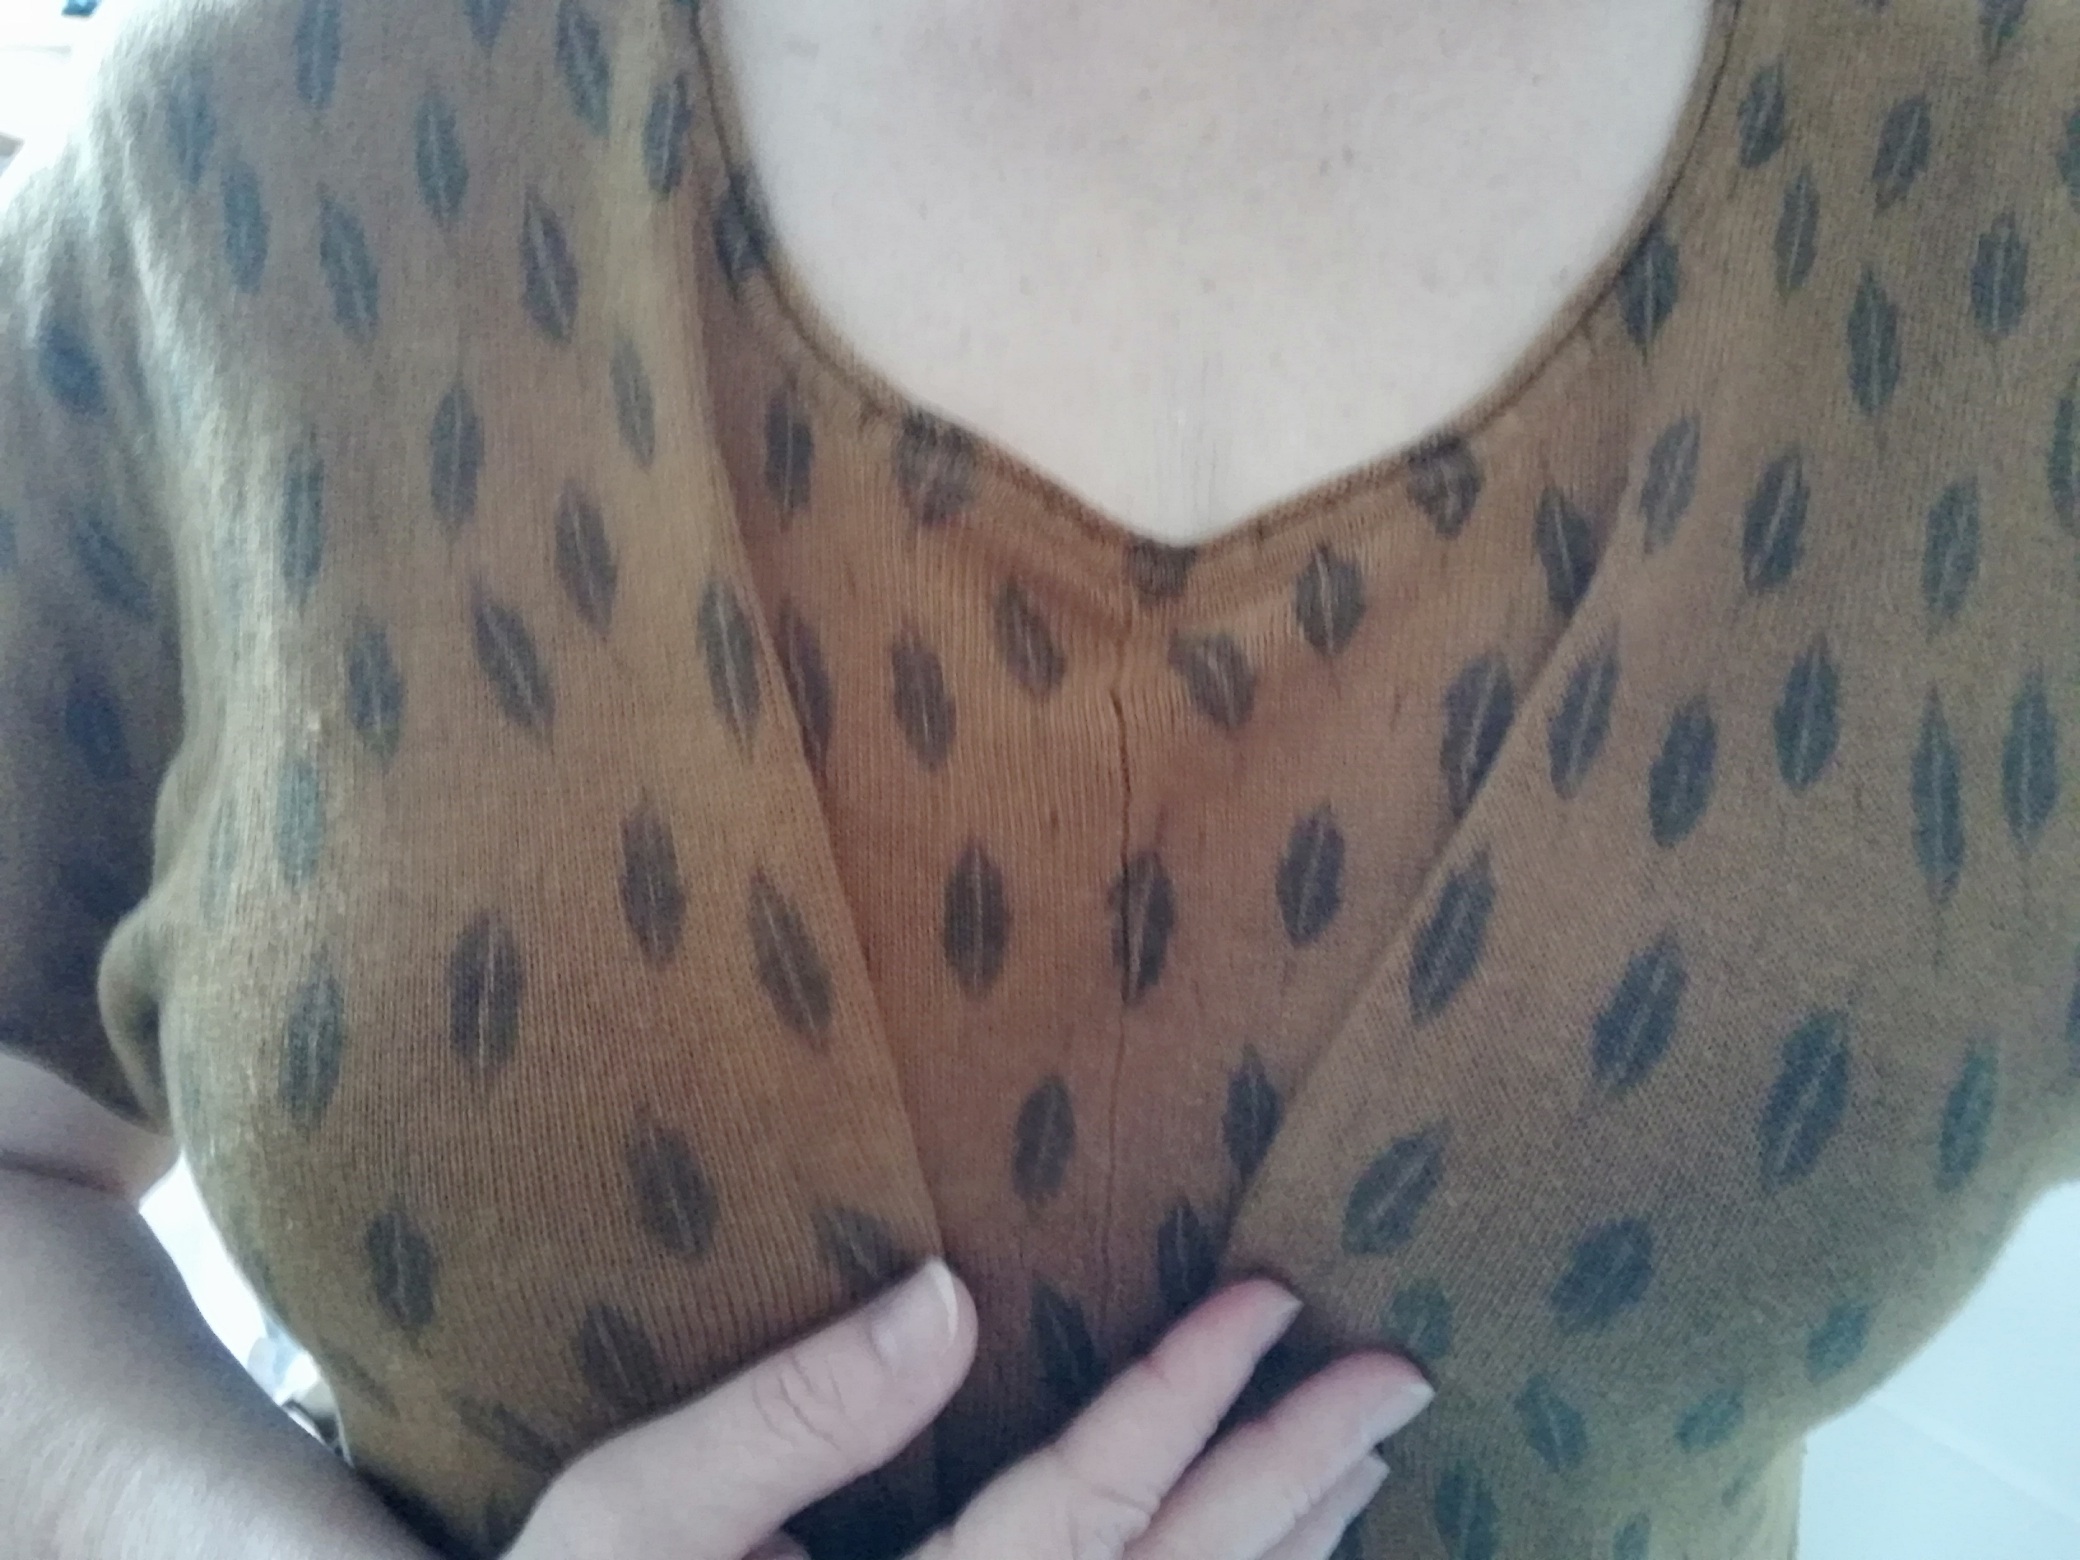
I pinned the triangles, took the dress off, then recreated the effect with the dress lying flat.
I took several measurements. They included:
- The length of all three sides of the triangles
- The measurement of each triangle’s vertex to the base
- The distance between the bases of the two triangles
- The distance from the bases of the triangles to the side seam.
I pinned again, more precisely, and tried it on again.
There’s still a bit of a handkerchief edge, but it’s much less and looks considerably better. Also, I can use the extra fullness in my New Detail.
This is where it would come in really, really handy to have a dressmaker’s dummy. Unfortunately I haven’t the room. Alas.
Step 8: Ready, Set, Baste!
Now I basted along the two sides of the triangle that meet at the vertices.
Yes. I’m normally too impatient to baste when it isn’t absolutely necessary. But I’ve been burned my impatience enough times to know that eyeballing and hoping for the best generally isn’t enough. So I basted it.
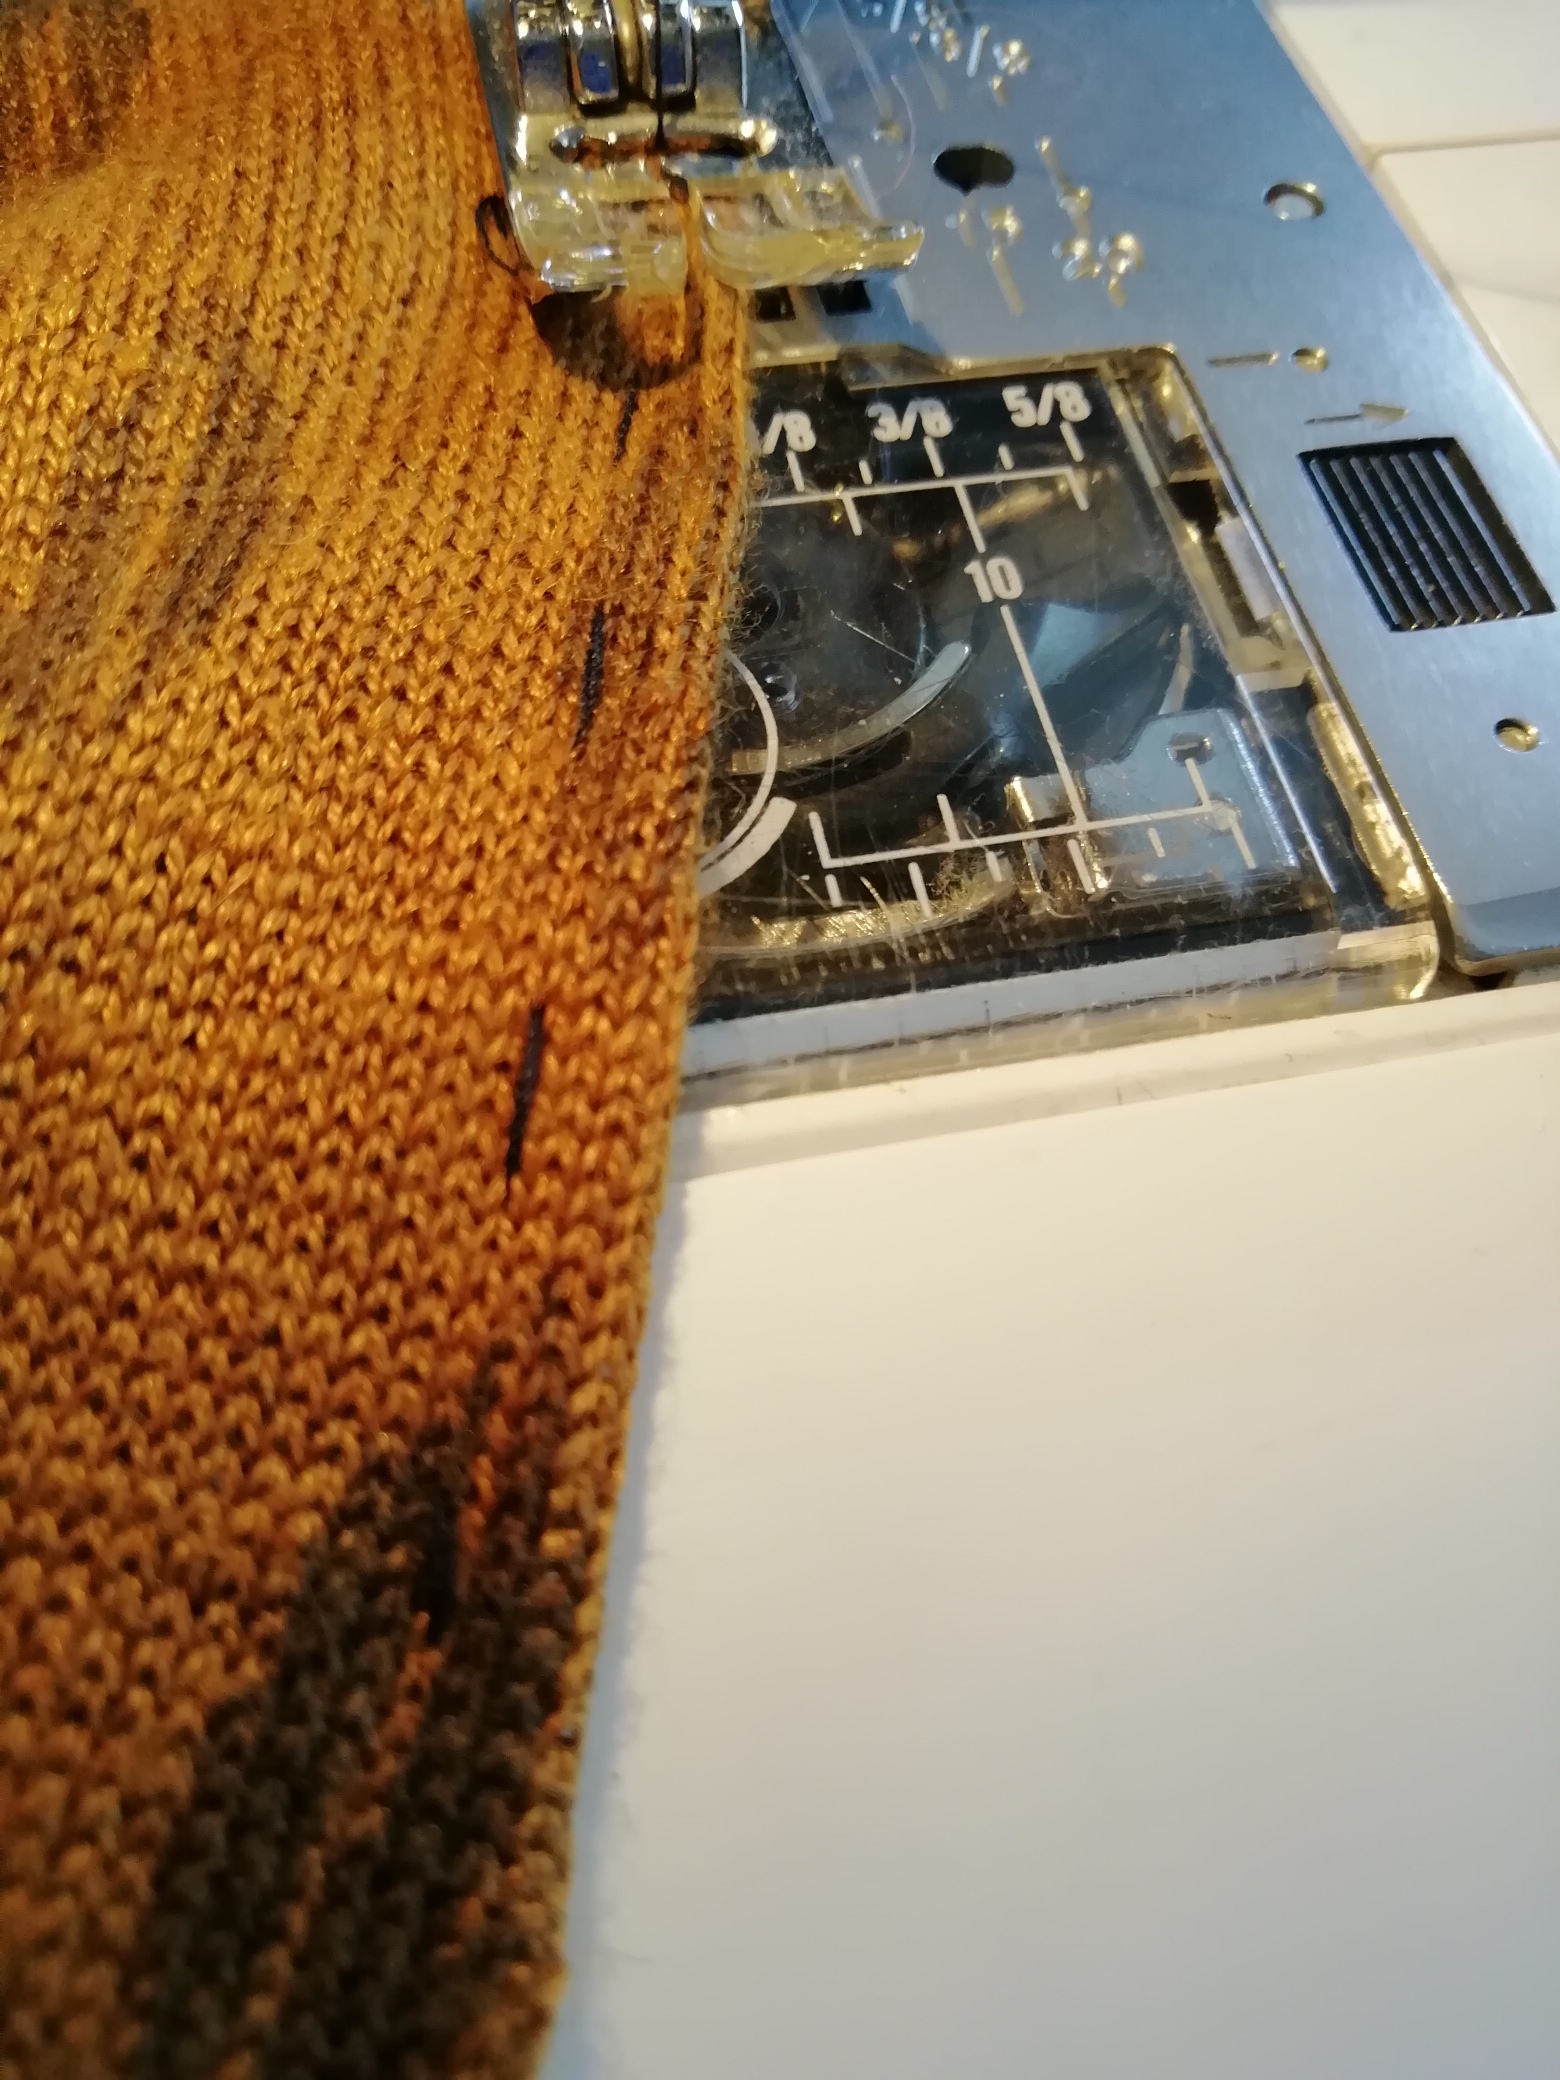
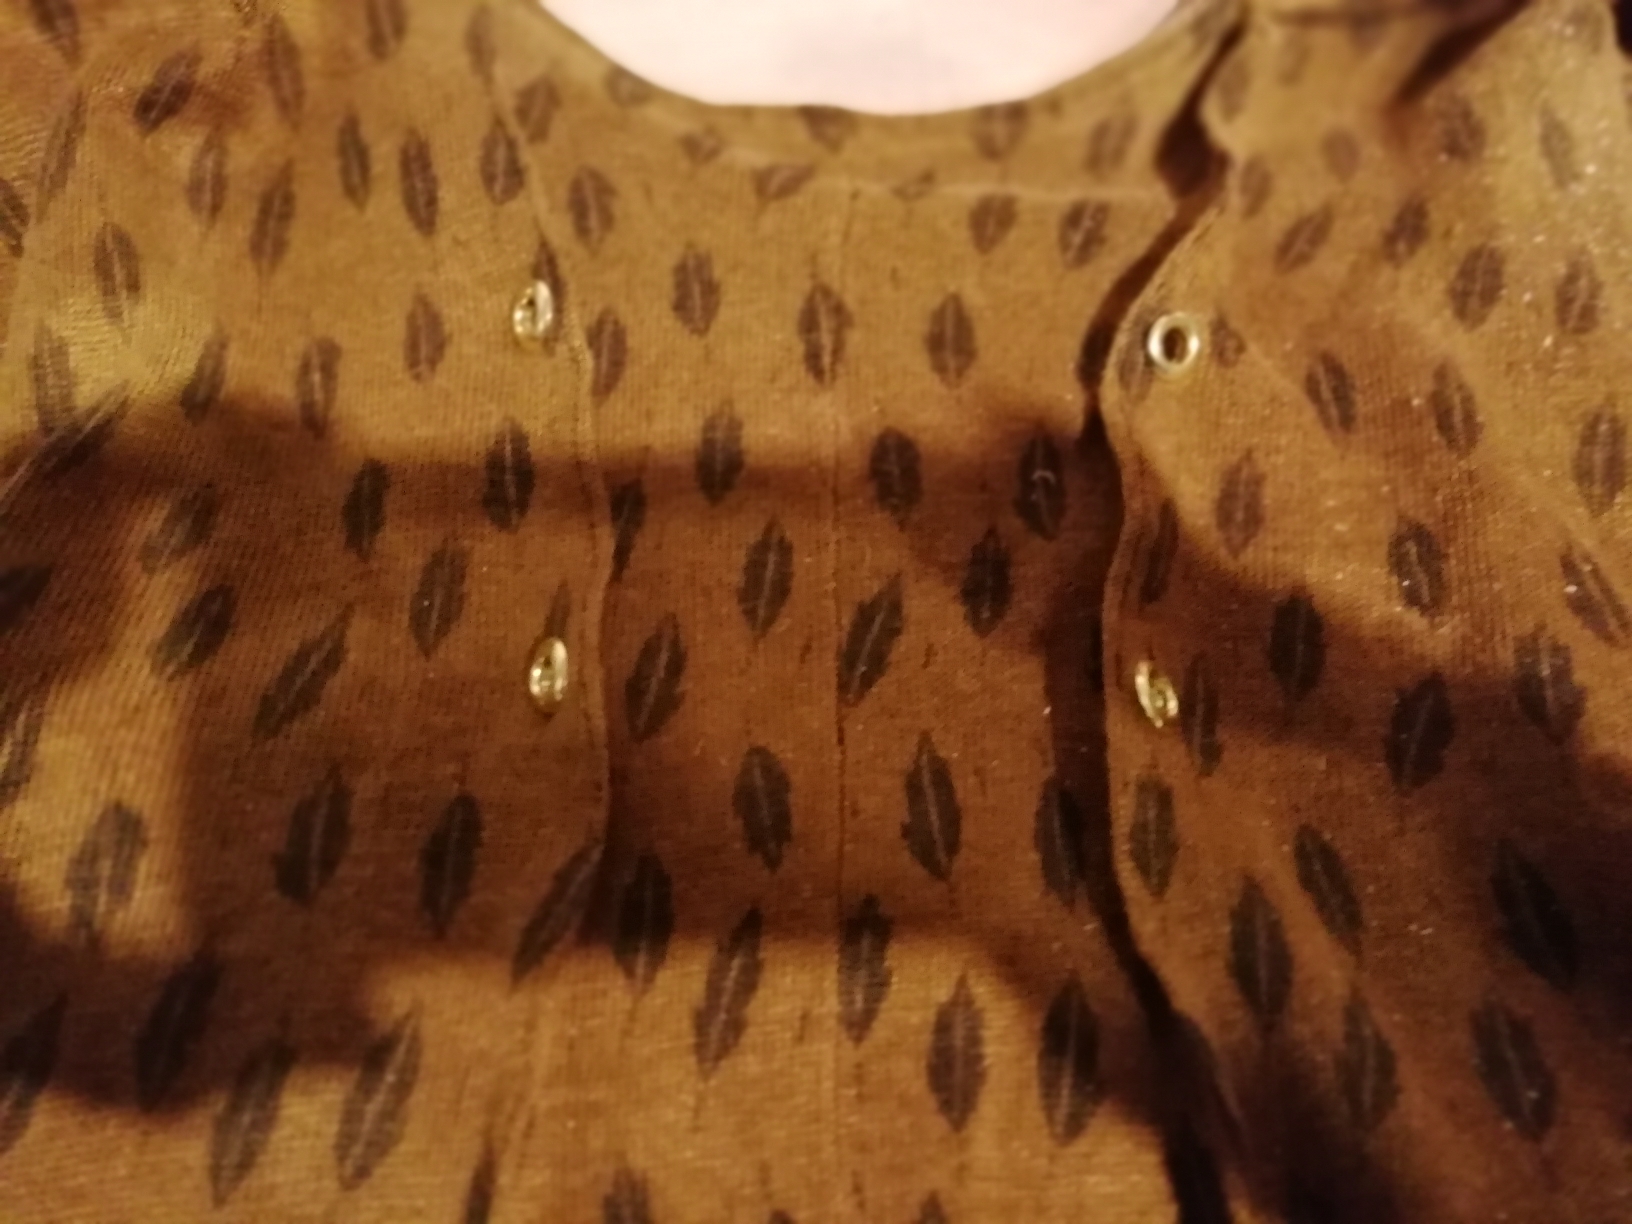
Step 8: Topstitch
After that I double-measured then topstitched along my basting line about 1/8 inch from the edge. I used my regular sewing machine for this.
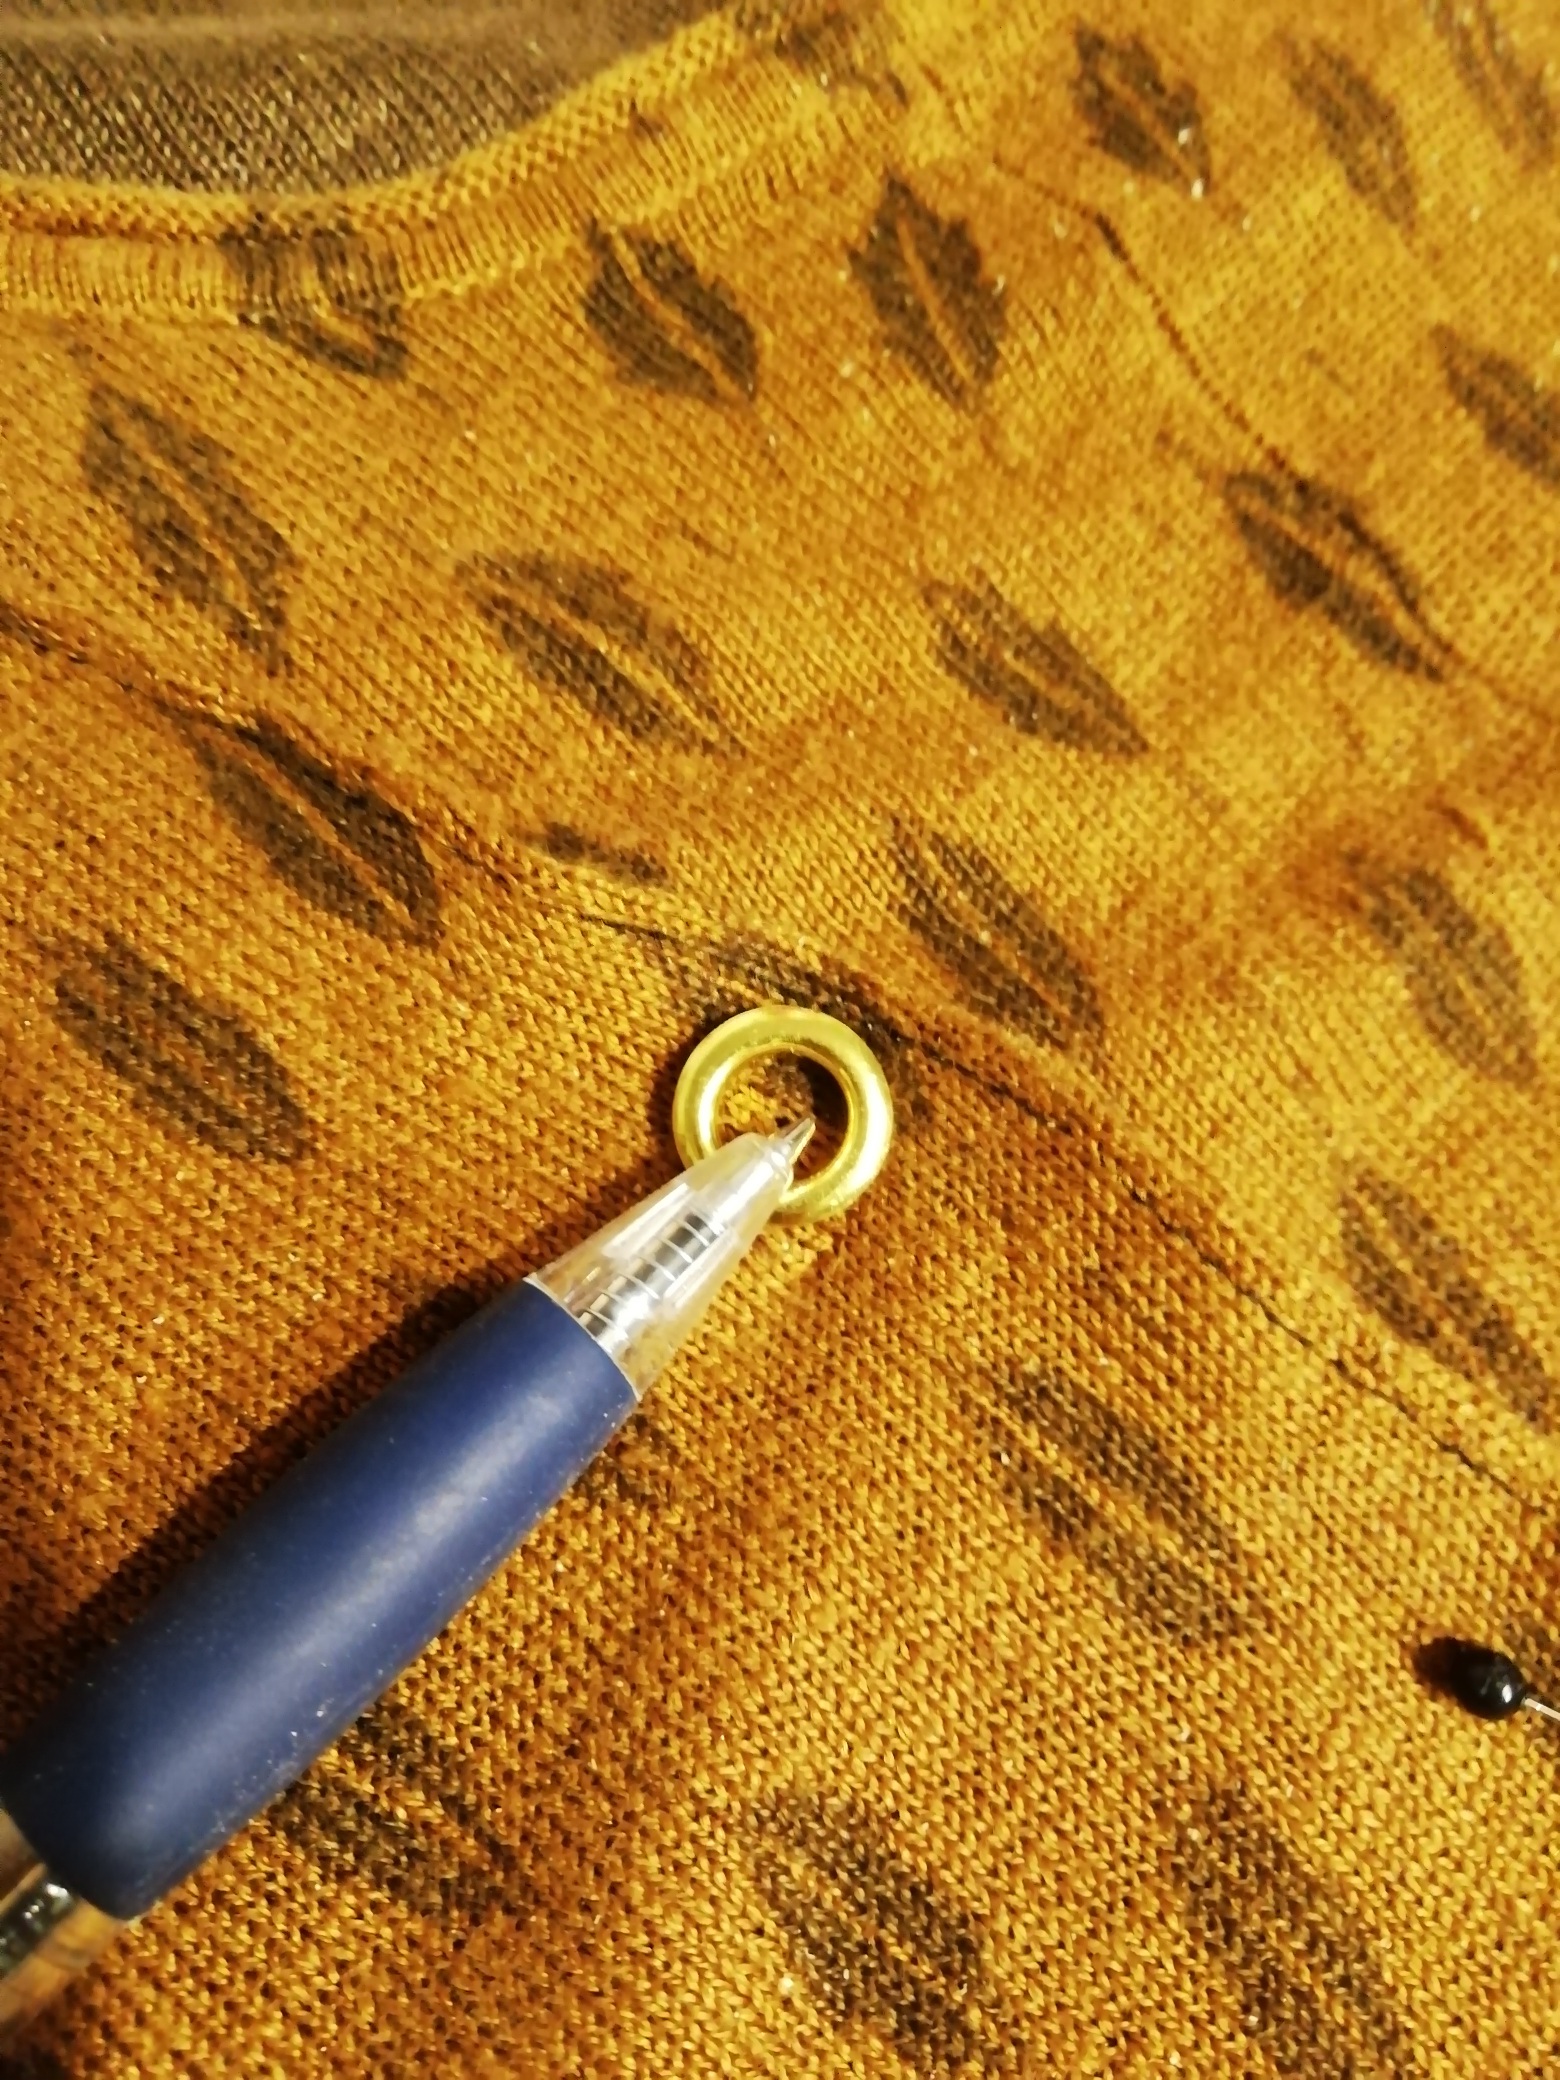
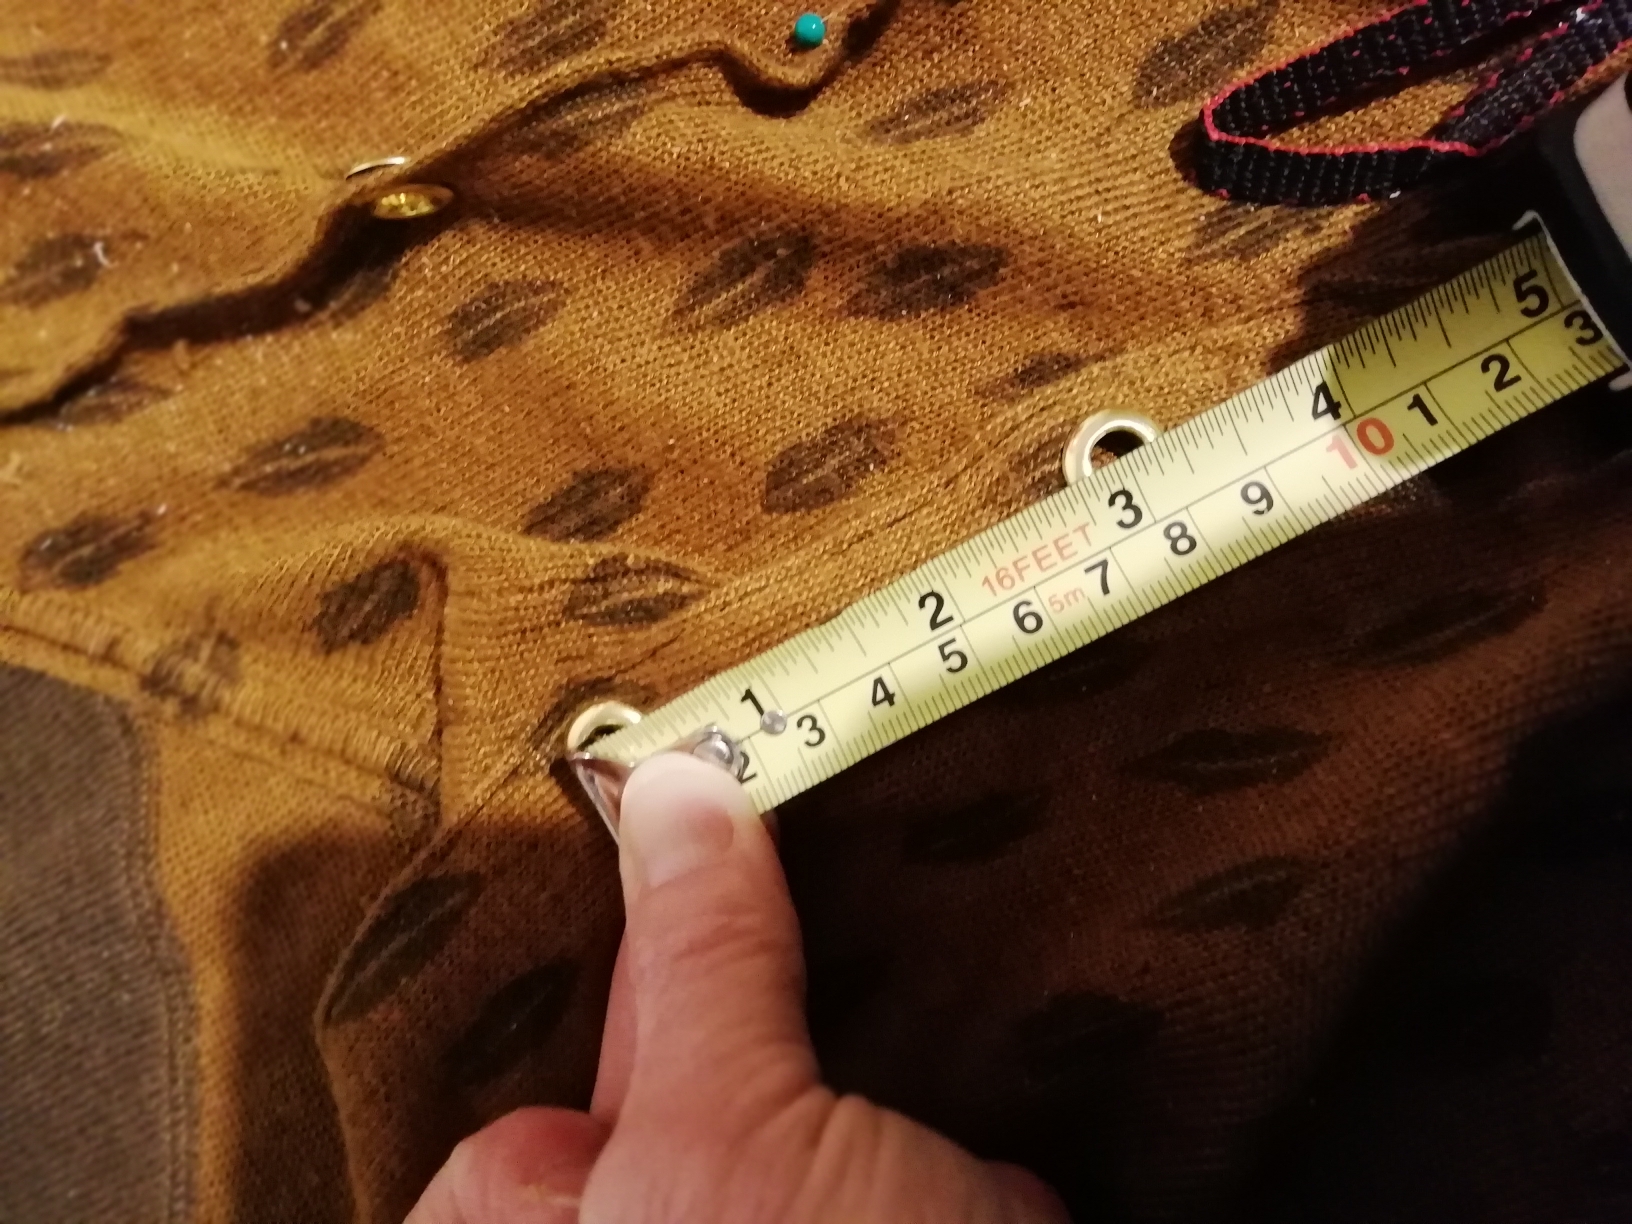
Step 9: It’s Hammer Time
Now it’s time to put on the grommets. To be honest, these weren’t the perfect grommets for the job. I’d have loved to have smaller ones. But this isn’t America, and there isn’t a Michael’s on every corner, and besides, the challenge is to use things that I already have. So. Big grommets from the January Hood Rescue it is.
I marked the places for my grommets. White knuckle times, as this is a permanent change that can ruin the garment. Have to tell myself it wasn’t getting a lot of use anyway.
After marking, I made teensy holes with my seam ripper and gently stretched them to accommodate the grommets. Before you do that, depending on your fabric, you might consider ironing on a tiny bit of fusible behind the holes for reinforcement. Ask me why I’m suggesting this.
Not gonna lie, that was terrifying. This was the only part of the operation that can’t be taken back. But it’s over and it’s fine now, so whew!

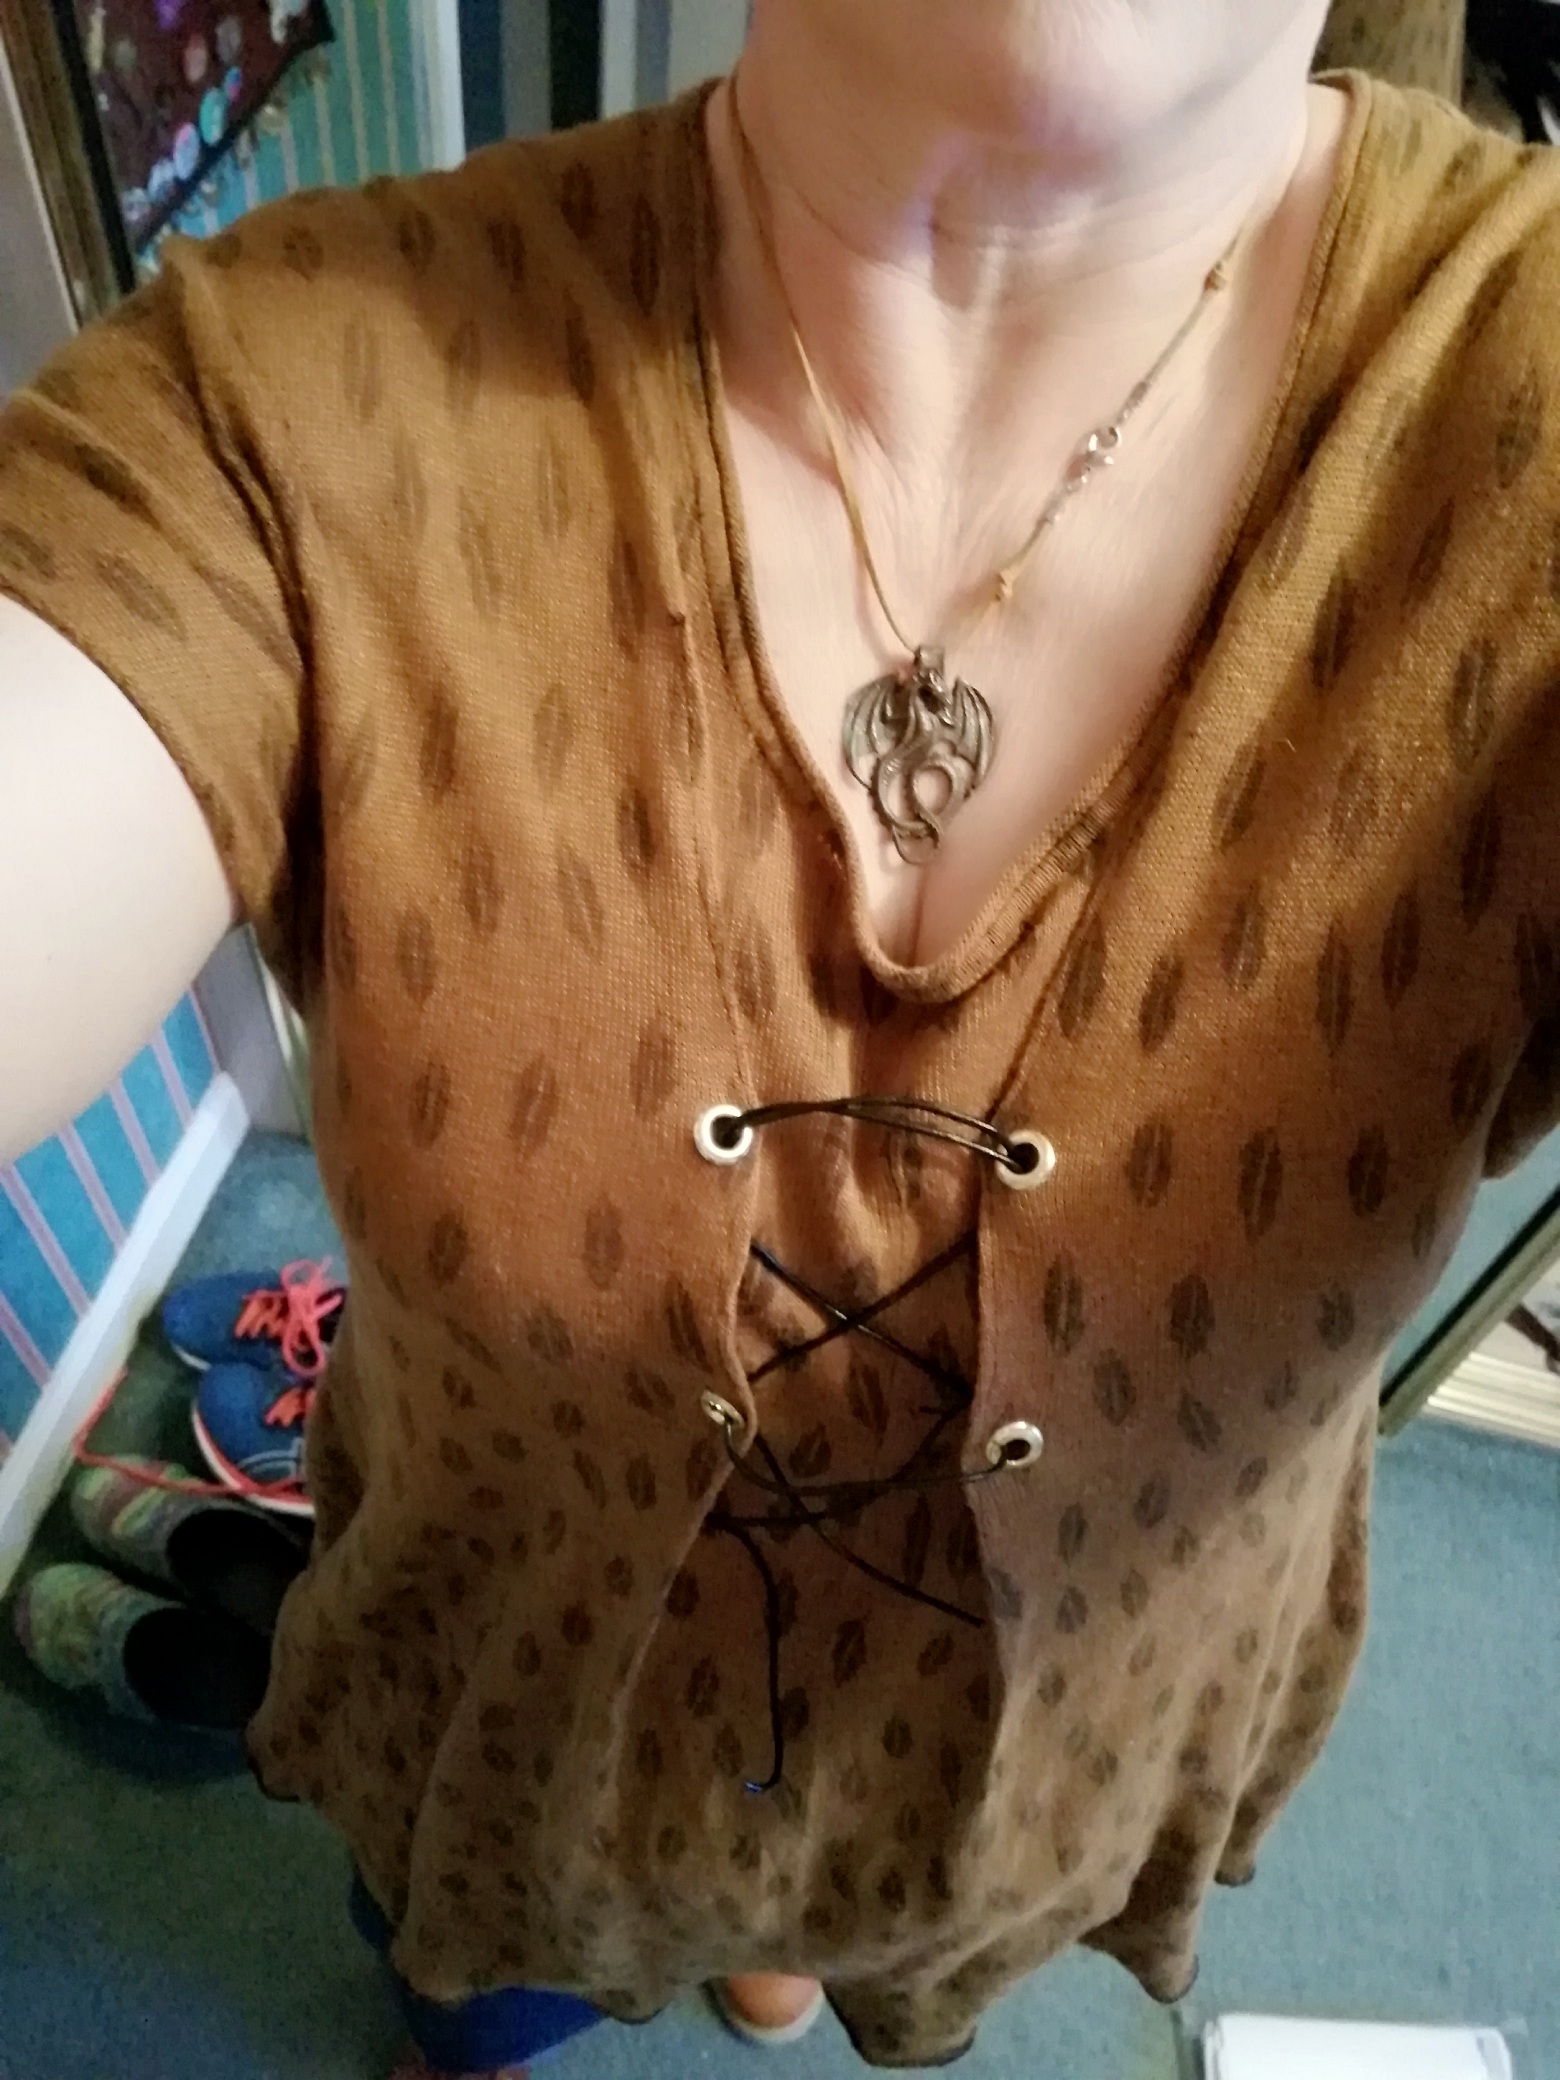
Step 10: Yet Another Fitting
Now it’s time to lace up and see how it looks. Bring your paracord through the holes in your desired configuration and knot the ends.
Do you like how it looks? Of course you do.
Step 10: A New Hem
The only thing left is to put a pretty rolled hem on the bottom. There’s still a wee bit of a handkerchief thing going on, but it’s good enough and I don’t want to mess with it. I used my serger to do this.
It took me a bit of experimenting to find exactly the right serger stitch for the bottom. If you’re an experienced serger user (full disclosure: I’m not) then you might know right away. But if you’re not, then grab a scrap from your discarded hem and do some investigation.
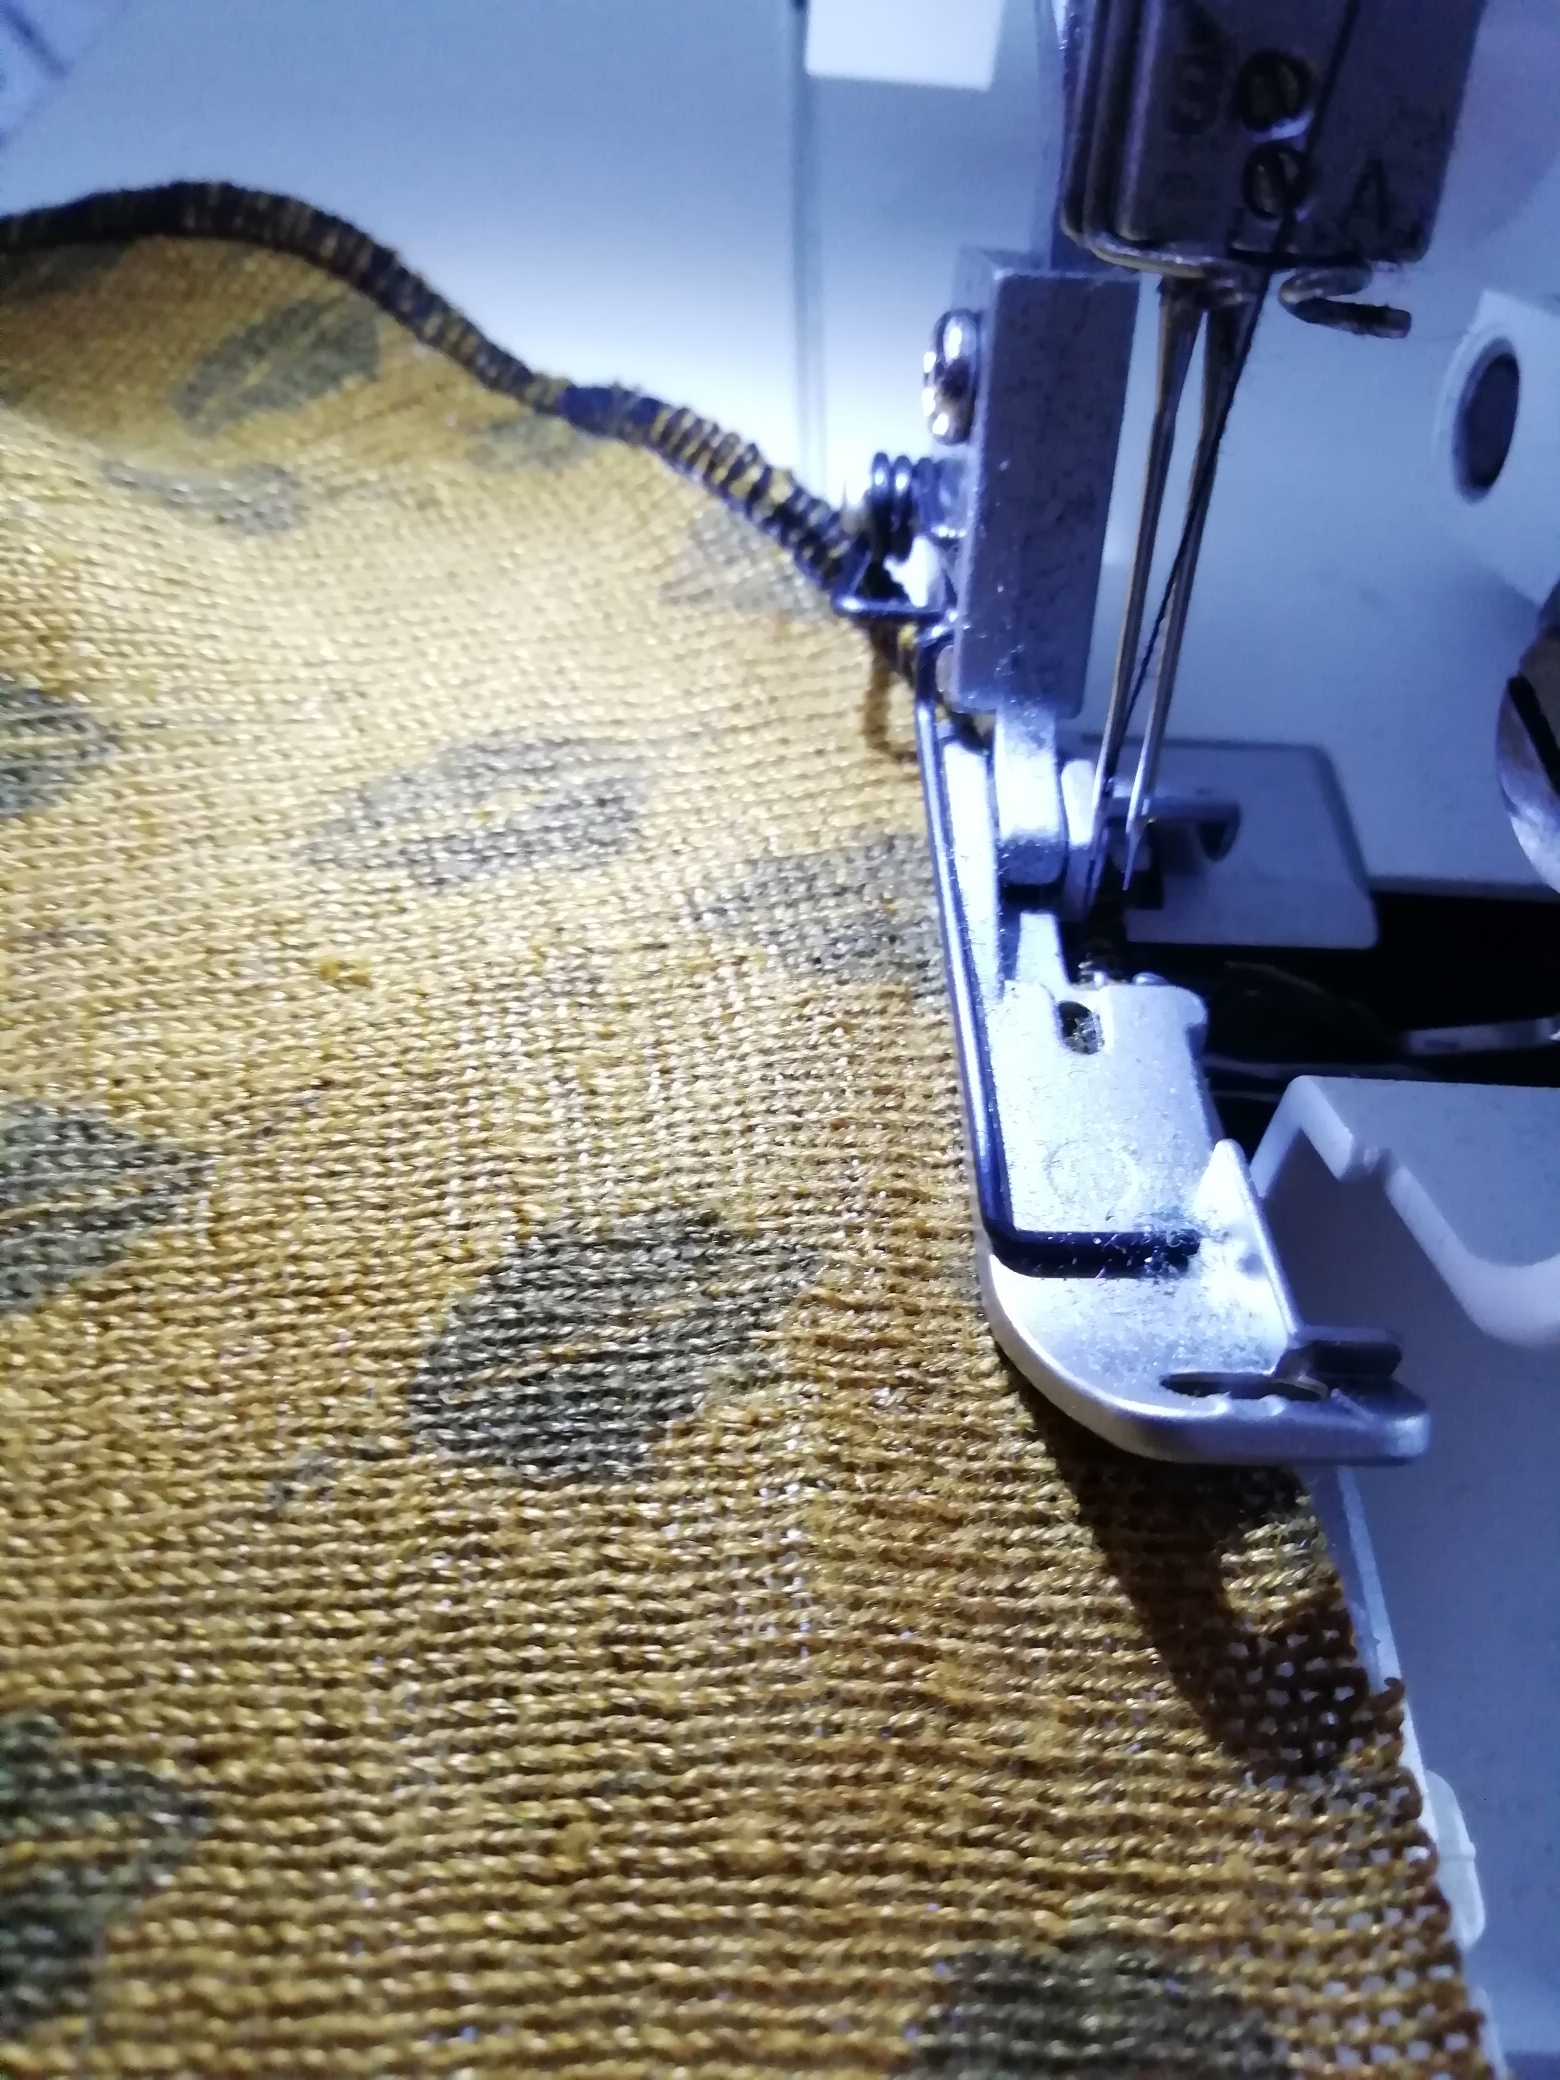
I thought first to use a narrow rolled hem. It didn’t work. Then I tried a regular 3-thread overlock. Better, but not perfect. A wide three-thread rolled hem turned out to be just the ticket.
Step 11: Final Fitting
Try on your new garment. Do you like the way it looks? I do. In fact, I’ve worn this piece more times in the past few weeks than I had since purchasing it. Just like my new Favorite Green Shirt.
No Chat, Just Sew
If you came for the instructions and not the chat, here you go:
Your Tools
- Serger and Sewing Machine
- Measuring Tape
- Thread
- Scissors or Rotary Cutter
- Grommets and Grommet Setter
- Paracord
- Fusible Interfacing
Unfortunate Hemline Rescue Step by Step
Step 1: Measure your garment for length
Step 2: Measure your garment for width
Step 3: Measure and mark your pieces
Step 4: Trim the hem
Step 5: First fitting
Step 6: The Bodice
- Find the points of your bodice triangles
- Pin the two outer edges of your bodice triangles
- Baste the outer edges of your bodice triangles
- Topstitch over your basting
- Mark your grommet holes
- Reinforce the holes with fusible, if desired
- Make your holes
- Set your grommets
- Lace up
Step 7: Serge the hem (three-thread wide rolled hem)
Final Thoughts
If you’ve made it this far, congratulations! And thank you. Before I go, I’d like to once again plug this book, which is a wealth of tailoring techniques and secrets.
And, if you’re tired from even thinking about garment rescue and want to read a bit of fluffy fiction, why not try one of mine?

Leave a comment