
Today I want to talk about armpits.
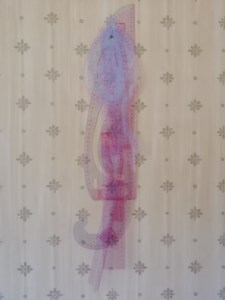
This top sat in the back of my closet, unjustly, for about three years. I never got rid of it because I like it, but I didn’t wear it because it pinched my pits.

You might think that if a garment is uncomfortable, finding out *why* would be pretty straightforward. But sometimes it’s not. To wit, this shirt fit brilliantly around the bust, around the shoulders, around the arms, and across the back. And yet the bodice just never felt right.
So I did a bit of research.
Dr. Internet suggested that the problem was not enough room in the armpits. Weird, right? A bit more research suggested that adding gussets — basically armpit-shaped expansion pieces — to the armpits might do the trick.
Years ago, I might have thought, “Oh, dear! It looks like I have FAT ARMPITS! Perhaps I should embark upon some sort of STUPID UNSUSTAINABLE DIET.”
Fortunately, for you and for me, I seem to have misplaced the flips I had to give about that sort of thing. Clothing should be altered to fit the body, not the other way around. And I like my armpits as they are, thank you very much.
So that’s what I tried.
Hey-ho, that’s more chat than I wanted first thing in the morning. How about the directions?
So today we’re going to add armpit gussets. How do you do that? I’m glad you asked. First, gather your tools.
Sewing Machine
Because this is a topstitching job, I’m using my regular sewing machine. I have a Necchi 6160, which is a bit of a white elephant, but it’s served me solidly for over a decade, and it’s built like a tank.
The original seams of this top were serged, but I’m just going to finish it off with the regular machine, because I don’t feel like dragging out my serger just to reattach the sleeves.
Seam Ripper
You will also need a seam ripper to unpick your stitches.
Pins
Dressmaker’s pins will keep everything together before and during sewing.
Iron
An iron will keep everything tidy and crisp. I also found myself wishing for a mini iron for pressing corners.
Ruler
A good ruler is a sewist’s best friend. Oh, by the way, check this out.
My DH put a nail into the dining room wall to hang my sewing rulers and French curve.
The dining room has been at the centre of a low-key territorial dispute for some time, and this strikes me as a concession of territory.
I shall accept this gift with good grace and not be smug about it.
Scissors
Yes, yes, of course you’ll need a sharp pair of sewing scissors.
Gusset Cloth
Finally, you’ll need cloth with which to make your gussets. How much? That depends on how big you want your gussets to be. I would imagine you won’t need more than a fat quarter. Some people may need even less than that. I like to use my offcuts, because you never know what you might find in there.
Your gussets don’t have to match your shirt. You might even want something bright and contrasting for a bit of fun.
If you want to have an easy time of it, choose fabric for your gusset that is a similar weight and material as the fabric you’re adding it to.
That’s it? That’s it.
How to Add Underarm Gussets, Step by Step
So, how do you add gussets? It’s actually pretty easy.
The finished gussets will be diamond-shaped, with the widest part right in the centre of the armpit. We’re going to be constructing the diamond from two isosceles triangles sewn together at the base.
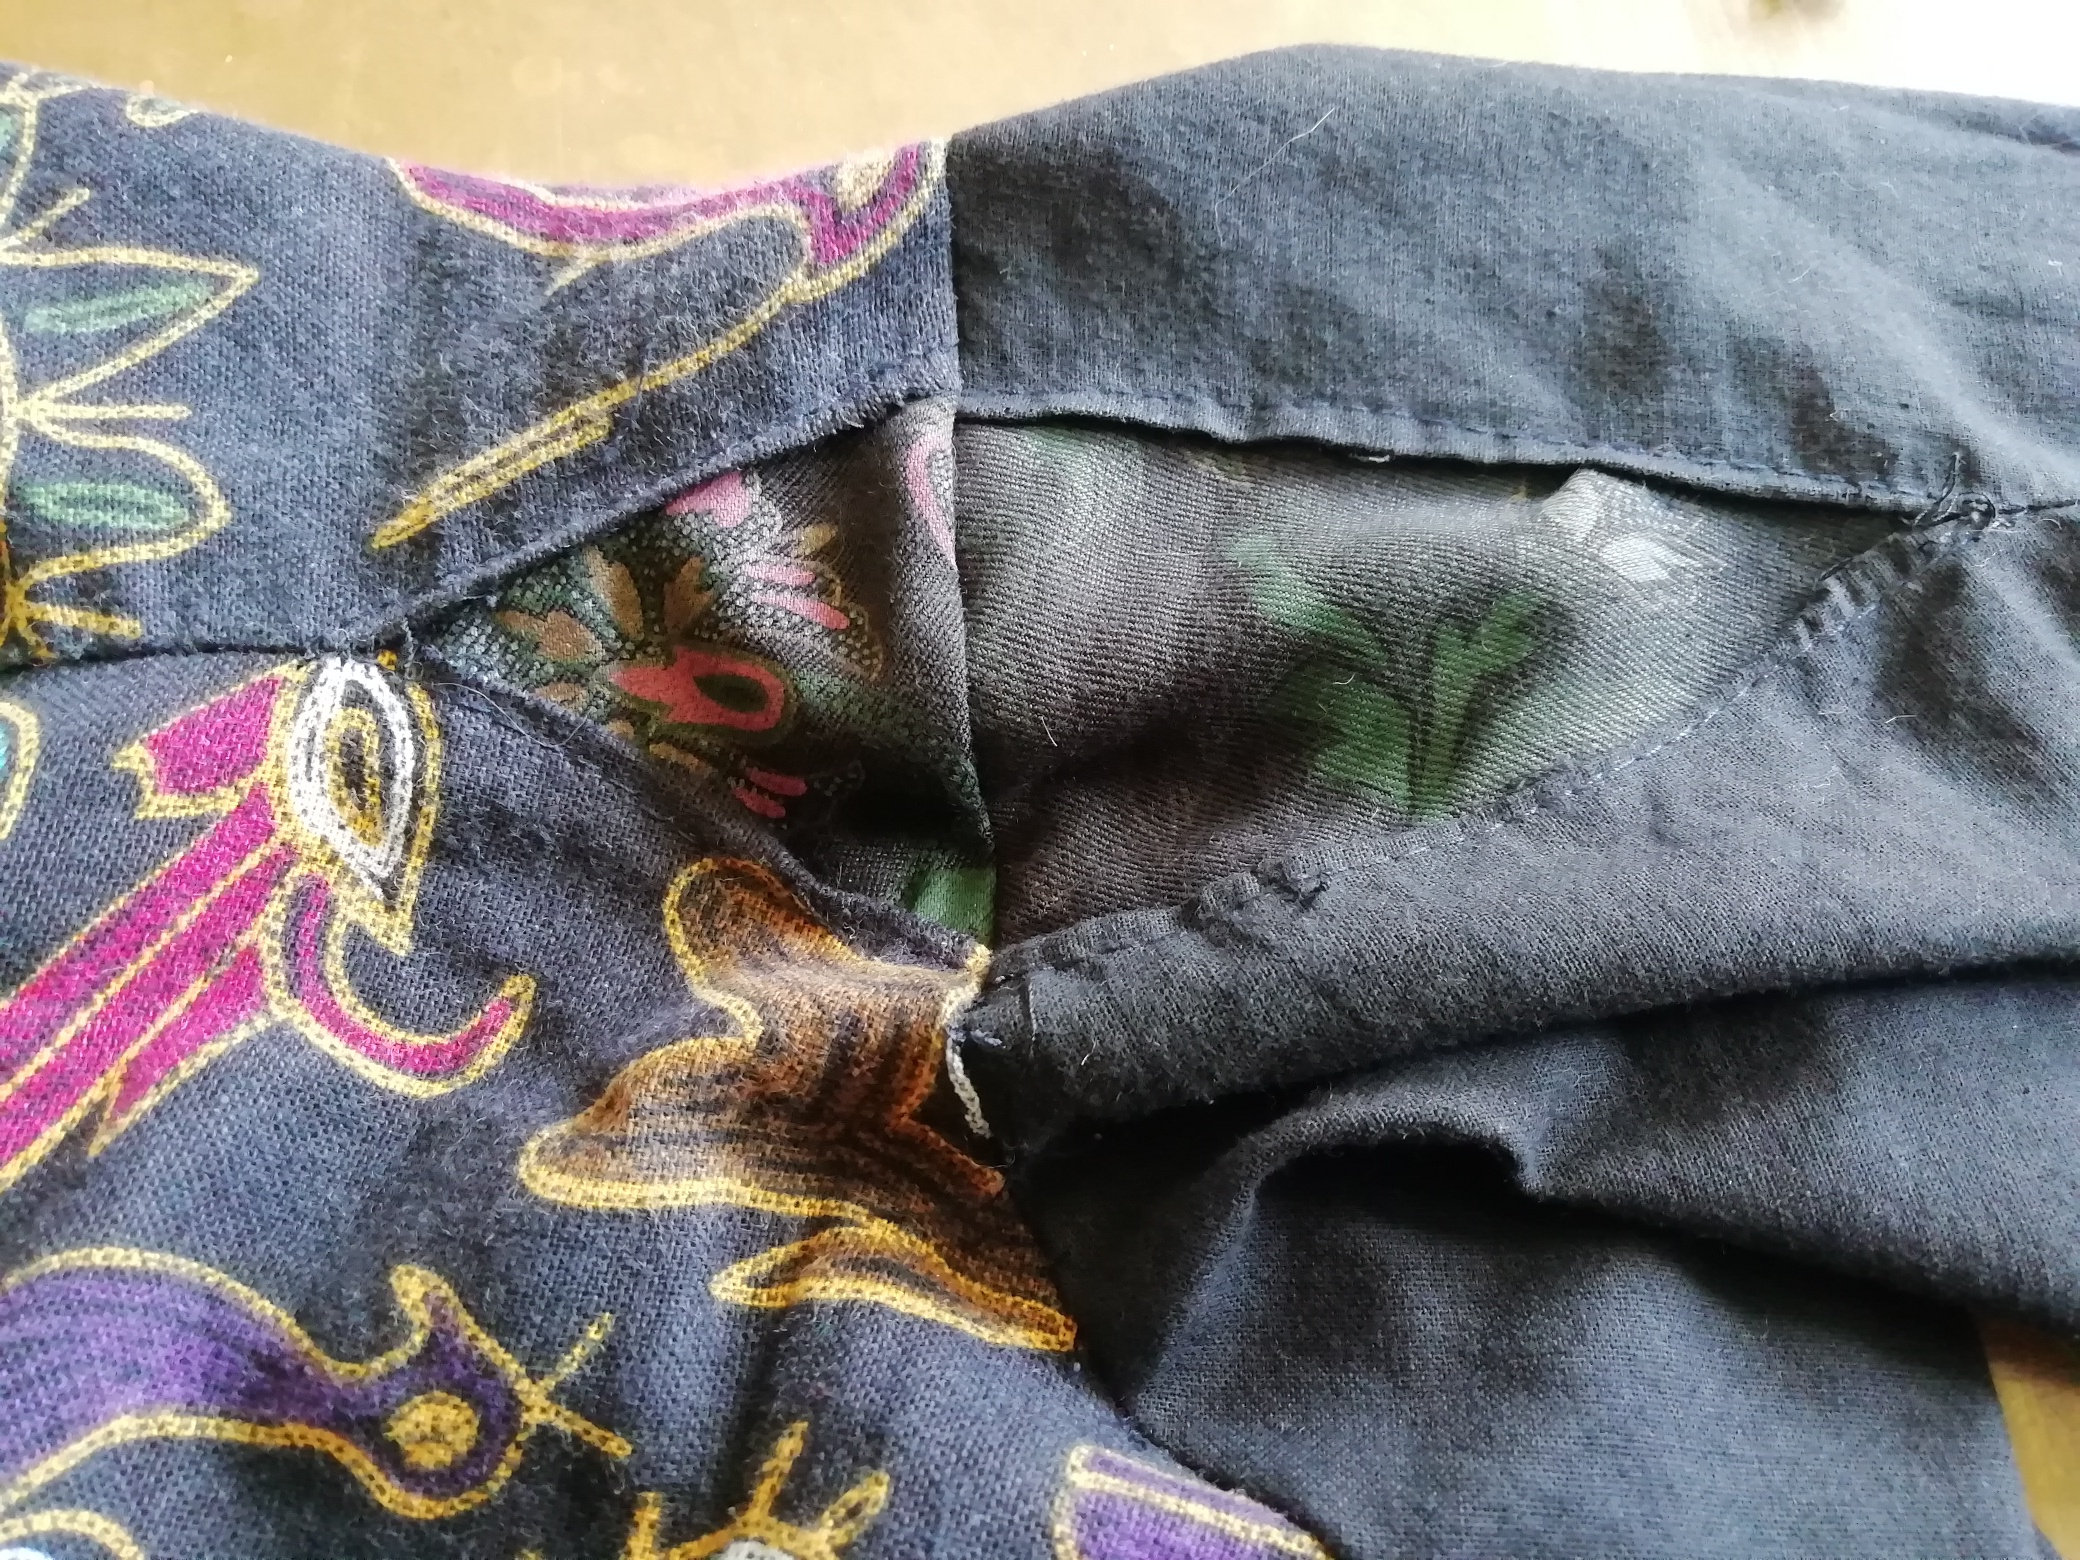
Step 1: Unpick
The first thing you’ll have to do is unpick the seams. You’ll be unpicking in several places. Now, see this complicated pattern of stitches? These were made by a serger.
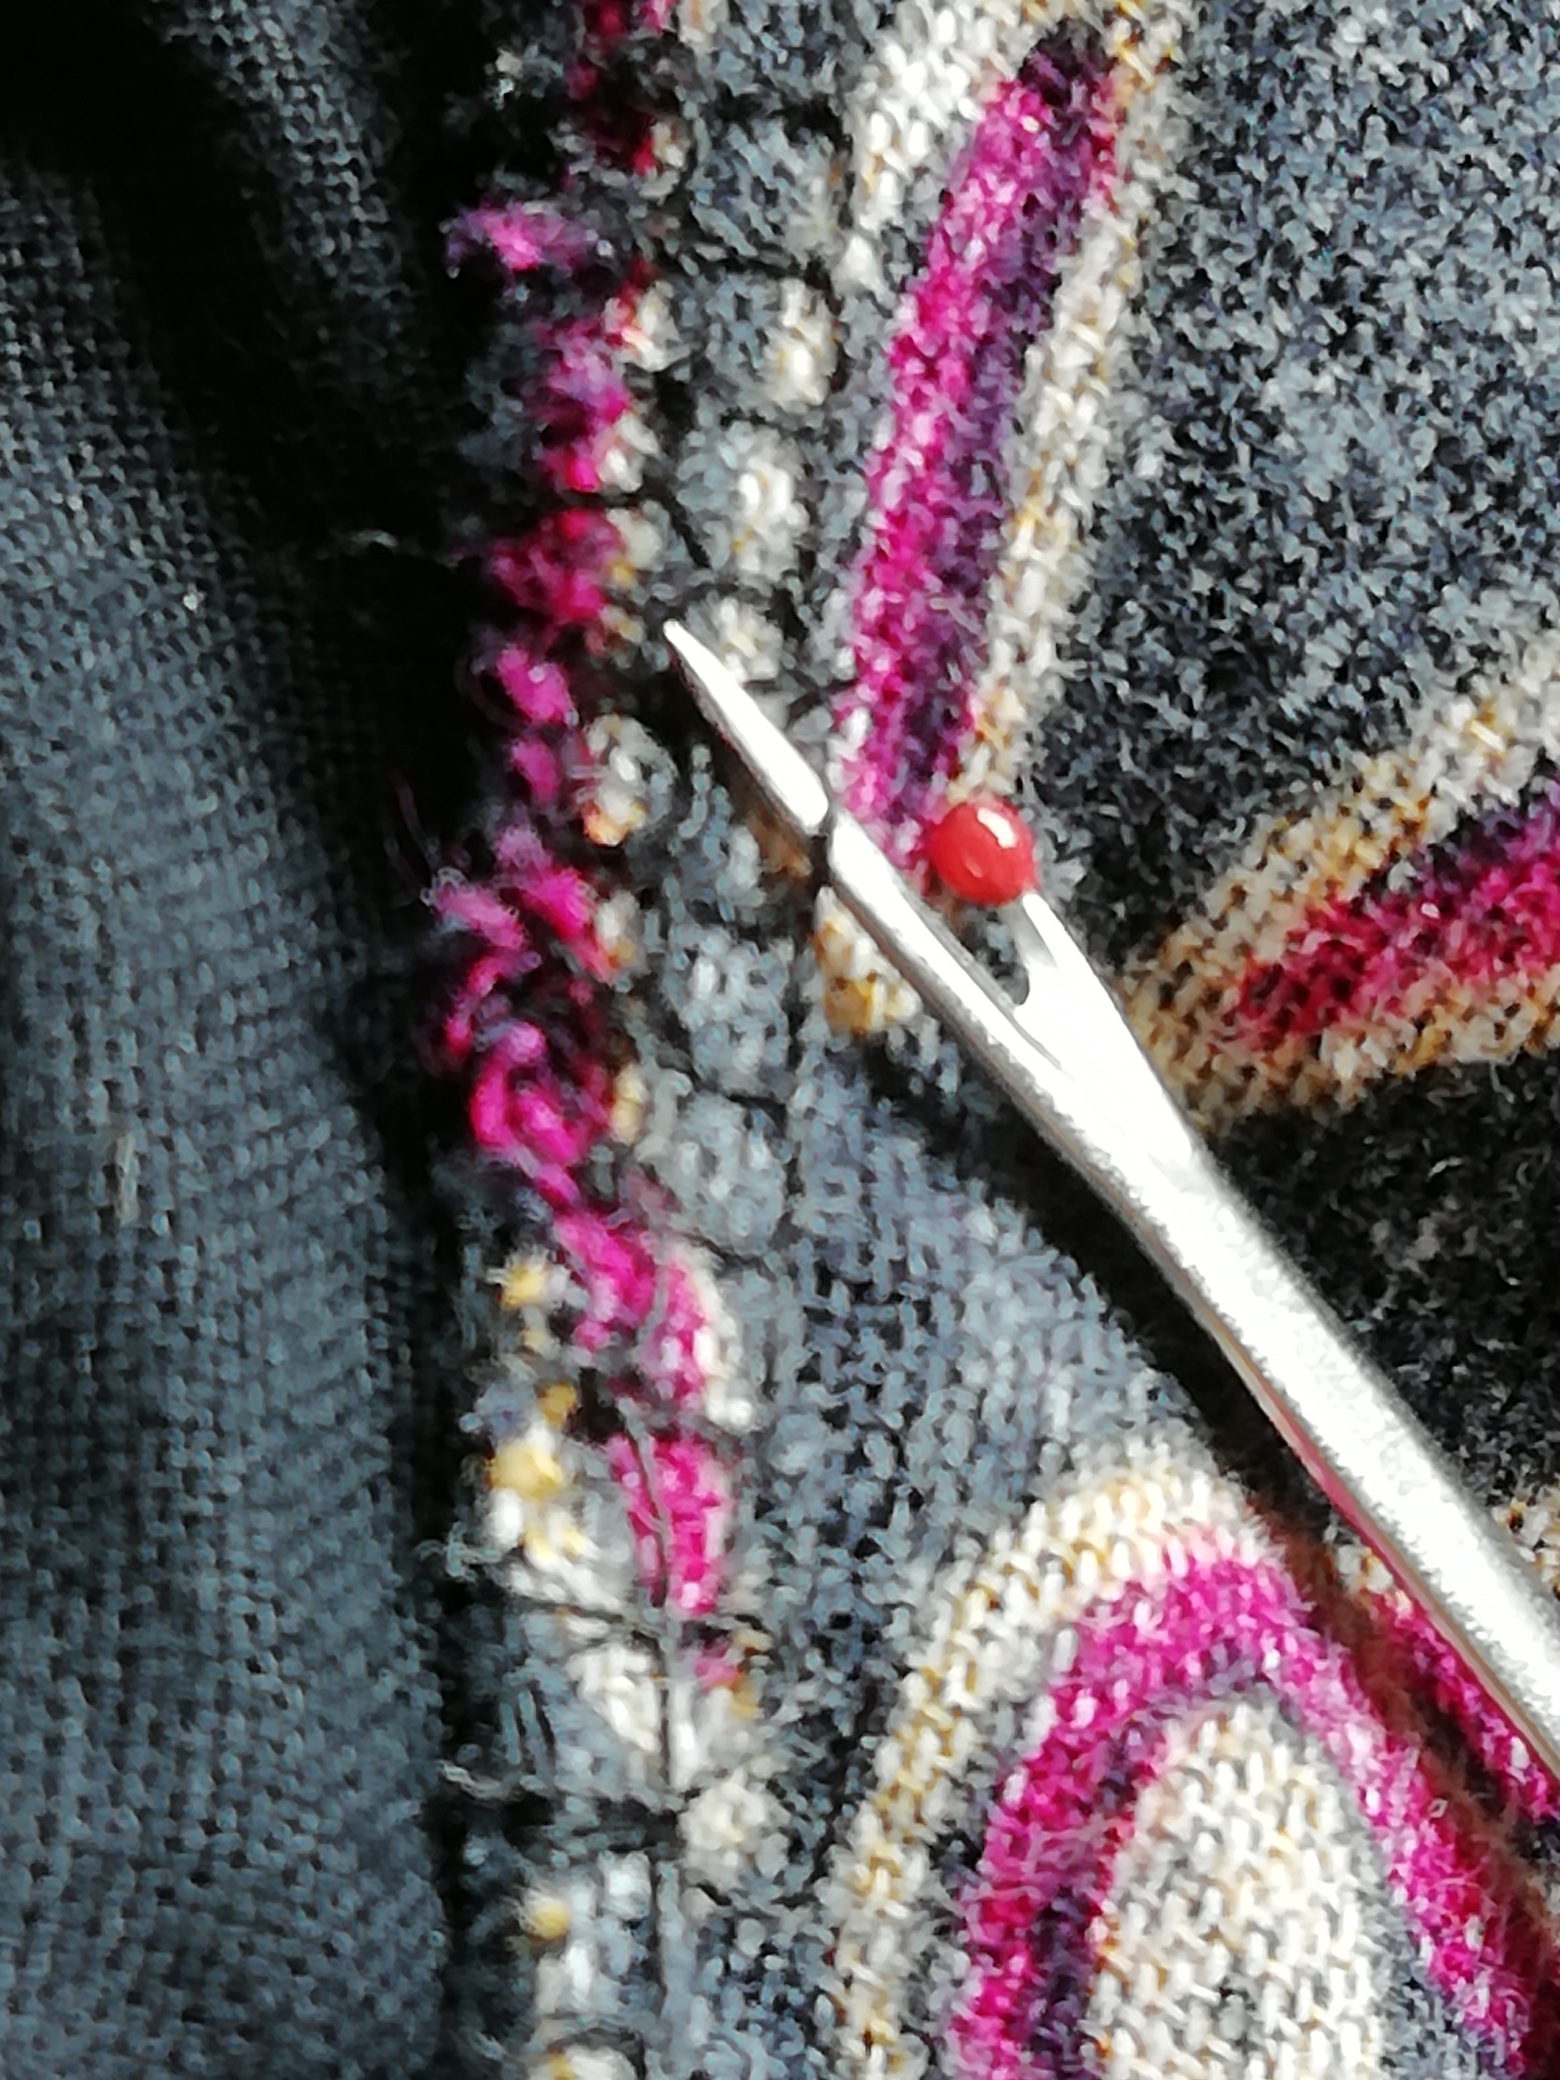
A serger sews with multiple threads using needles to make straight rows of stitches parallel to the fabric edge, and loopers to loop thread around the edges. It may look intimidating to unpick all of that, but I’ll let you in on a secret: if you simply remove the straight lines of stitches, the loops will come away with no work at all.
So, first, you’re going to unpick the seams that connects the sleeves to the bodice.
Now, Just for fun, try the shirt on without the sleeves. Ahhh, doesn’t that feel so much better?
Next, unpick about four inches down the seam of the bodice, and along the seam of the sleeve. How large your gusset will be is up to you. A lot of people make their gusset two inches at the widest point. I made mine with a max width of three inches.
The great thing is that if you go slowly and carefully, you can experiment to get the measurement just right for you.
Step 2: The Gussets
When I was starting out in sewing, without the thousands of instructive errors and failures under my belt that I have now, I would have measured my gusset diamonds and cut them out exactly. Don’t do that. It’s unnecessarily difficult, and leaves you less room for error.
Instead, cut yourself some generous rectangles. Rectangles are easy. Also, big ones will give you the freedom to make your gussets larger or smaller as needed, using the same simple piece.
If you want to make your job even easier, choose a fabric of the same weight and with a similar fibre content to the garment that’s getting the gusset. Interestingly, my top was marketed as being a combination of cotton and hemp. It even says so on the label.

Ha.
I know for a fact that neither cotton nor hemp melts when ironed with the iron on the cotton setting.
Which is one of the lessons that has taught me not to purchase things from ads on social media.
But I digress.
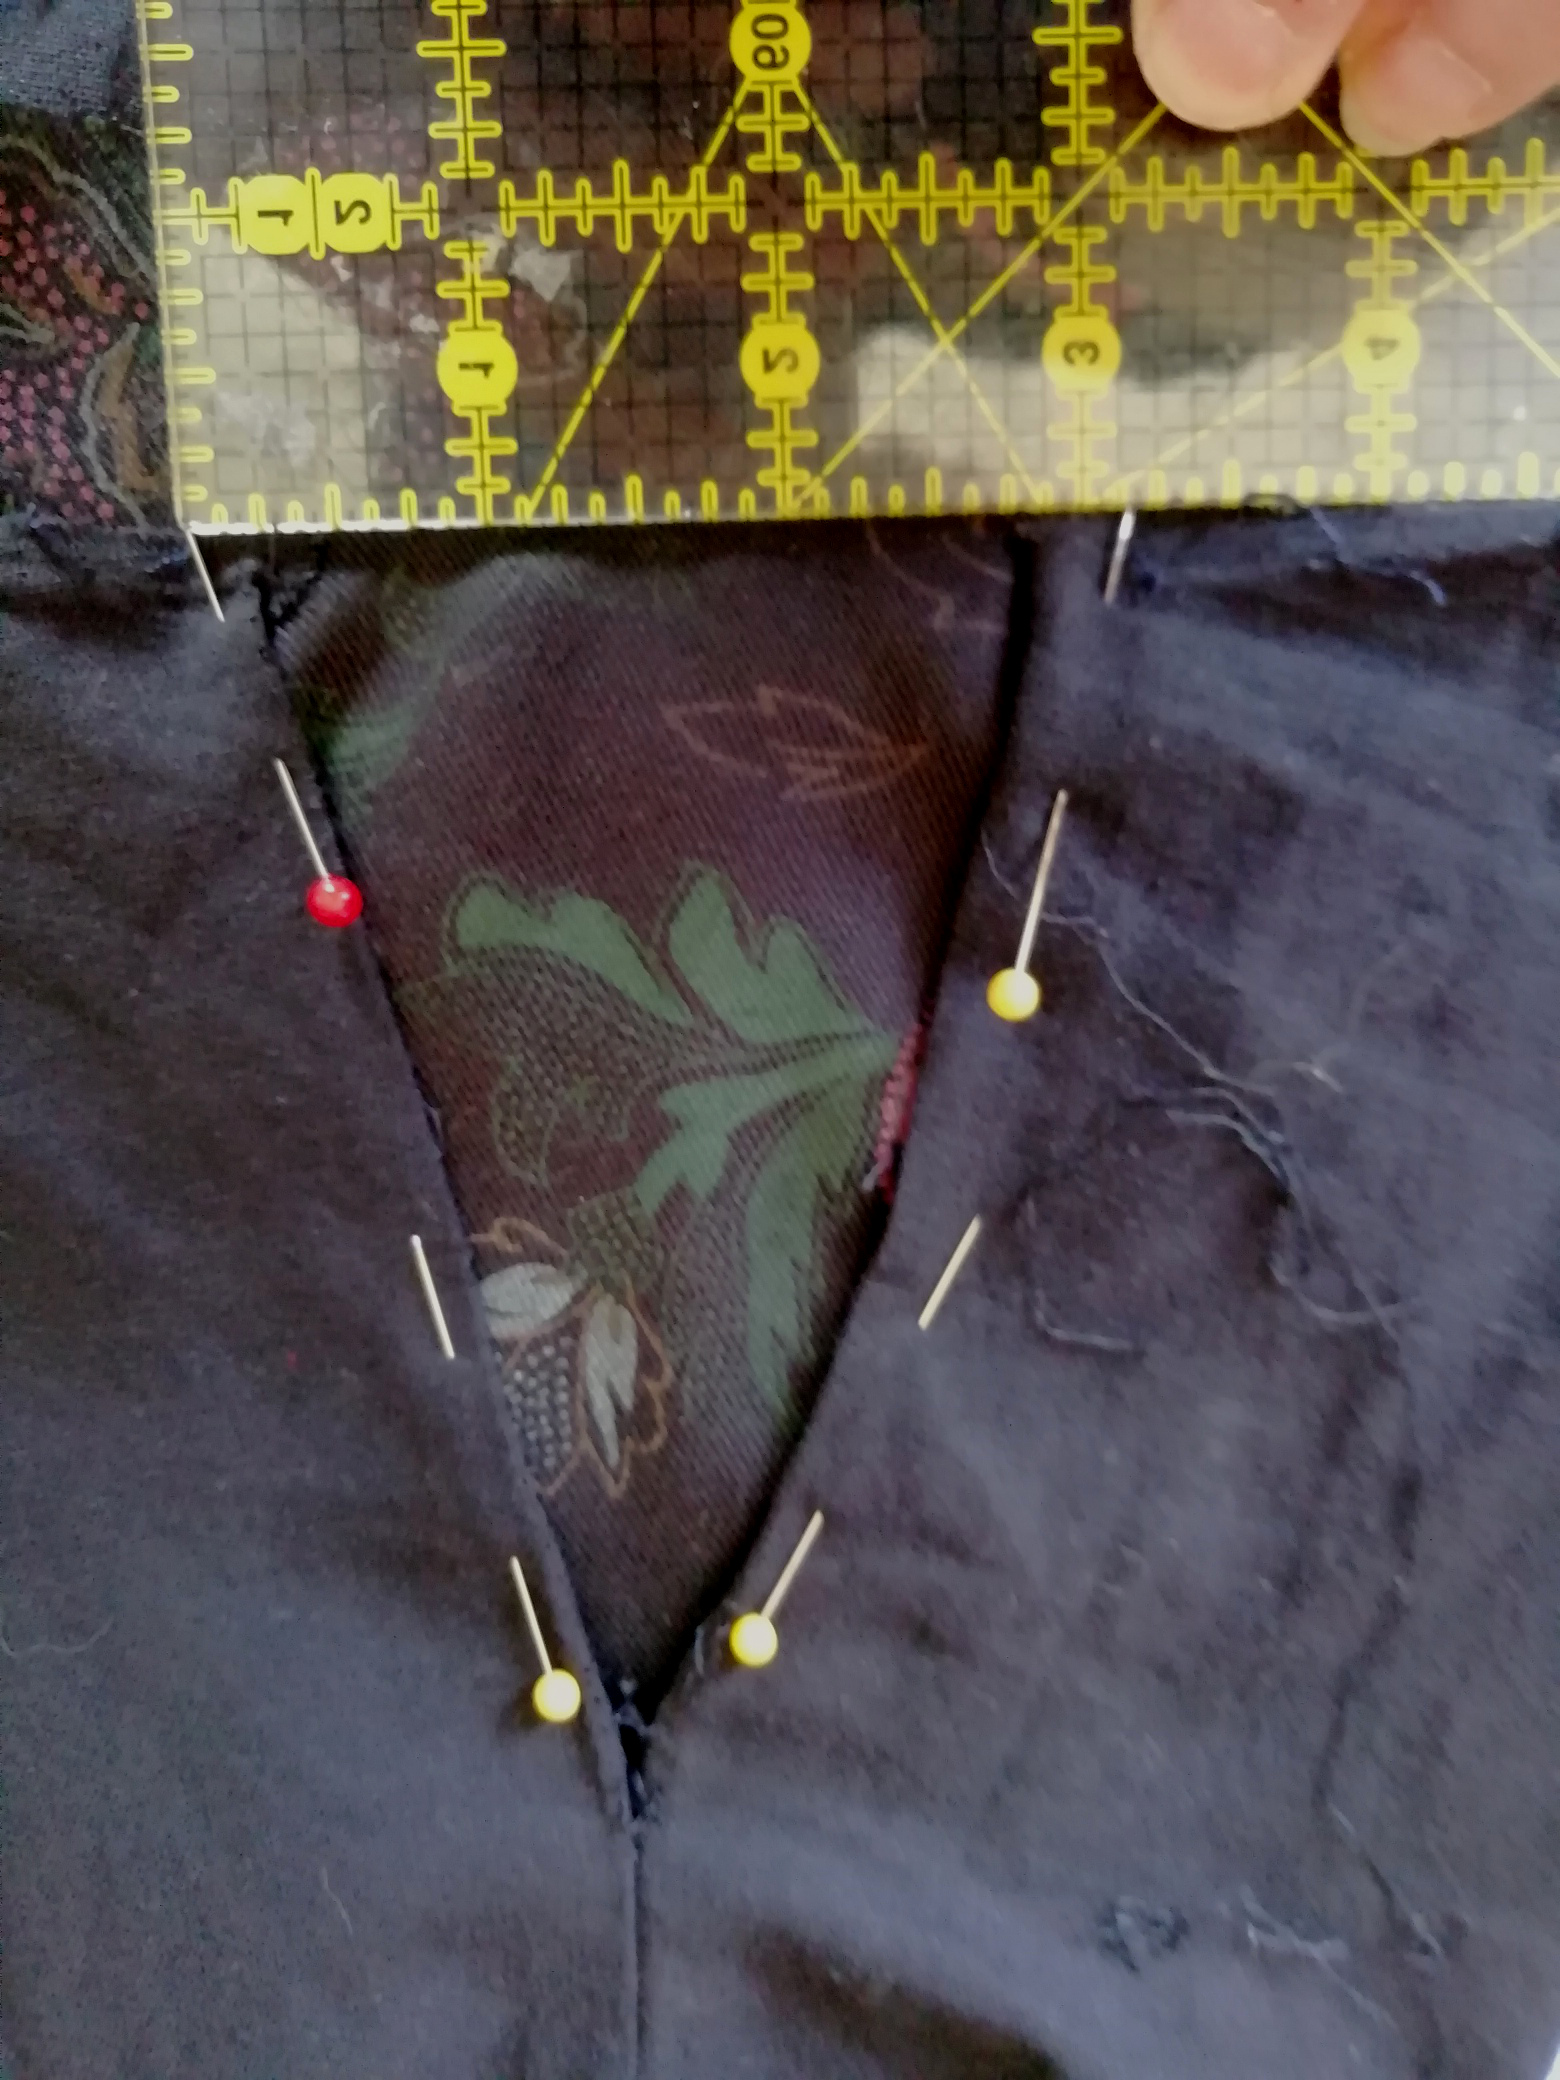
Step 3: Open, Press, and Pin
So. You’ve cut four rectangles from your gusset cloth. Now open the unpicked seams. Take your iron and press the seam allowance.
Now, lay one of your rectangles across an open seam, so that the right side of the gusset fabric is facing out onto the right side of the sleeve or bodice (your choice). Measure the widest part of the triangle to make sure that the measurement is where you want it.
When you have the measurements the way you want them, pin.
Step 4: Topstitch
Now it’s time to topstitch that bad boy in. At this juncture, I recommend using a nice, wide basting stitch, so that you can take it out and redo if you need to.
I’m still a bit annoyed about this blouse’s fraudulent fabric content. But at least whatever this faux linen synthetic hell-fabric is, it’s dashed forgiving of unpicking and other foolishness, so, small favours.

Step 4: The Other Side of the Diamond
Now it’s time to do the other side of your diamond. That means, if you started with a bodice triangle, do the corresponding sleeve triangle. Follow exactly the same process.
Before you do, it’s a good idea to measure the distance across the base of the triangle to make sure it corresponds to the base of the opposite triangle.

Now, just like you did before, press the seam allowances under, pin, and sew.
Step 5: Sew the Arm back On
Now, sew the arm back on. Notice how you’re finishing one arm instead of going bodice-bodice, sleeve-sleeve? This is so that you can get your measurements exactly the way you want them before doing the other arm.
Here’s another trick. Turn your blouse inside out, but have your sleeve the right way round. Now insert the sleeve through the sleeve hole, so that the right side of the sleeve is inside, and facing the right side of the garment. Now you can sew around the sleeve seams and simply turn the garment the right way round when you’re done.
Again, baste. That way if you need to rip it all out and make your gusset larger, you can do it easily and with minimal damage to the fabric. Ask me how I know.
Now topstitch on the wrong side. Make sure the bases of your triangle match up, and that the holes are exactly the same size.
When you’re finished, turn your garment the right way round.

Step 6: Try it On
Now try your garment on. Does it fit comfortably? If it’s still pinching, that means the gusset isn’t big enough. Lucky you, you basted and used a large rectangle of fabric for the gusset.
If you need to, simply take out your basting stitches and make your gussets as long and wide as you need to.
If your top now fits comfortably, though, it’s time to take out the basting and go over your stitches properly. When you’re done, trim the extra fabric away from the new seams of your gussets.

Step 7: Now Do the Other Side
It should be easy now that you’ve worked out all the bugs.
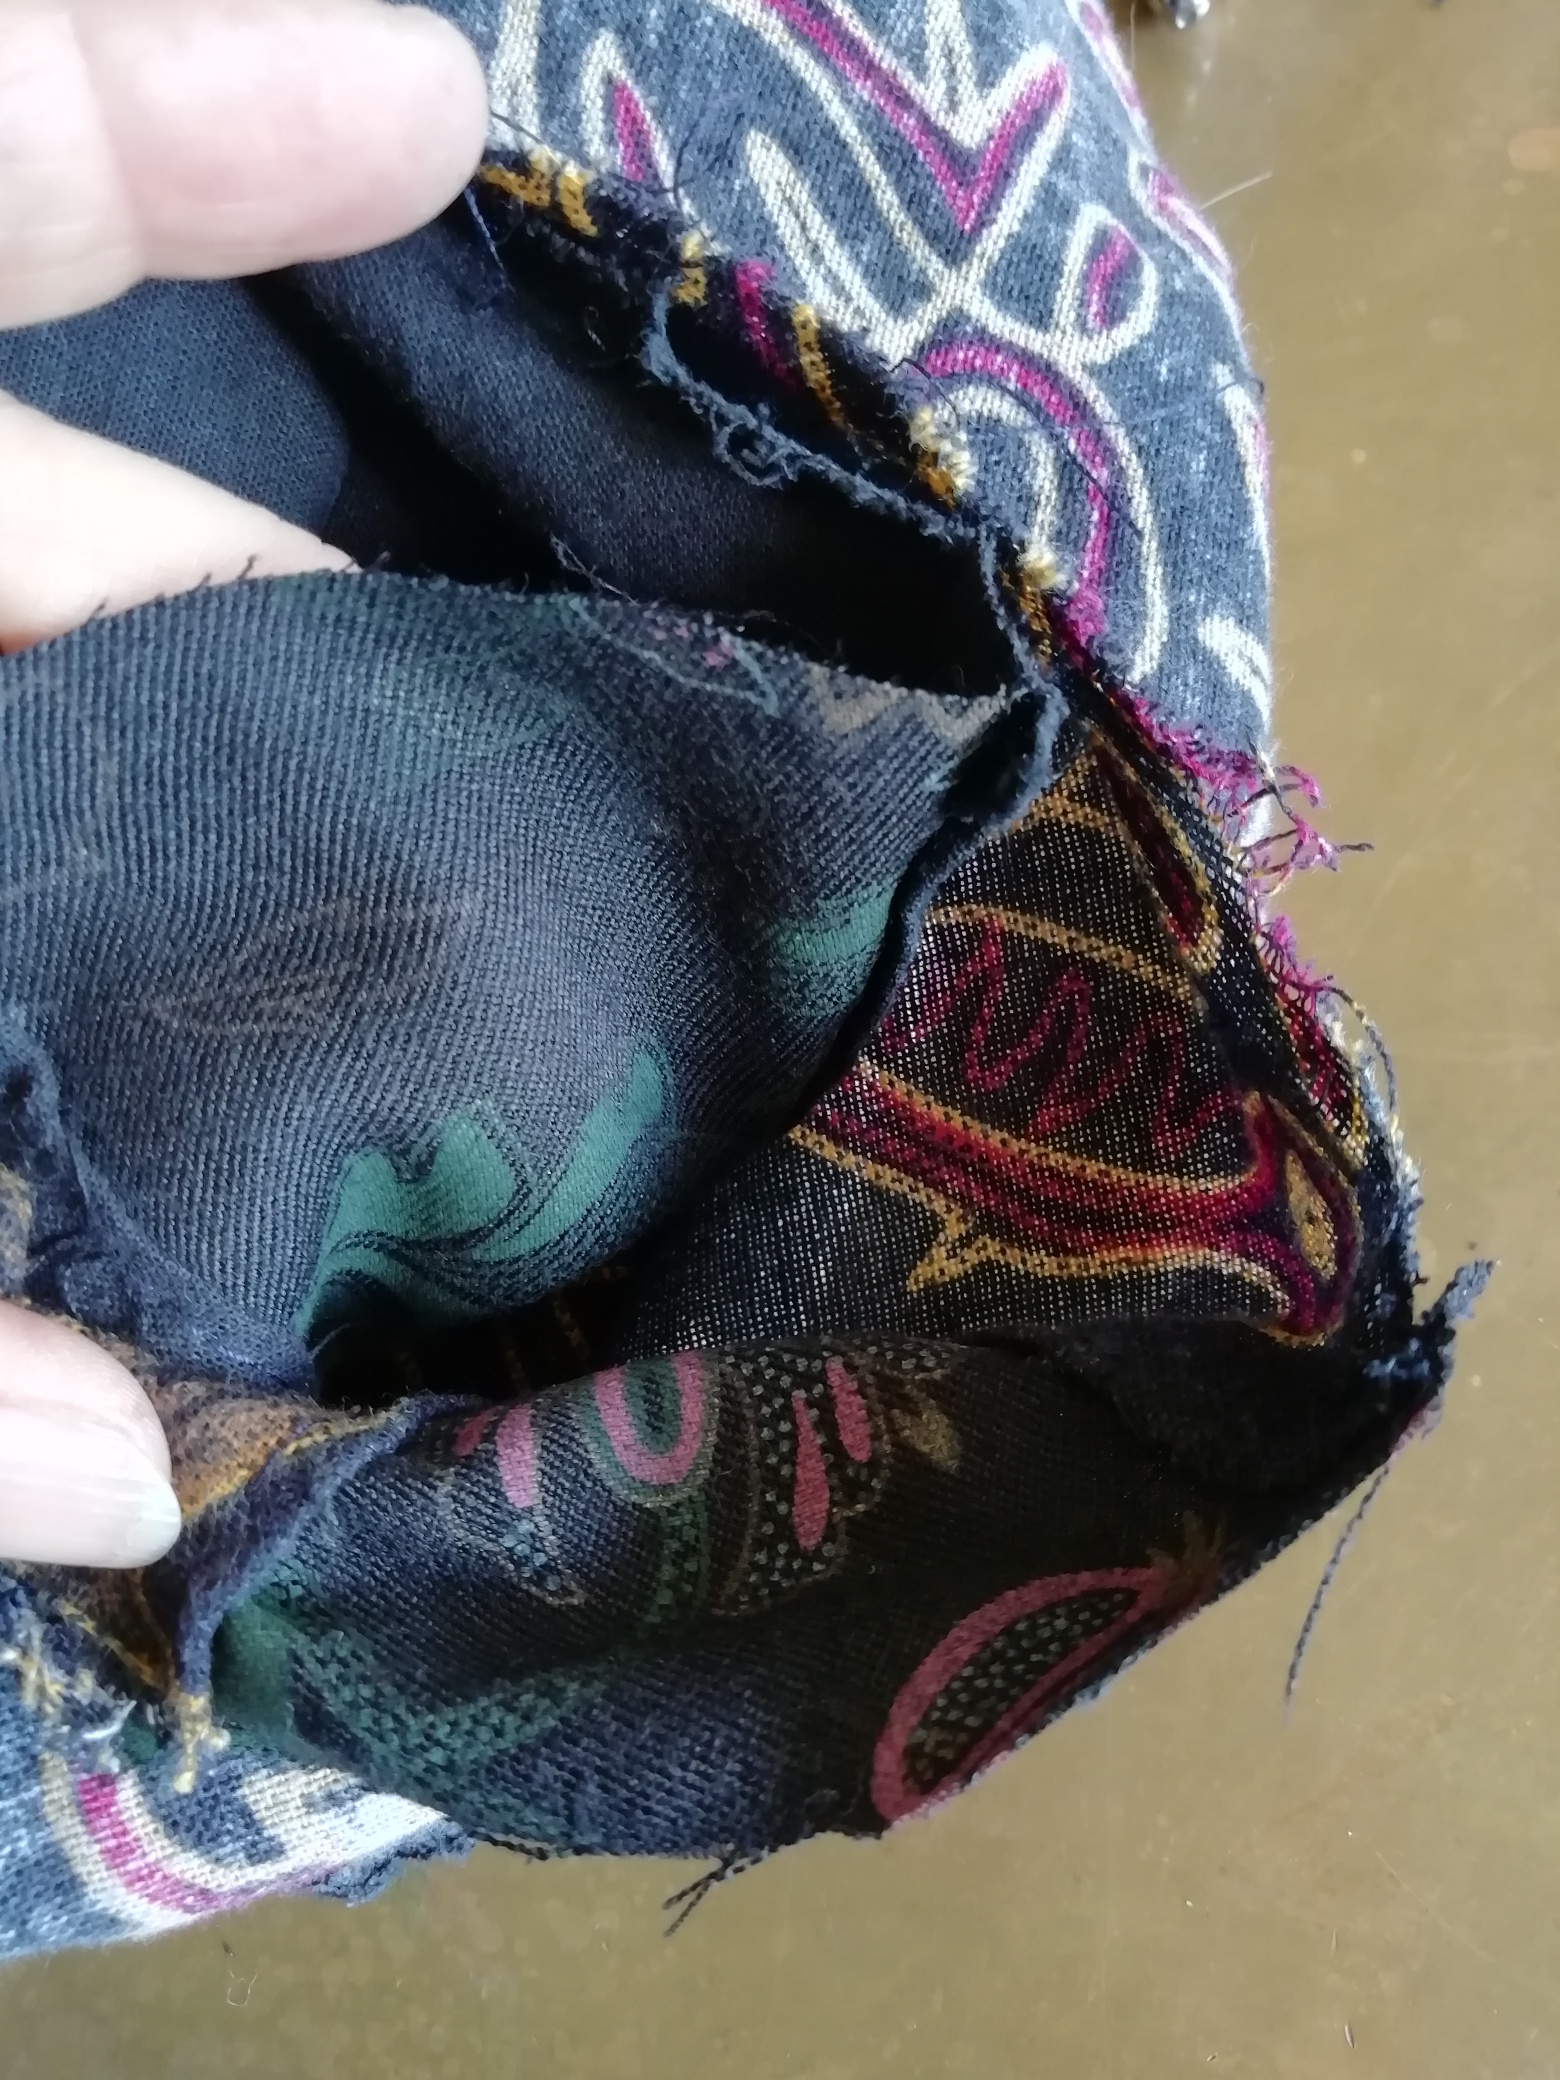
Here’s what my finished gusset looks like. See how it’s longer on the sleeve side and shorter on the bodice side? That’s because I didn’t want to alter the bust measurement too much. However, the sleeve needed quite a bit more space. Your mileage can and will vary.
Here’s the finished top, now as comfortable and attractive as it looks.

No Chat, Please. Just the Instructions.
What you’ll need:
- Sewing Machine
- Ruler
- Sewing Scissors
- Seam Ripper
- Dressmaking Pins
- Gusset Fabric
Step by Step
- Unpick the sleeve seams, and a few inches along the sleeve and bodice seams.
- Cut four rectangles of fabric for your gussets
- Open up triangles along the bodice and sleeve. Press the seam allowances. Measure two inches (a good place to start, but you might want larger or smaller gussets) as the base of the triangle.
- Pin the gusset fabric to the inside of one of the triangles (your choice; there are four).
- Topstitch the gusset into place. I suggest basting.
- Do the same for the corresponding sleeve (if you did the bodice triangle).
- Baste the sleeve back into place.
- Try on your garment. Make adjustments if necessary, then sew back into place properly.
- Do the other side. Trim away any extra bits from the gusset.
I hope you enjoyed this tutorial and found it helpful. If you’d like to see more garment rescues, check out this project’s main page.
And if you’ve had enough sew-a-long and are ready for a nice cup of tea and a book, why not try my short, fun Simon Pearce mysteries?
A collection of short mysteries for your reading pleasure. Available from all your favourite e-tailers.

Also, keep an eye out for my new novel, The Fiend in the Fog, coming in August from Bold Strokes Books.

Leave a comment