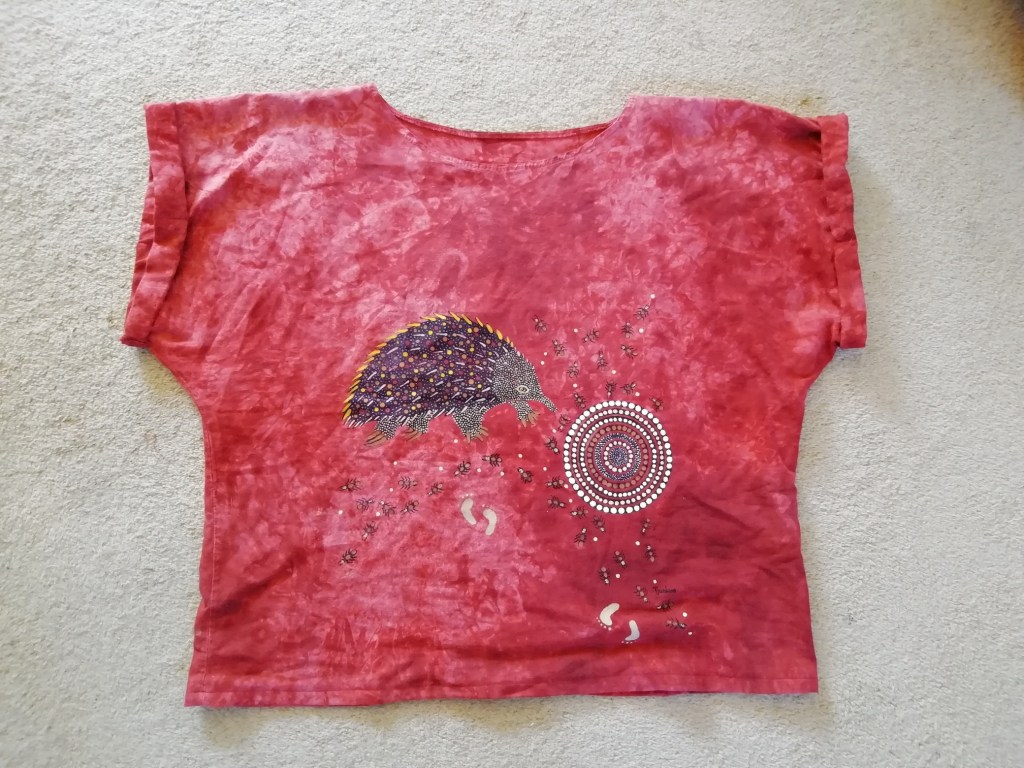
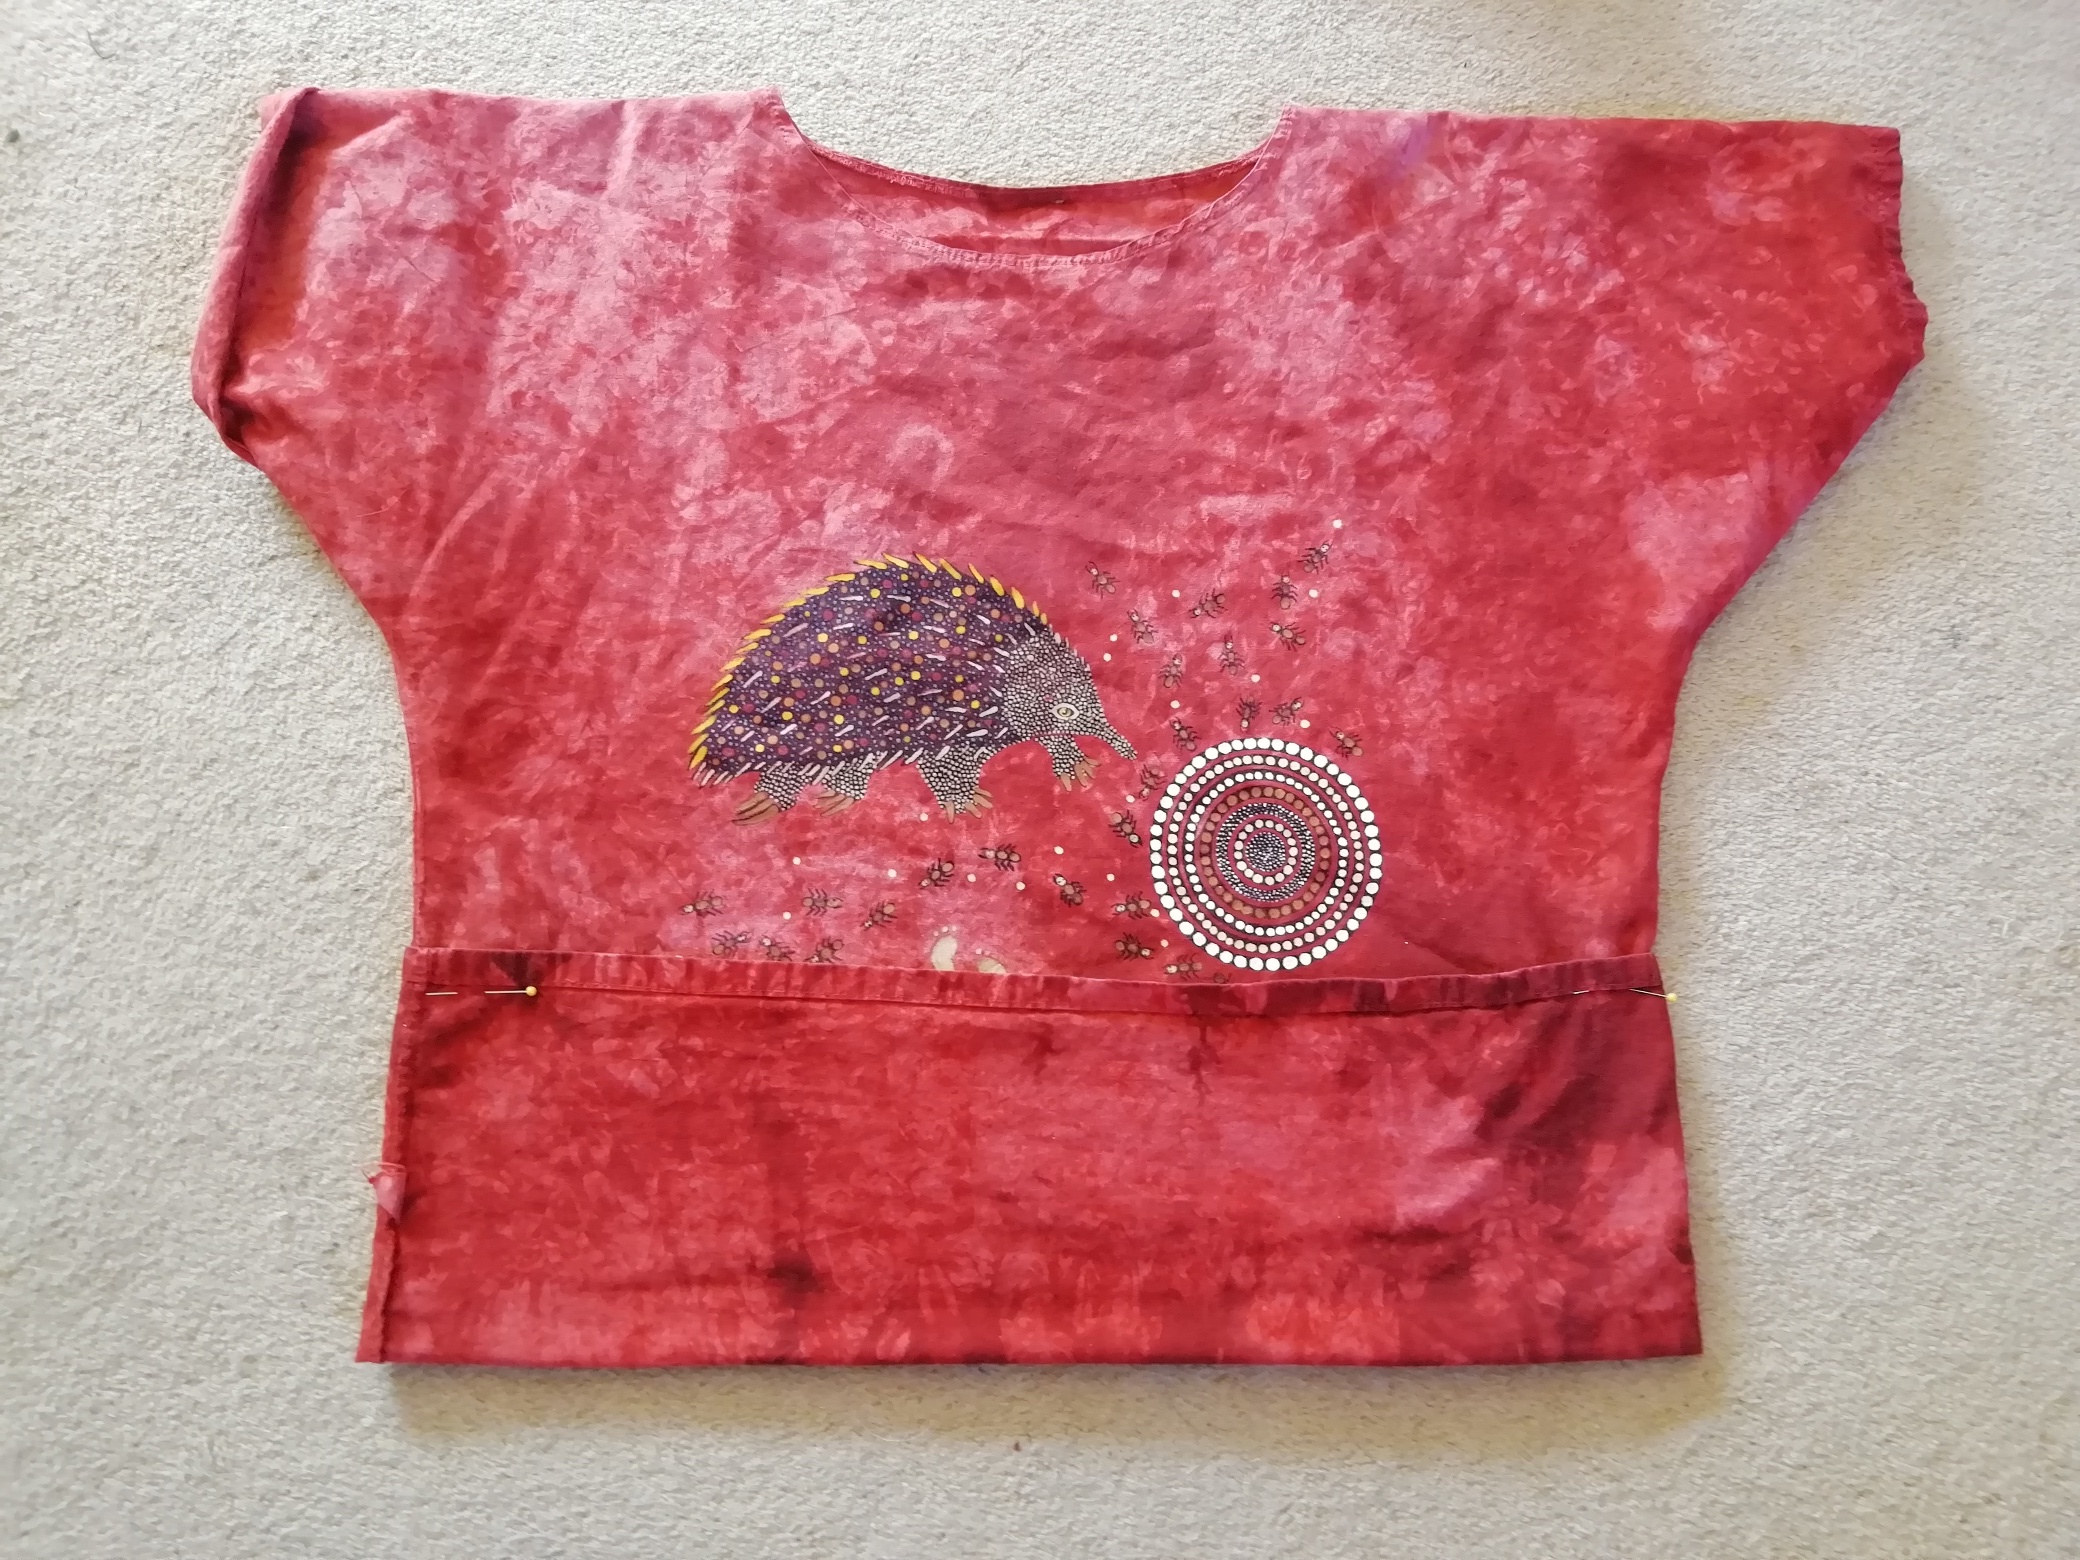
This month’s rescue is this t-shirt, which hasn’t been languishing in my drawer, but had been languishing in someone else’s drawer before finding itself in a thrift shop.
I grabbed it immediately because it had an echidna on it, and how often do you find a t-shirt with an echidna? I also liked the colour — sort of a rust tie-dye, though it looks pinkish in some of the photos. I assure you it is not.
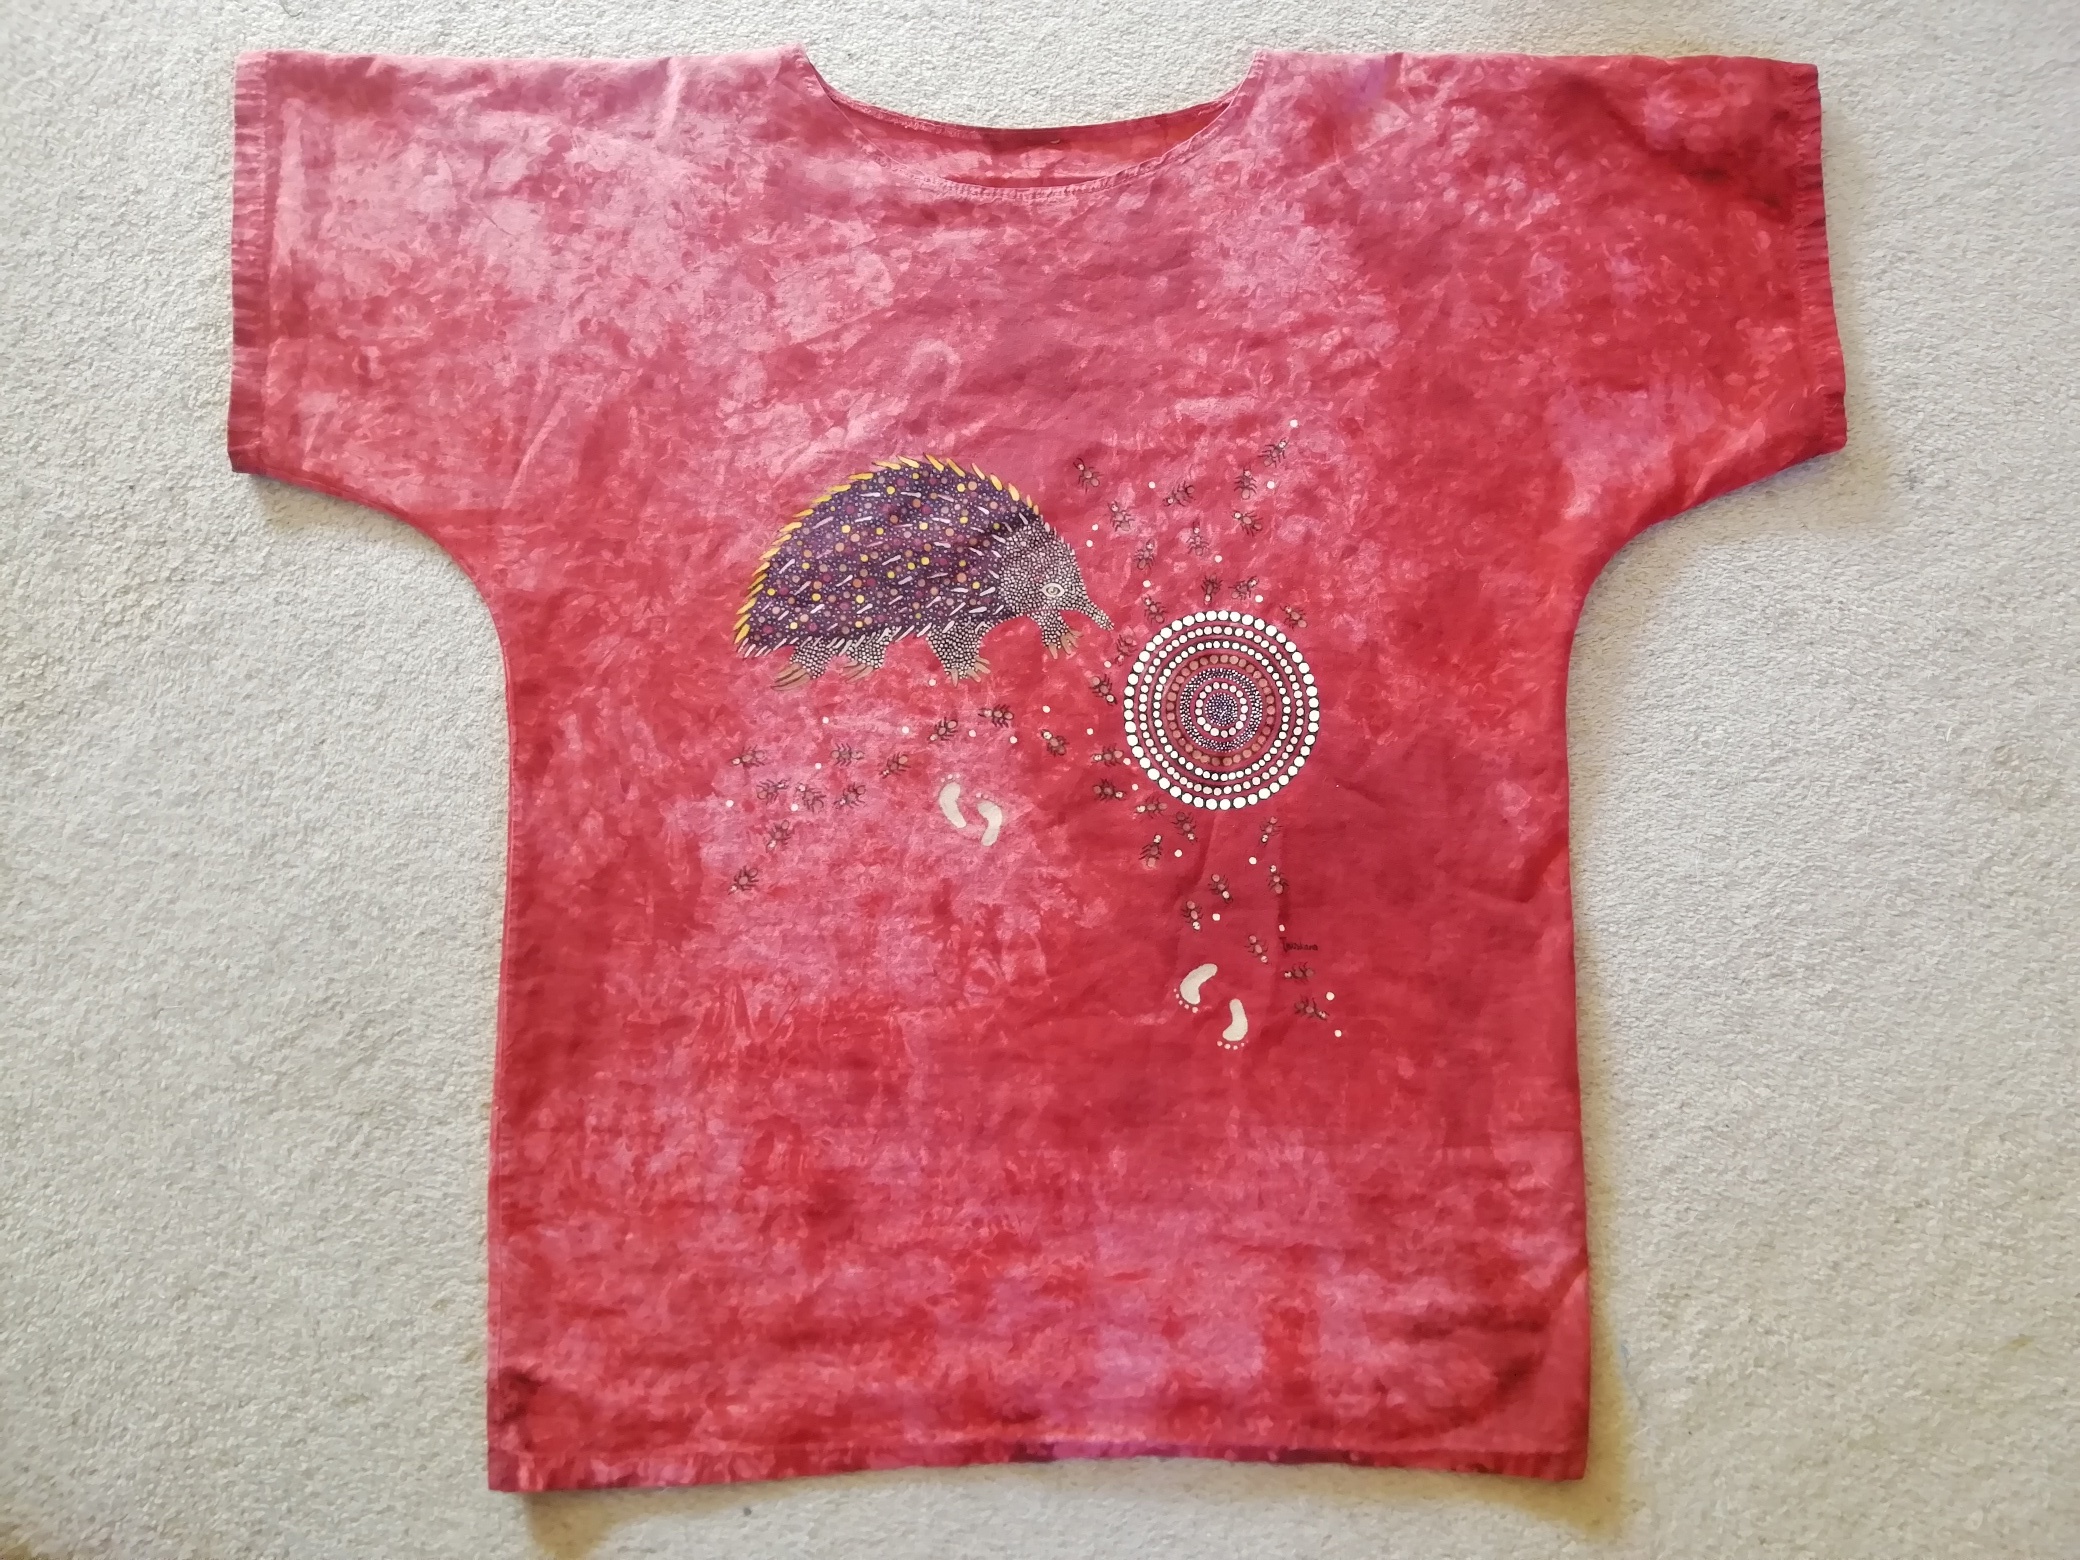
I saw the colour, I saw the monotreme, and I saw that it had a reasonable chance of fitting me, so I snagged it. Unfortunately, I wasn’t paying close enough attention beyond that to see that:
- This was a true t-shirt, in the shape of a T, with grown-on (integral) sleeves, and
- It wasn’t made from t-shirt material, but of a non-stretch woven fabric, and
- The sides were straight up and down, with no stretch
I put it on, and three problems became apparent.
First, the sleeves were really, really wonky — comically long and shaped like stiff bells.
Also, the shirt was too long. This is probably because I’m a shorty.
Finally, being both stiff and straight up and down, it didn’t fit my curves very nicely.
So, time to mod.
My first thought was to cut the sleeves off, move the shoulders, and do some sculpting. But I don’t have a lot of experience doing that, and I would have been really, really sad to ruin my one and only garment featuring a spiny anteater in the name of an experiment.
Then I thought about this shirt:
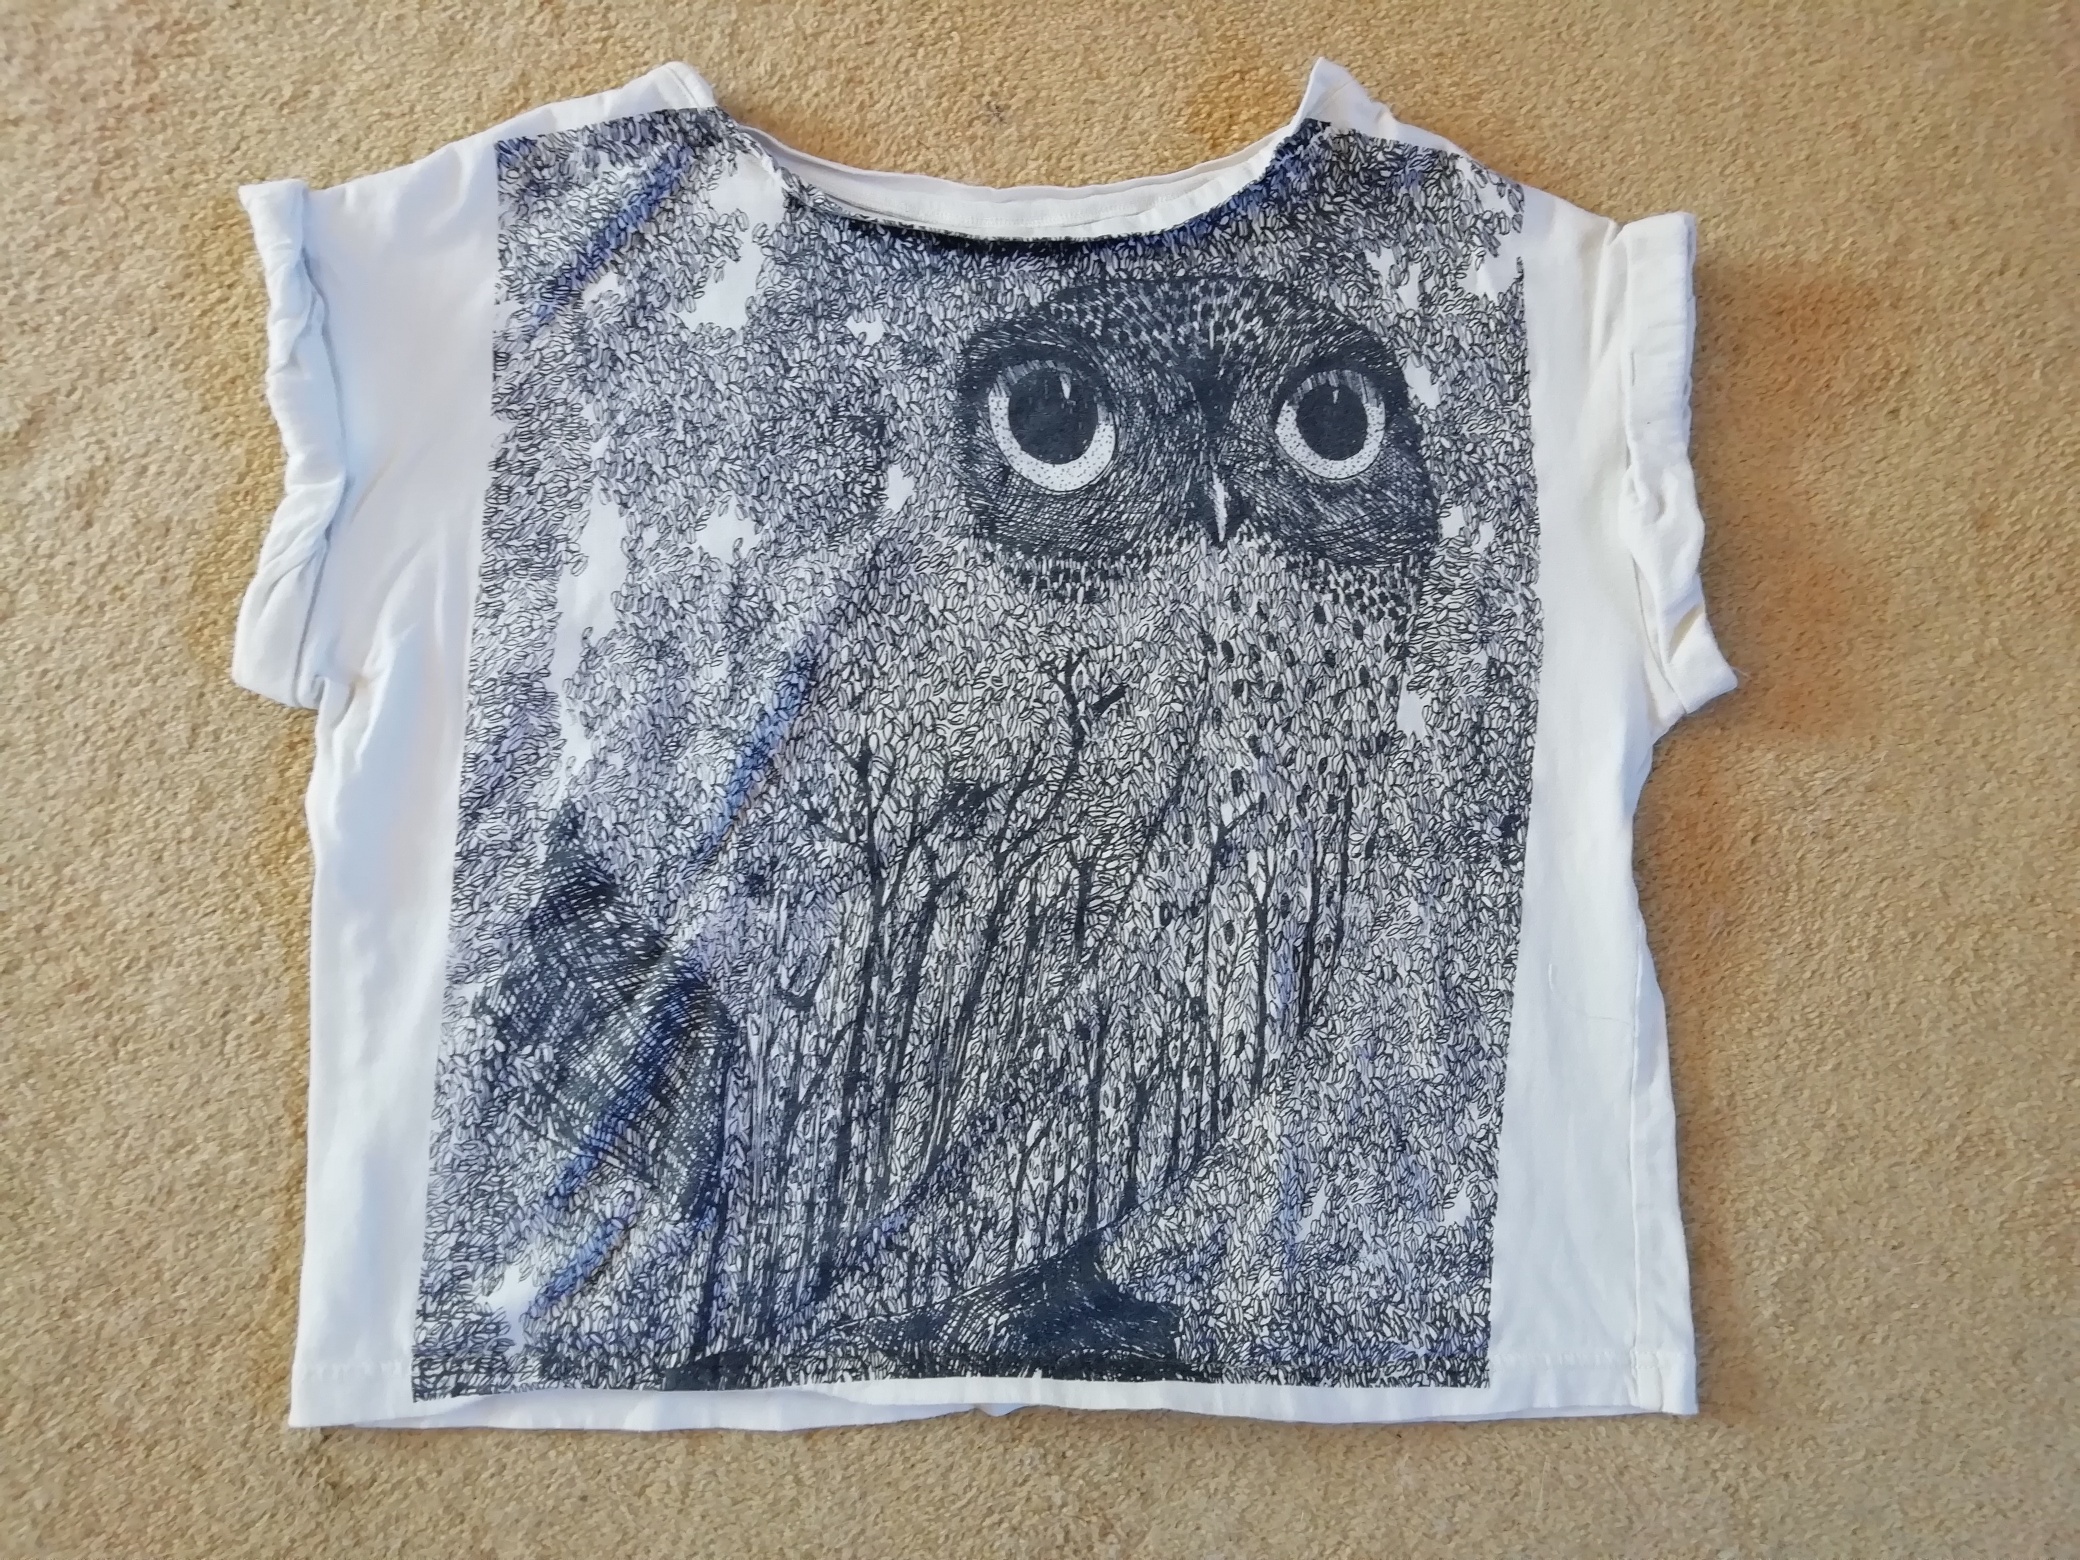
This is one of my favourite t-shirts, and the model for the other t-shirt mod that was going to be this month’s rescue. I wondered, would it work to simply roll up the sleeves and tack them?
To my delight, it did work, and I’ll explain that process in a bit.
The other task would be to shorten the shirt.
So let’s go.
My Supplies
- T-shirt
- Sewing machine
- Thread
- Scissors
- Iron
Yes, it really is that simple.
T-Shirt Mod, Step by Step
This was one of the easiest mods I’ve ever done, and one of the most satisfying so far. That’s because I kept things simple and precise.
Step 1: Plan the Sleeves
Right. So the first order of business was those sleeves, and the best way to figure out how far to roll them up was to put the shirt on and see what looked the best. For me, and for this particular shirt, it meant four rolls.
What does that mean? I’m glad you asked. Precision is important, so I used the existing sleeve hem as a guide.
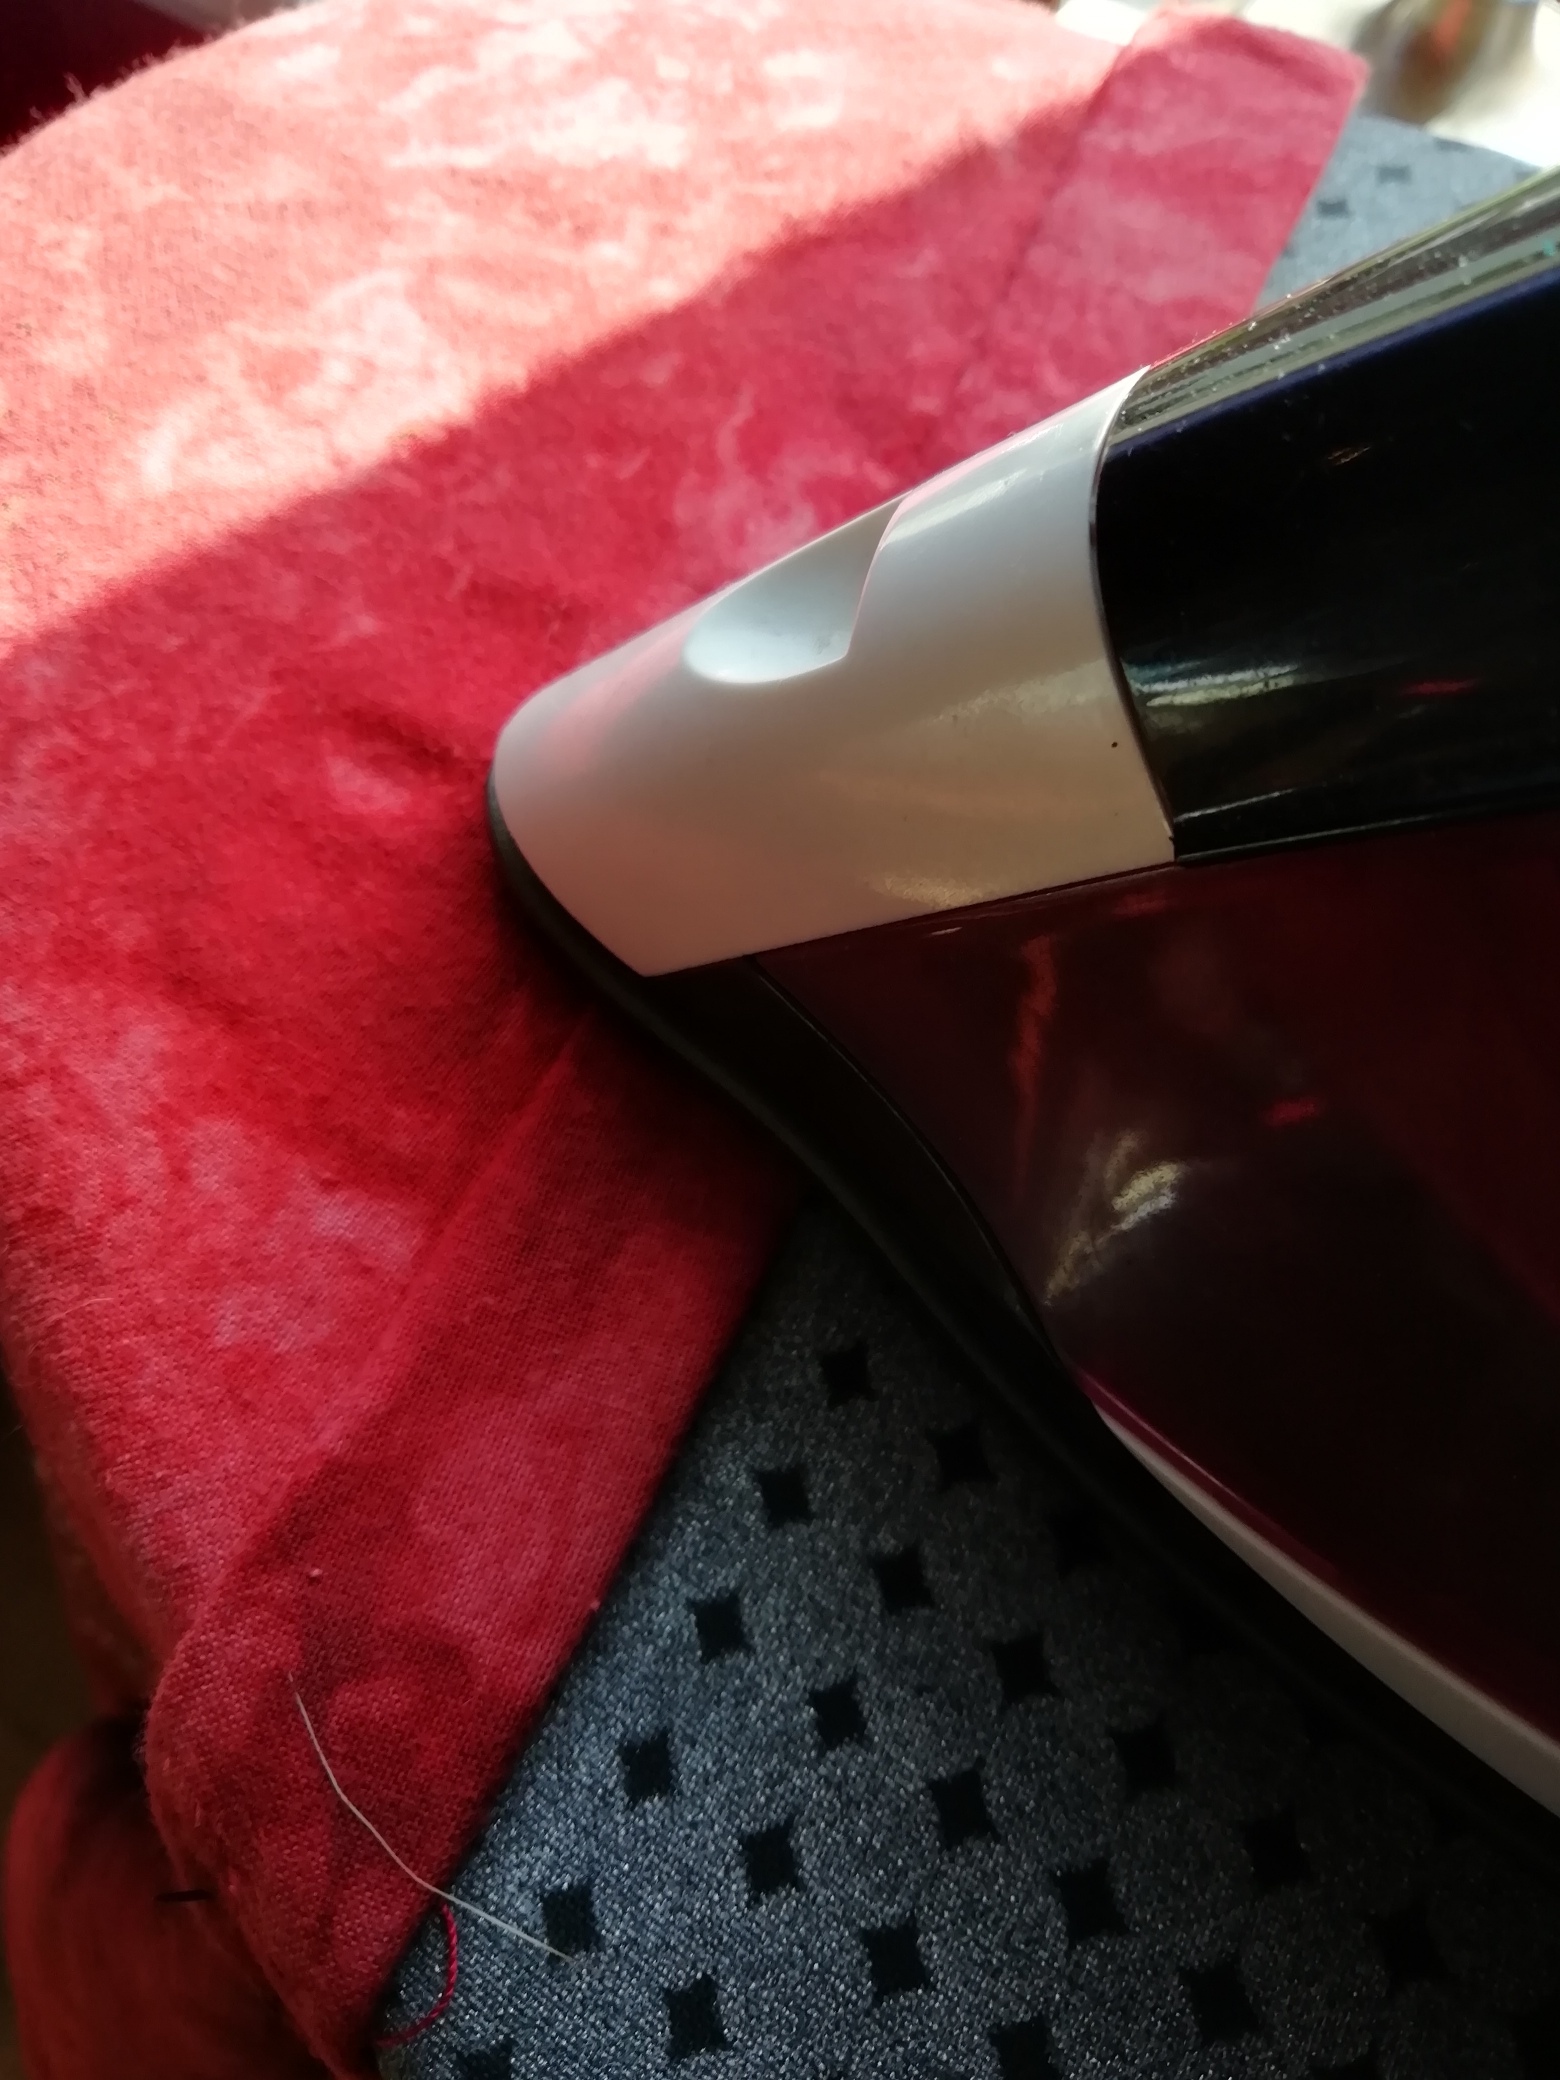
Step 2: Roll, Iron and Pin
I folded the sleeve hem back on itself once then ironed it flat. I did it again: twice, three times, then a fourth time. Then I pinned it. Finally, I repeated the process on the other side.
Step 3: Tack
I tacked the sleeve in four places: over the shoulder hem, over the underarm hem, and in the centre of each of the sides. Tacking means simply sewing a short, unobtrusive row of stitches then reversing back along those same stitches.

Step 4: Measure the Bottom Hem
Once the sleeves were done, it was time to address the length. I put the shirt back on and folded up the hem to where I wanted it. Then I pinned it. It makes everything easier if you turn the shirt inside out for this step (which I did not).
Step 5: Measure and Measure Again
Even though this is a pretty simple mod, there’s always the opportunity for error. So I took the t-shirt off, laid it on the table, took out the pins, and made sure that the fold-up part measured exactly the same all the way around. Because once you cut, you can’t take it back. Measure twice, cut once.

Step 6: Mark the Cut Line
Here is another opportunity for error. Because we’re hemming the shirt, we have to remember the seam allowance. If we simply cut along the fold, the shirt will be too short.
The original hem of the shirt was half an inch, which meant a one-inch allowance folded over on itself. So I measured my cut line to one inch below the fold.
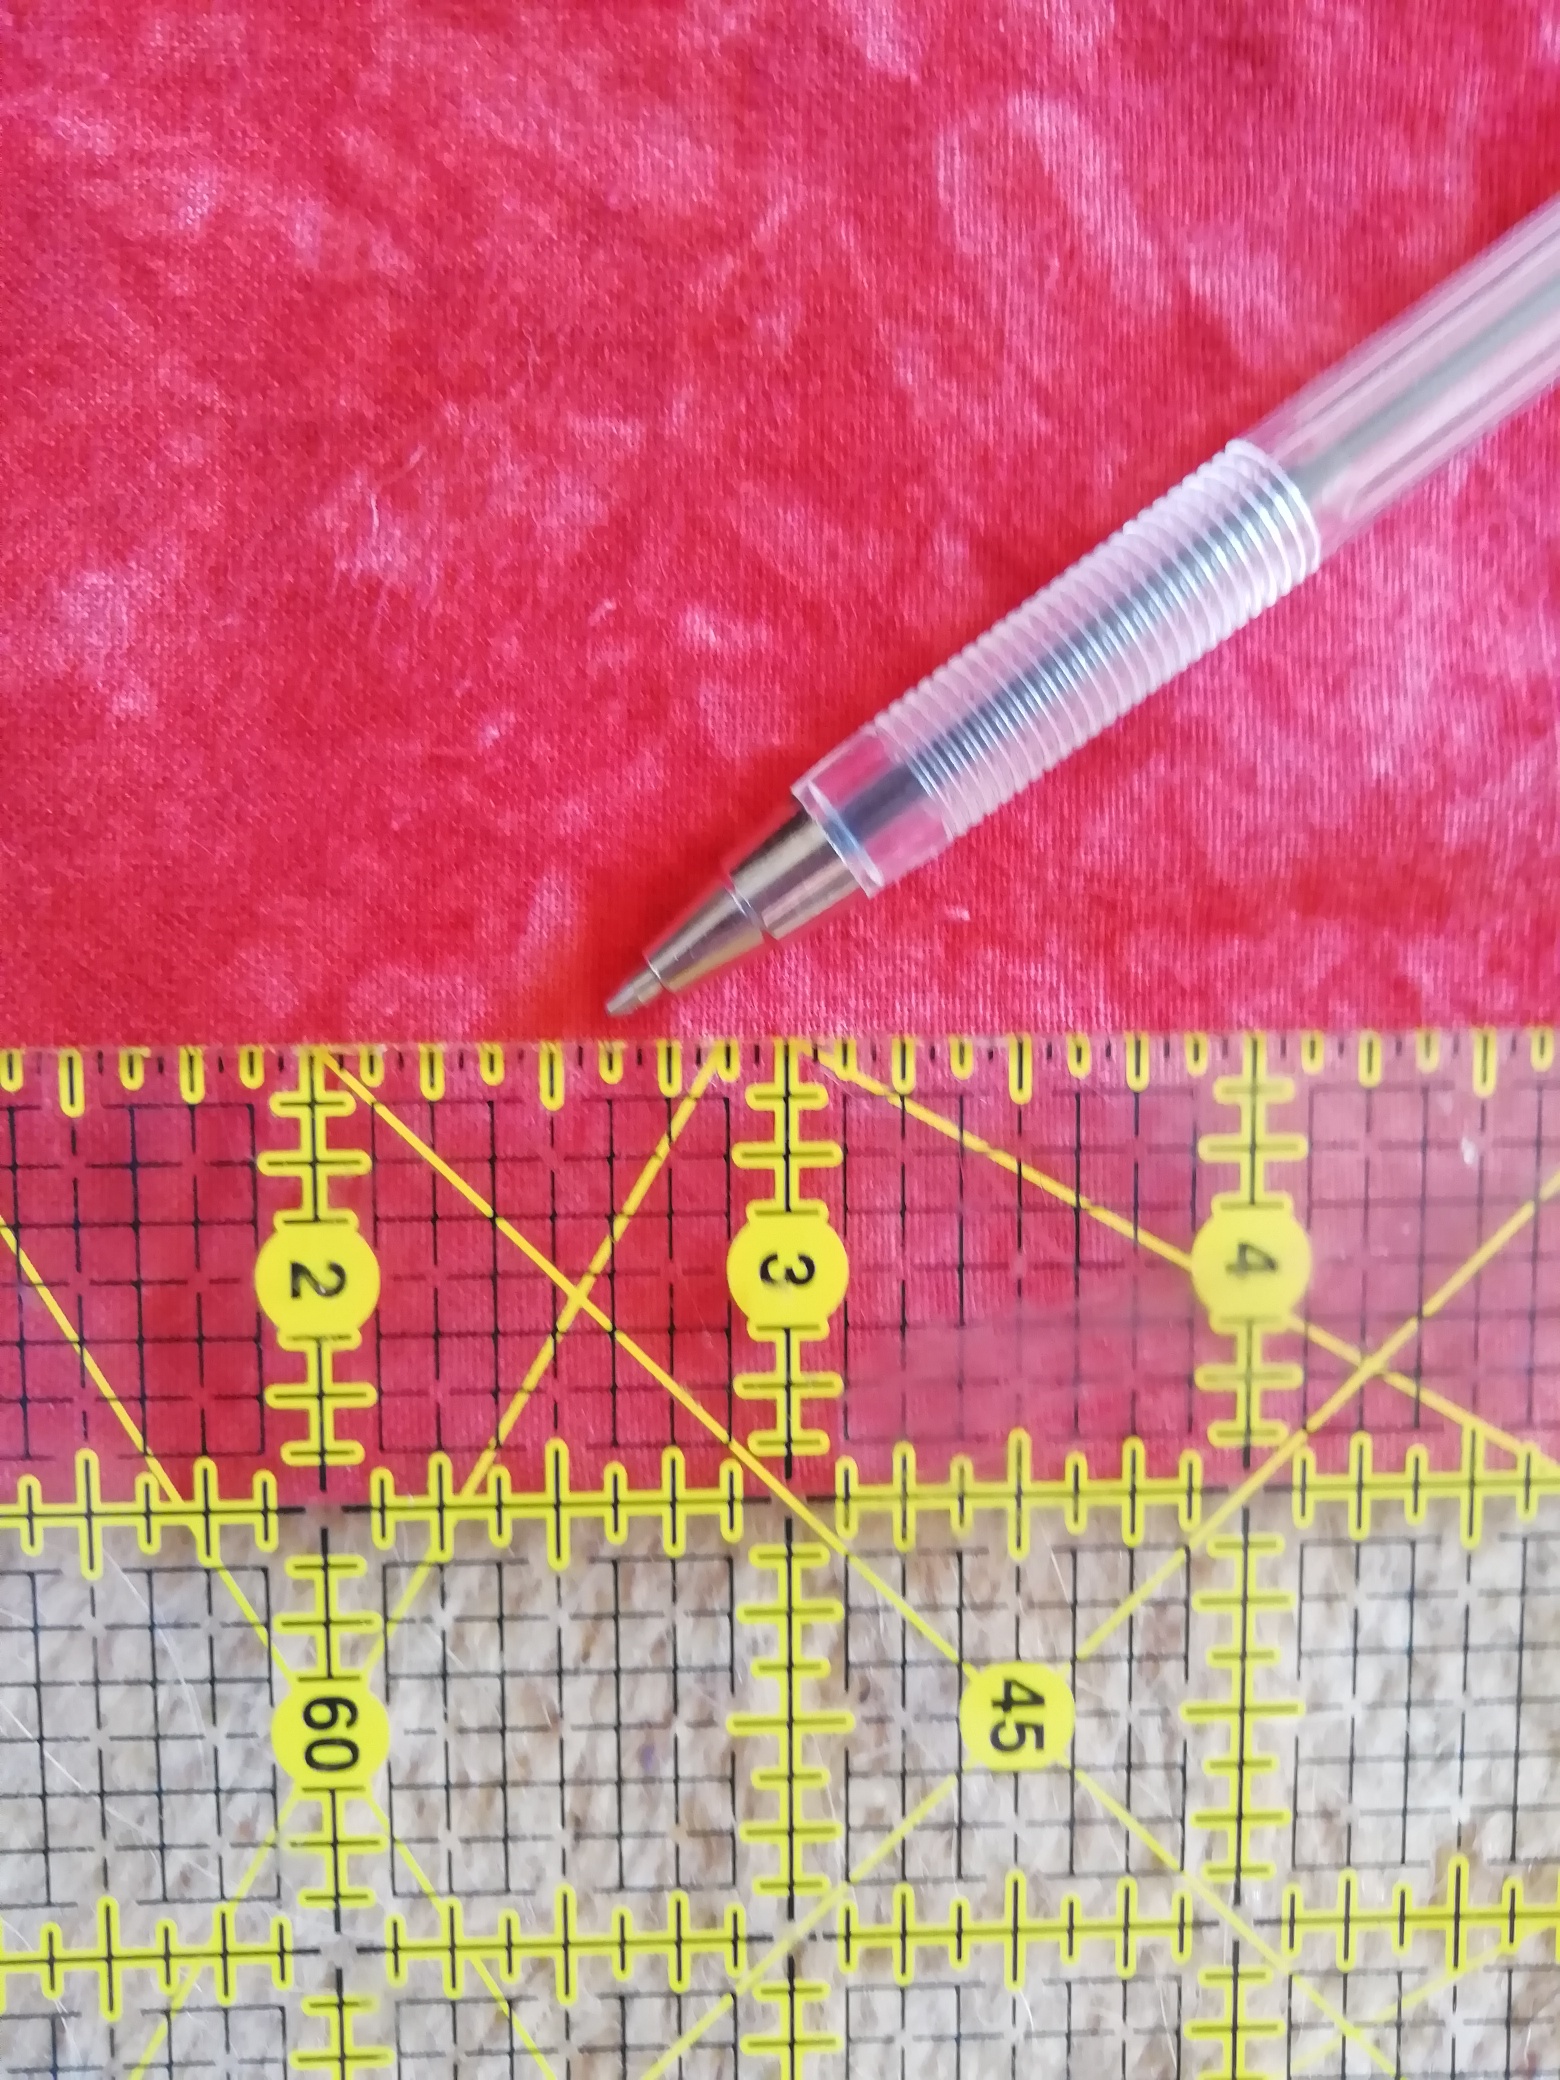
I used my ruler to draw the line all the way around the bottom of the garment. Note that the line is above the fold, on the wrong side of the shirt.

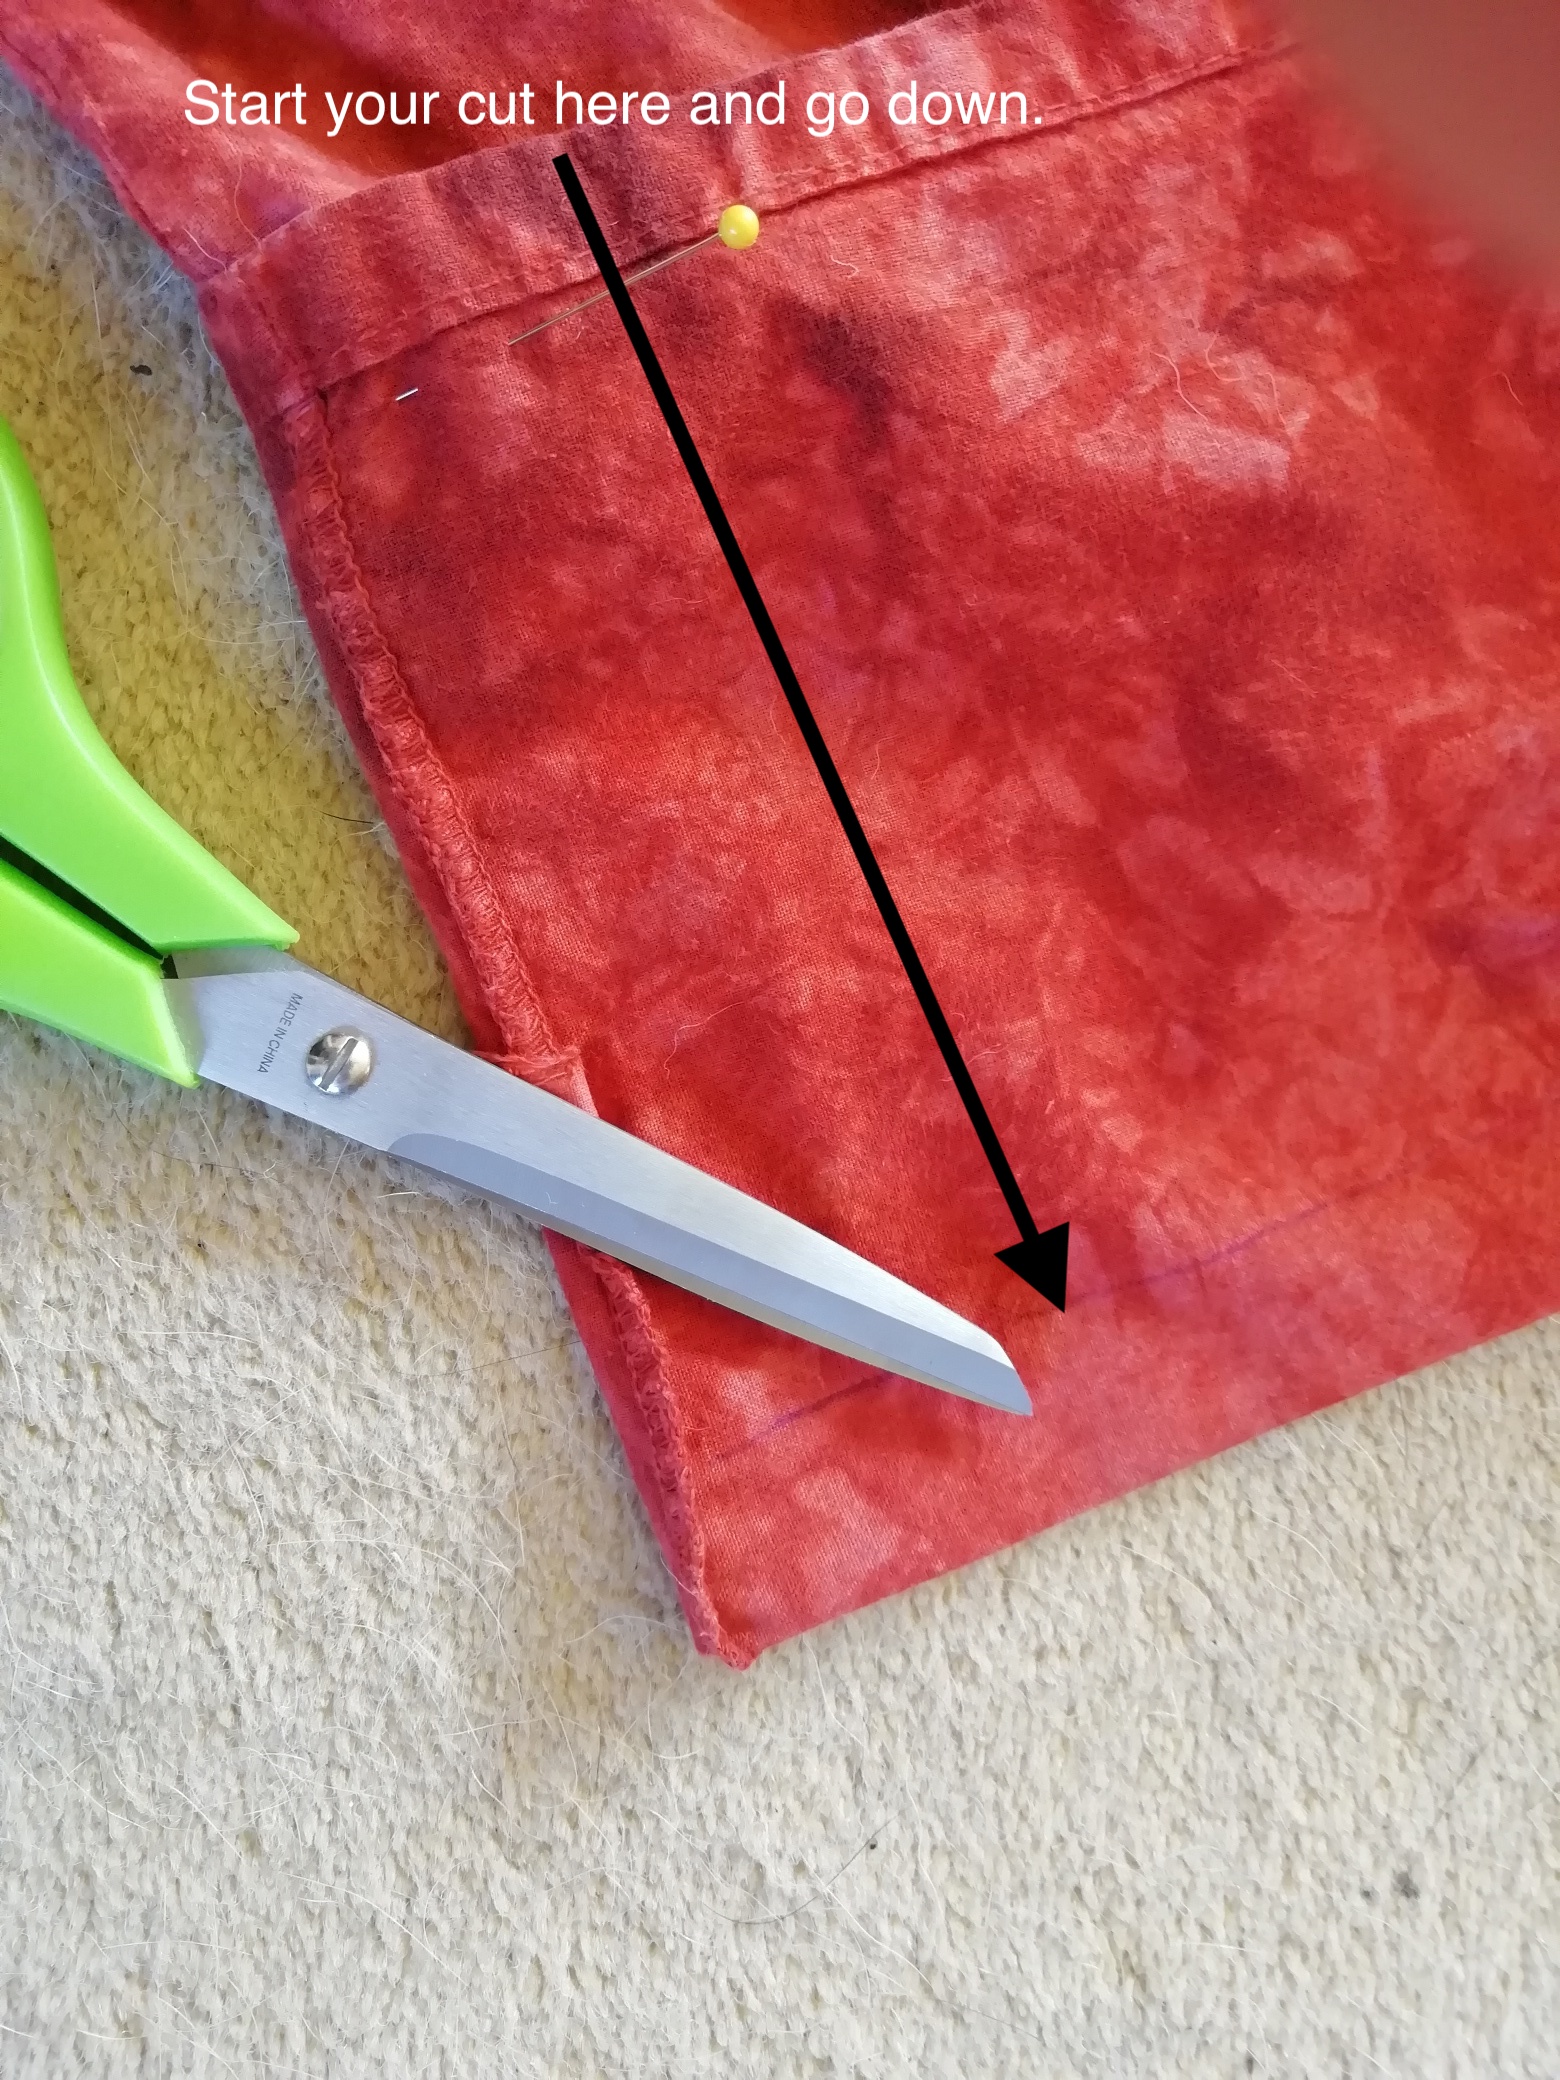
Step 7: Make the Cut
Now cut along the cut line, all the way around the bottom of the shirt. Again, do not simply start off with a horizontal cut. Instead, cut down from above, then continue along the line, so that you don’t make your new hem higher than you actually want it.
Step 8: The Folded Hem
The original hem was one half-inch folded over twice. Why fix what’s not broken? So, with the shirt inside out, I folded half an inch of fabric back from the hem, so that the raw edge is touching the wrong side of the shirt.

Then I pressed it, folded it over again, and pressed it a second time.
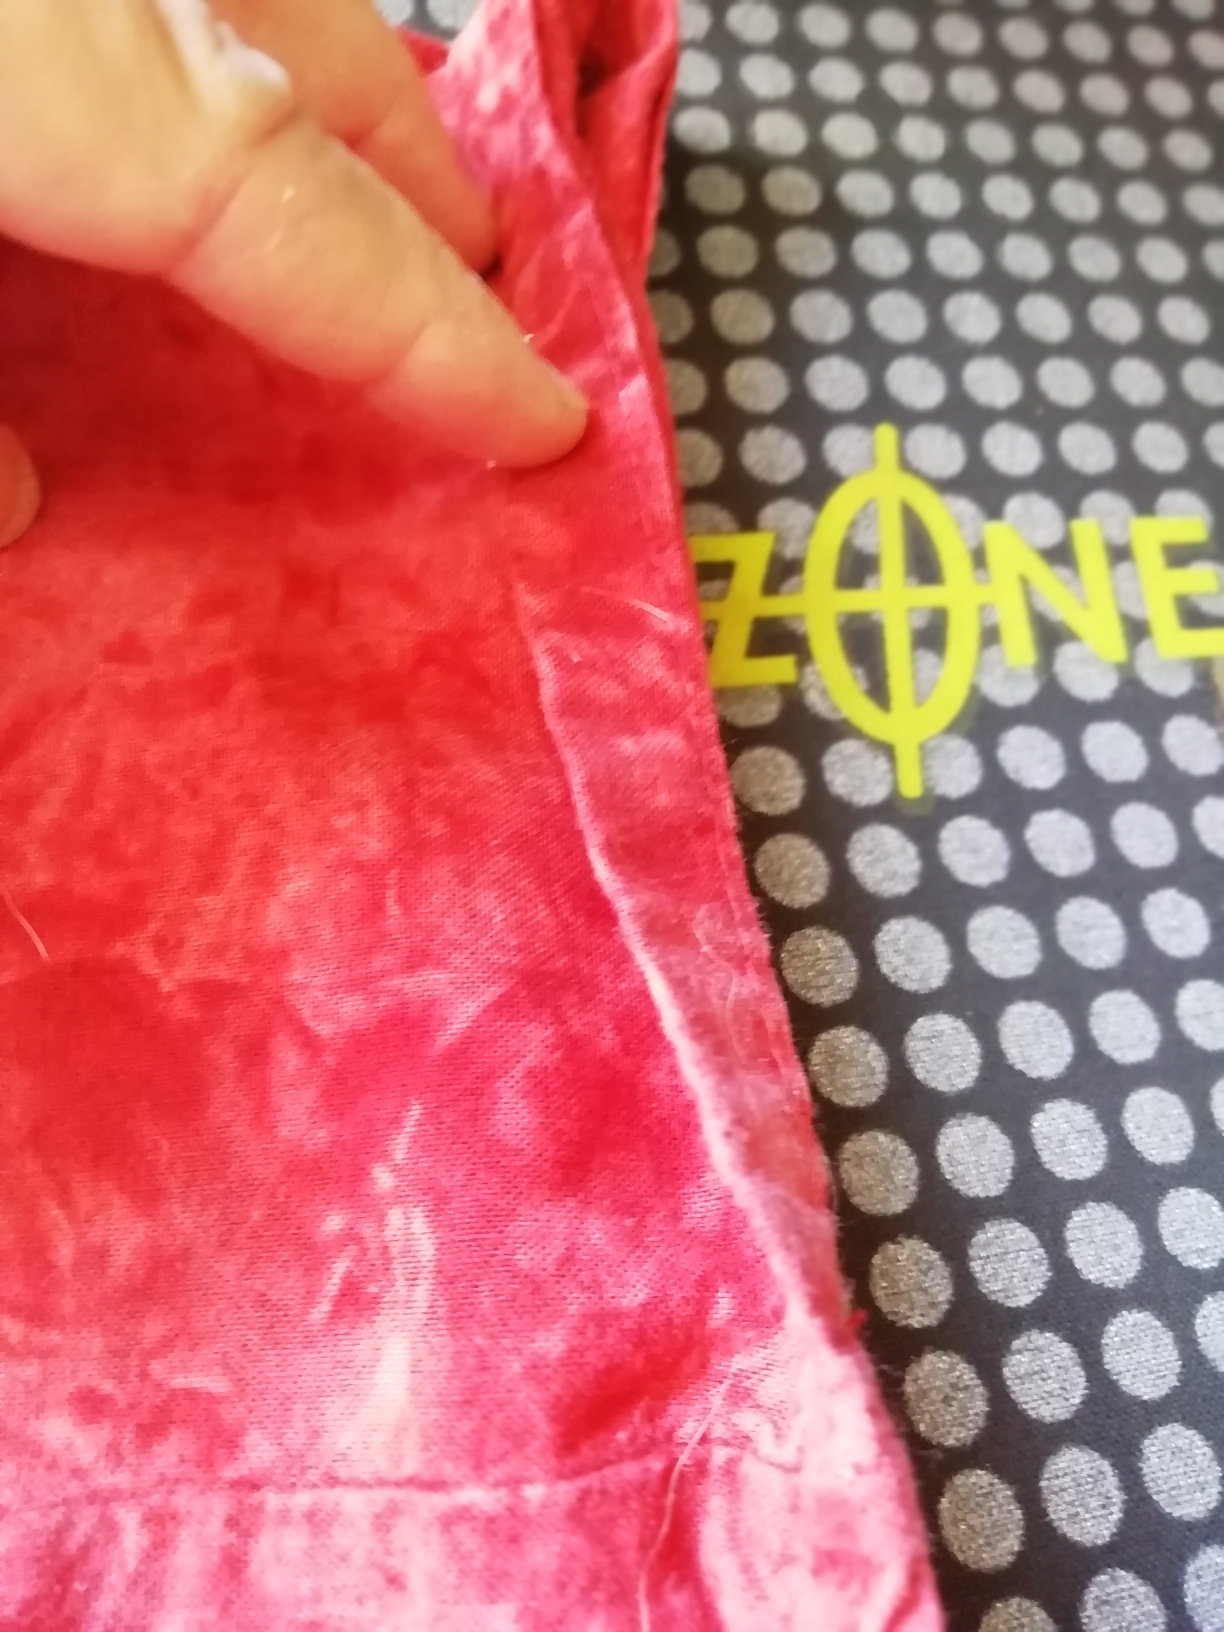
Step 9: Stitch
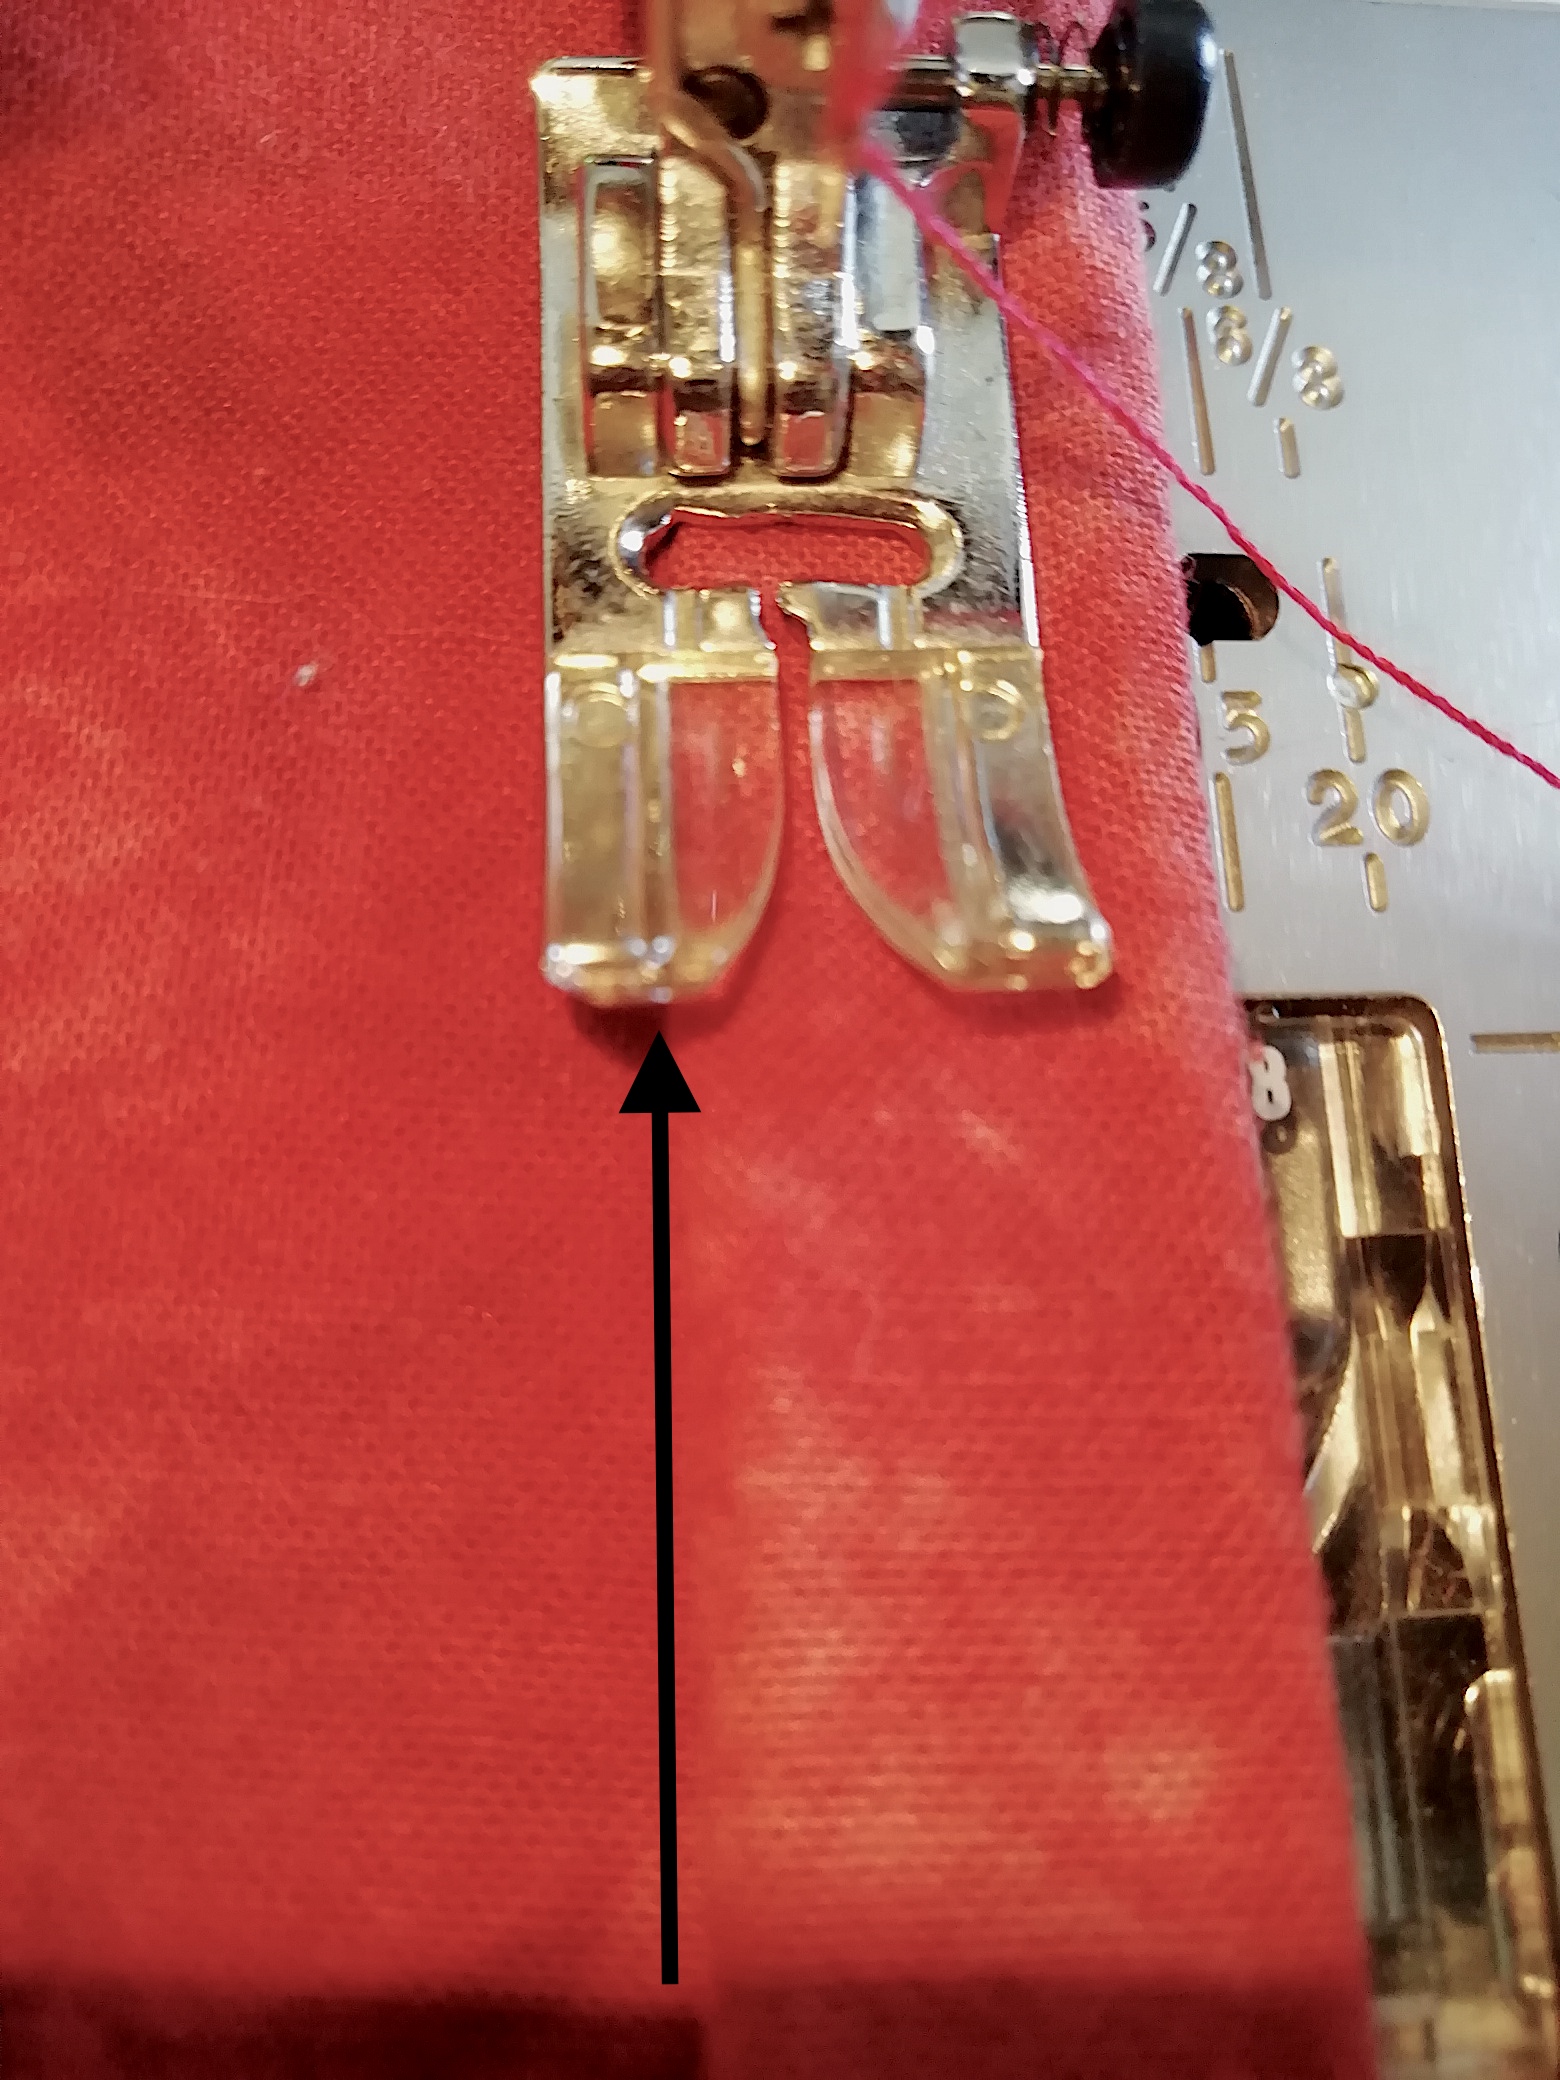
Finally, I stitched along the top edge of the new hem, all the way around the shirt on the wrong side. If you’ve measured and pressed, the line on the right side of the shirt will be nice and even.
I’ve boosted the colour a bit to better highlight the folded-over hem. The arrow shows where the hem should line up with the markings on the presser foot.
That’s it! It’s done!
And it looks amazing! This is my new favourite shirt.

Sometimes the simplest transformations are the most successful, the most fun, and the most satisfying in the end.
Now, if you’re ready to relax after all of that sewing, why not check out my free fiction on Wattpad?
And if you’re more in the mood for a novel, why not pre-order my latest from Bold Strokes Books?


Leave a comment