I was going to do a Giant Jammies Makeover for April. But then this month got the best of me. Work piled on, and then I had the Fauci Ouchie. I was all prepared for a raft of Horrible Consequences which thankfully didn’t come, though I did feel rough enough the day after to justify skipping the sewing project in favour of sitting in front of the telly and eating a bunch of things I shouldn’t.
Today I was going to do the Giant Jammies first thing in the morning. But this is Scotland, and this time of year the sun comes like an angry god of destruction through all windows about 4am and renders the entire house completely unsuitable for either sleeping or photographs.
And sometimes it snows at the same time.
Today I could avoid it no longer. For this is the day that I have to either sew something or give up my hard-won annexed territory in the dining room — the only room in the place with a table large enough for sewing. And, under normal, non-Springtime circumstances, good photographic light.
So.
It occurred to me that I could not only knock April’s sewing project on the head, but also do something about the 4AM visitation.
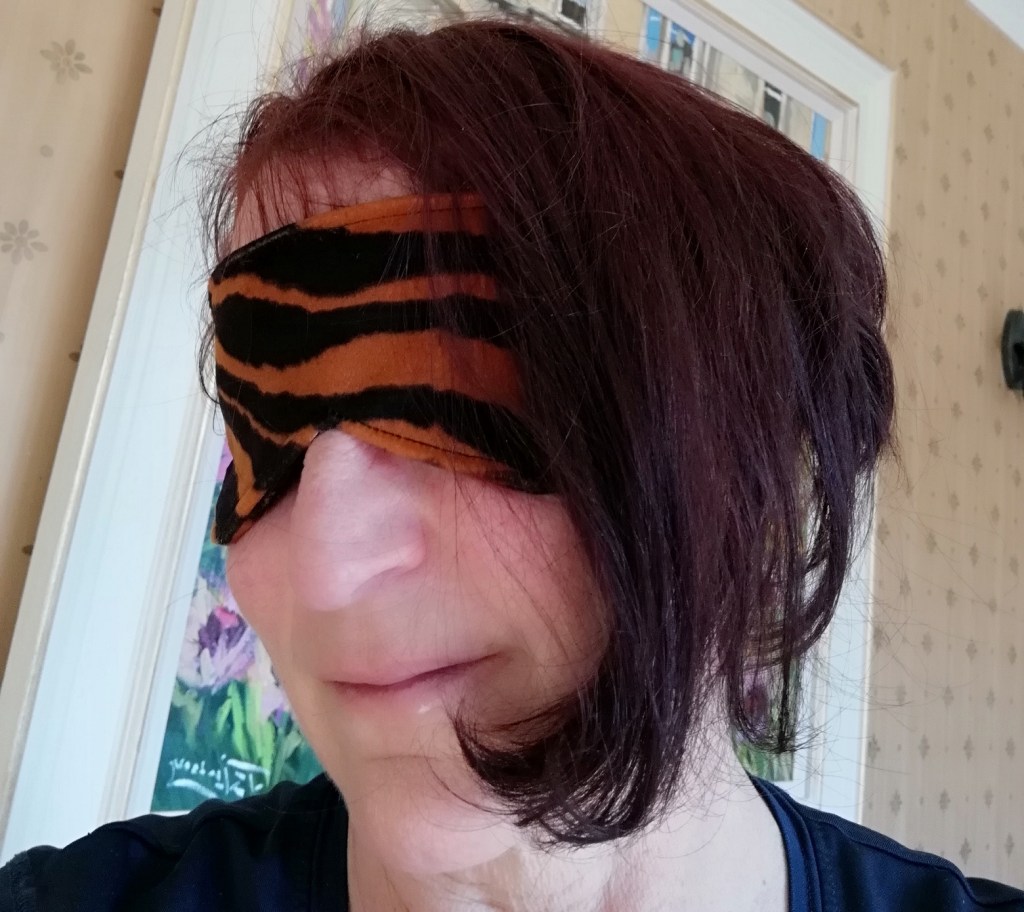
Behold. A sleep mask.
No More Chat, Please. Just the Instructions.
What You’ll Need
Pen and Paper
Any old paper and writing instrument will do. I like to recycle the editing copies of my manuscripts. Today’s came from chapter seven of The Fiend in the Fog, which is coming August 10 from Bold Strokes Books (did you see what I did there?)
Thread
Always match your thread to your fabrics. Naturals with naturals, synthetics with synthetics.
Sewing scissors
Do you prefer scissors or snips? The jury is still out for me.
Measuring tape

Not a ruler. Your face has curves. A measuring tape will respect that.
Elastic
I used half-inch elastic because that’s what I had. We don’t have a craft store on every corner, here, and acquiring The Perfect Elastic really won’t make a difference to this project.
Fabric

You can use any sort of fabric that you like. I chose this thick, faux-fur upholstery fabric over coated canvas. It’s soft on the part that will be touching my face, and it’s thick enough to block out even the strongest unwanted light without batting, or even without a double layer.
Batting (optional)
If you want to use a thinner fabric, like jersey or quilting cotton, then you’ll definitely need some batting between the layers.
Your Sewing Machine
Because this is a topstitching job, I used my trusty Necchi 6160 sewing machine.
How to Make a Sleep Mask in 7 Easy Steps
Do you have your materials together? Great. Let’s go.
Step 1: Measure Your Face
The first step is to measure your face.
Measure horizontally from about an inch to the side of the outside corner of one eye to the same place on the other side of your face. For the vertical measurement, measure from the top of your eyebrow to the top of your cheekbone.
I know this sounds terribly imprecise, but I didn’t sleep well because of all that damn light, so there you go.
Step 2: Make Your Pattern

Draw a rectangle with the horizontal and vertical measurements. Now fold the paper in half.
Draw a right triangle starting at a bit less than halfway up. This is for your nose.
You can draw your seam allowance onto the paper, or trace it later onto the fabric. Your choice.
Now make the cut.
Step 3: Cut Two Pieces
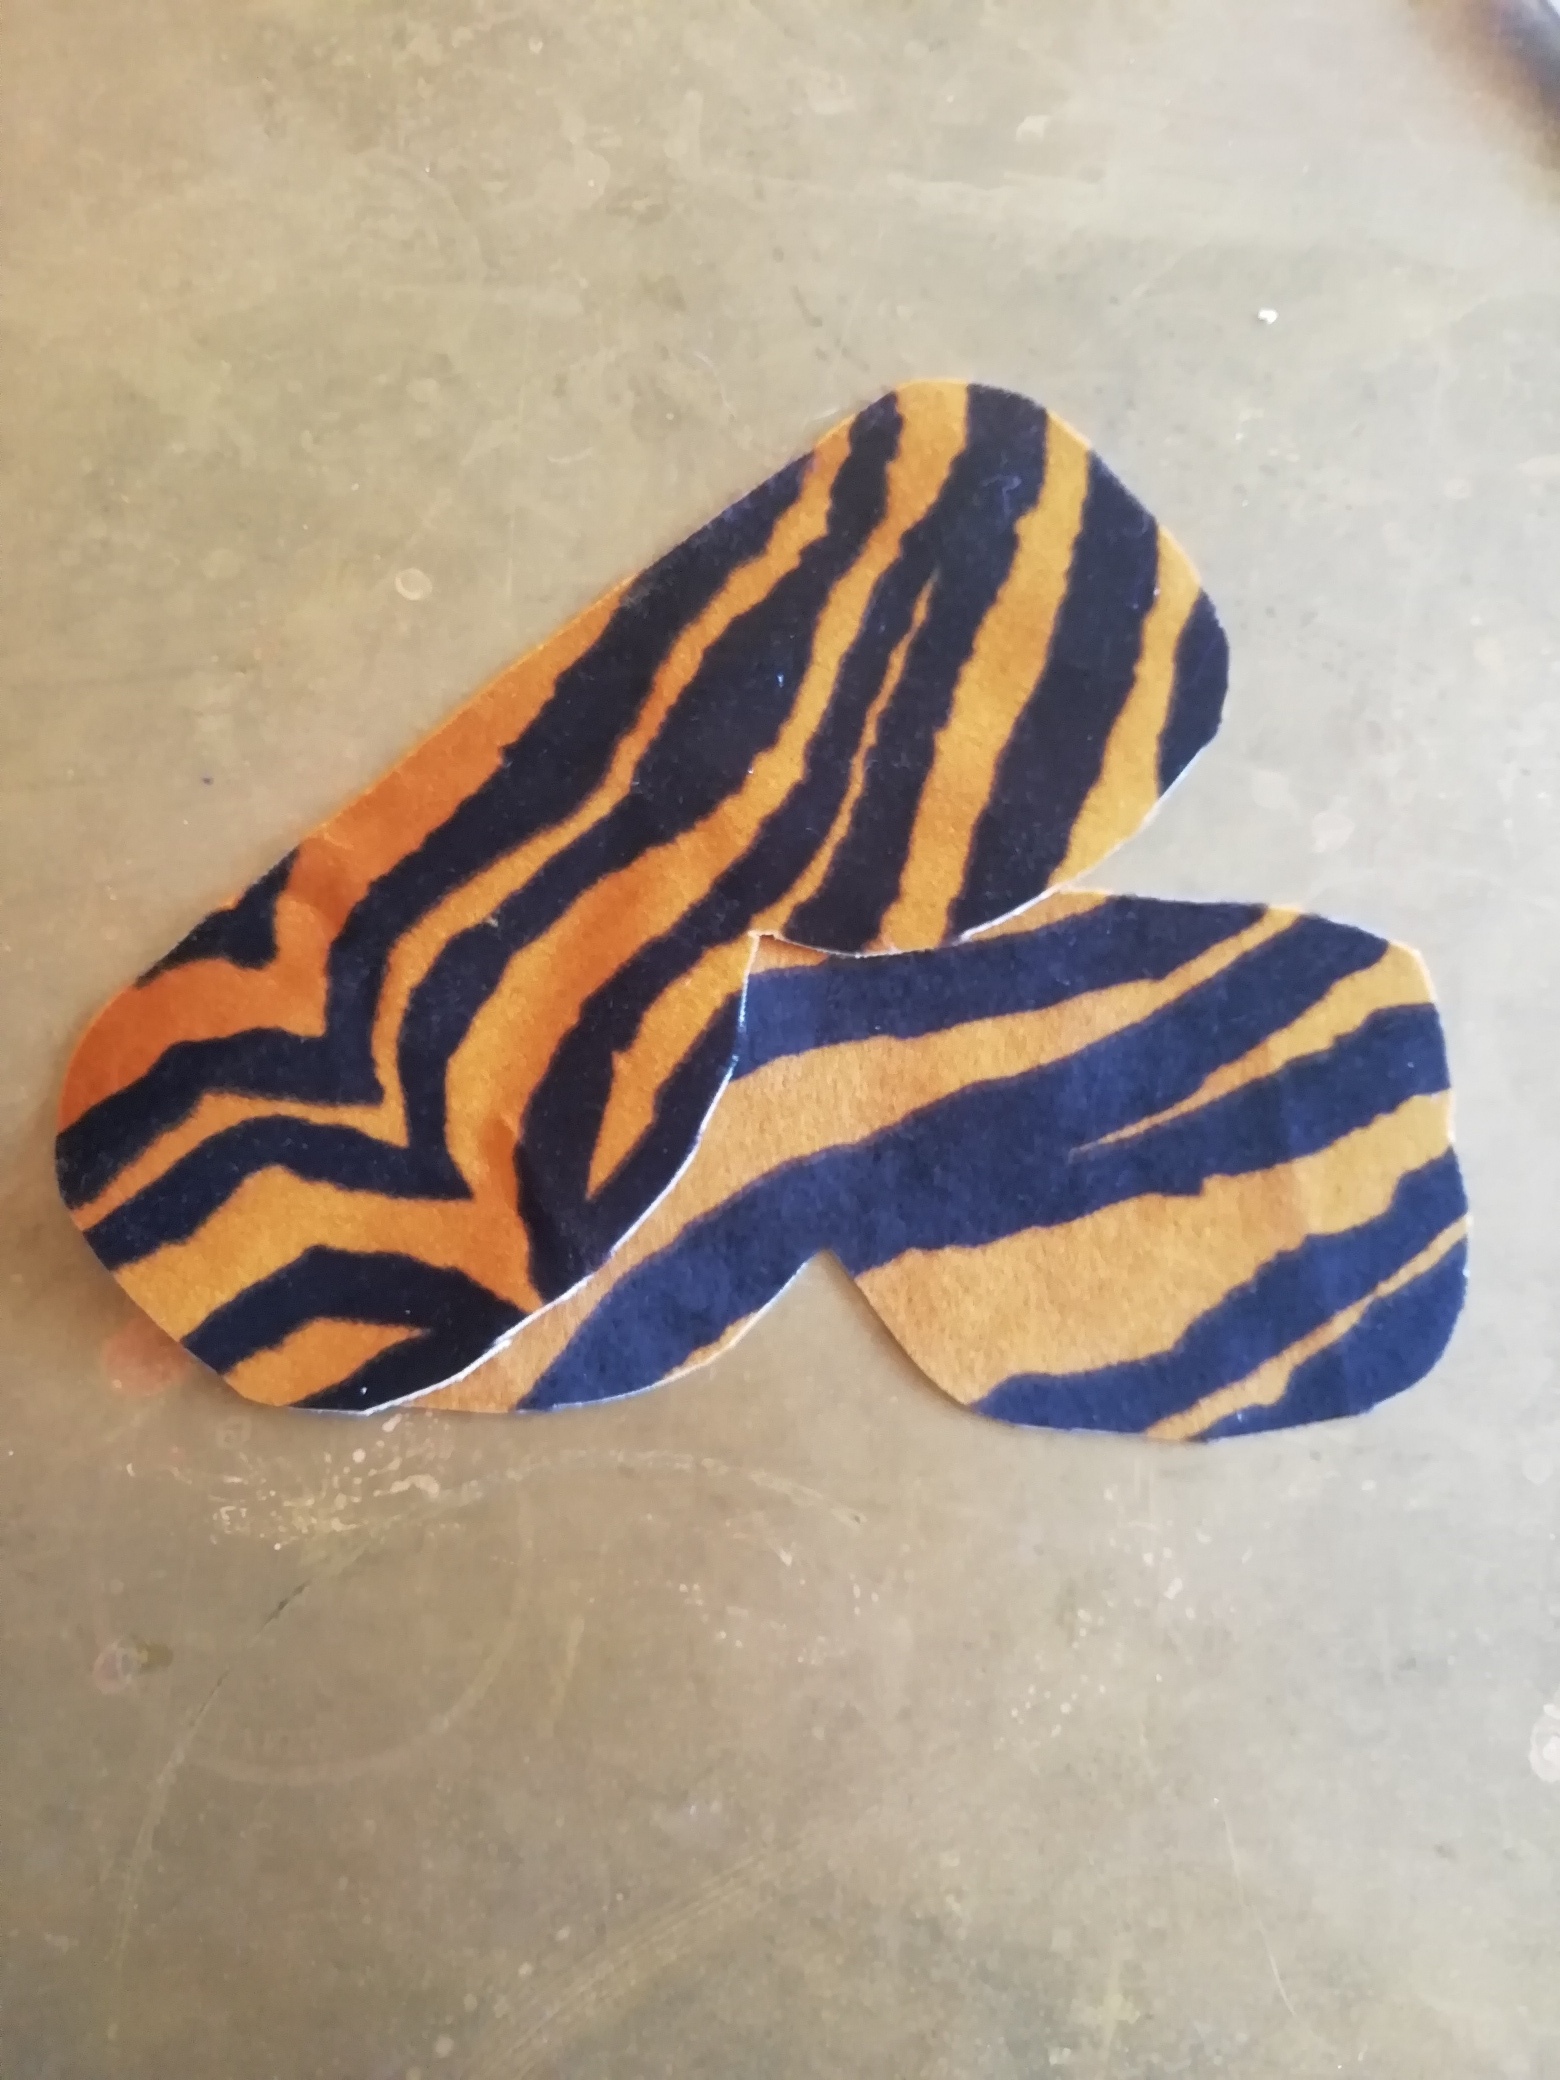
Step 4: Sew Them Together
Place your pieces right sides together. Sew along the top. Now sew along the bottom. You’ll want to leave part of each side open so that you can (1) turn the piece and (2) add elastic. It will go better for you if you measure and mark, in order that your elastic goes in at the same height on both sides. Ask me how I know.
Step 5: Turn the Finished Piece
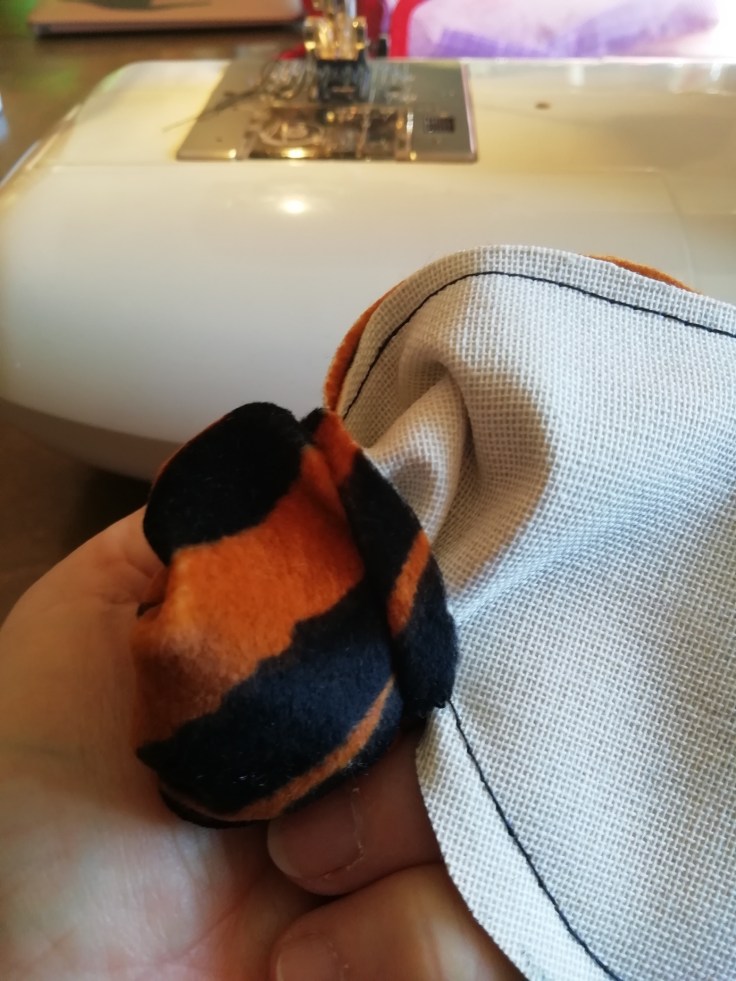
You can, of course, buy a special turning tool. Or you can use your fingers.
Step 6: Add Elastic
First, measure your elastic. Some people might suggest measuring your head, then measuring out that much elastic but subtracting a certain percentage from the measurement for a perfect fit.
But part of my religion states that no one should be forced to do mental math in the morning, especially not before coffee, so you can, alternately, wrap the elastic around your head.
It works fine. Just cut a bit extra (half an inch or so) for sewing allowance.


Now, press your seams flat and pin the elastic where it needs to go. You’ll be topstitching, so pins on the front, and mind the directionality.

Step 7: Topstitch to Finish

You know what to do.
There. It looks great, and blocks out the photon storm.

Just the Facts
Hate chat? Me, too. Here are the steps.
- Measure your face
- Make your pattern
- Cut out two pattern pieces and possibly one piece of batting
- Sew them together, right sides in
- Turn the finished piece out
- Add elastic
- Topstitch to finish
I hope you’ve enjoyed this quick, easy tutorial. Now if you visit Scotland in the Spring, you’ll be able to get some shuteye.
If you’d like to see some other garment rescue tutorials, check out this project’s main page.
And if you enjoyed my clever patter, be sure to check out my books!

Coming August 10, 2021 from Bold Strokes Books

Leave a comment